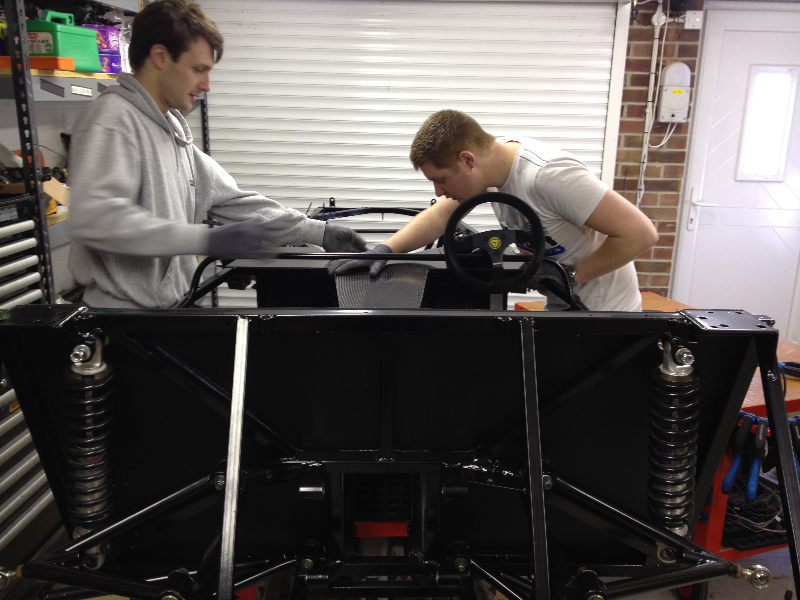
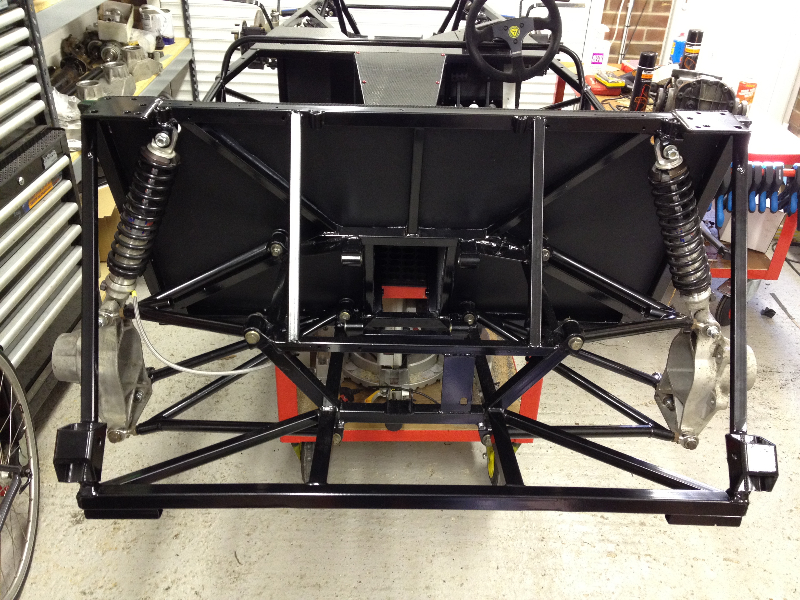
11th February 2012 – Build day 8 (The car sits on it’s own wheels!)

Great turn out today:

Craig, Craig’s brother (his name escapes me but he was a big legend!), James, Dan, Micheal, Chris B.

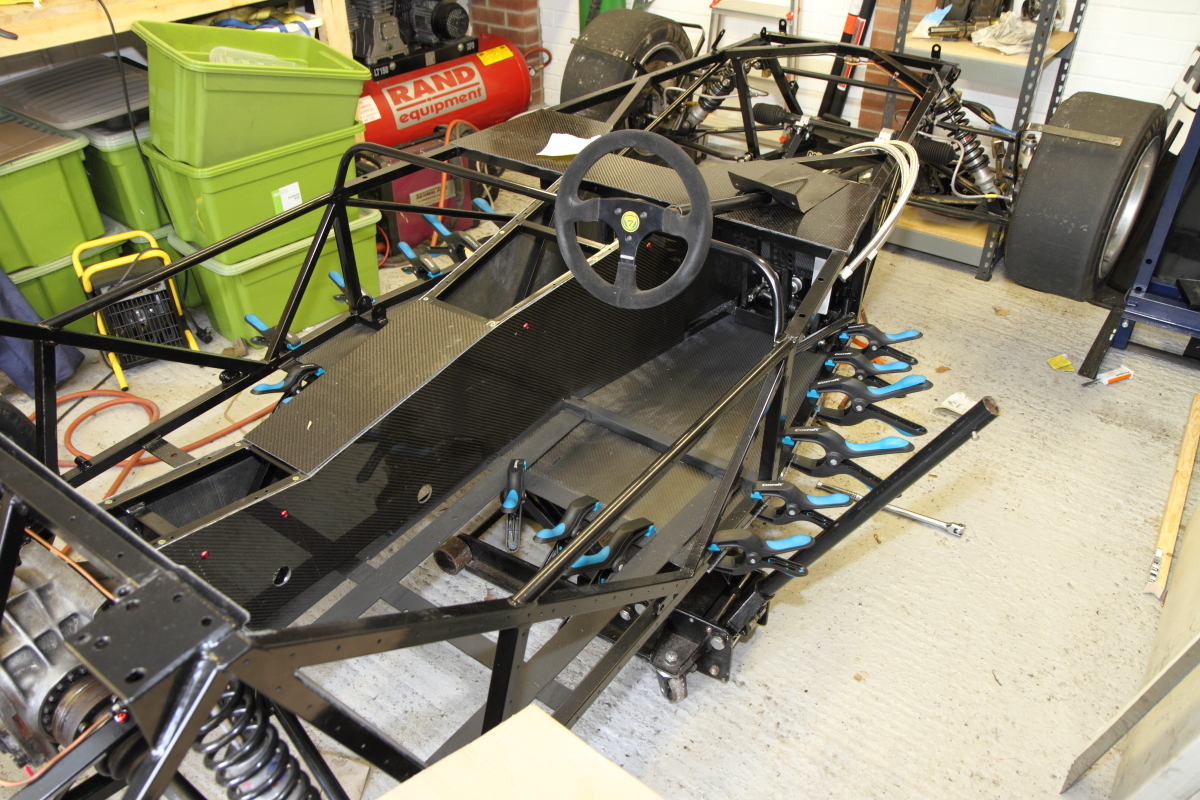
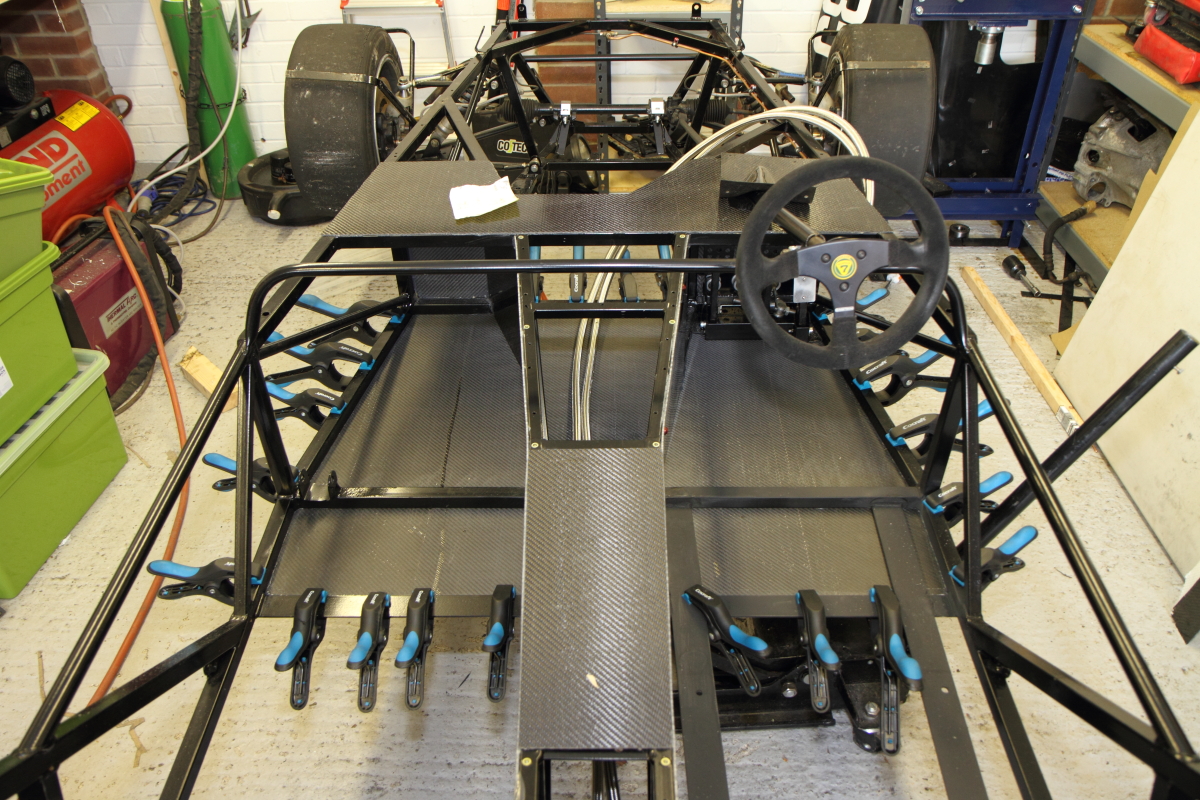
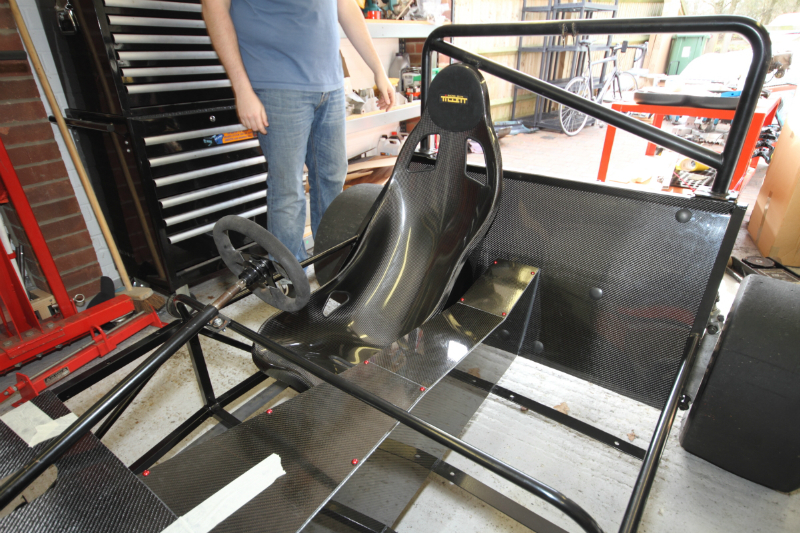
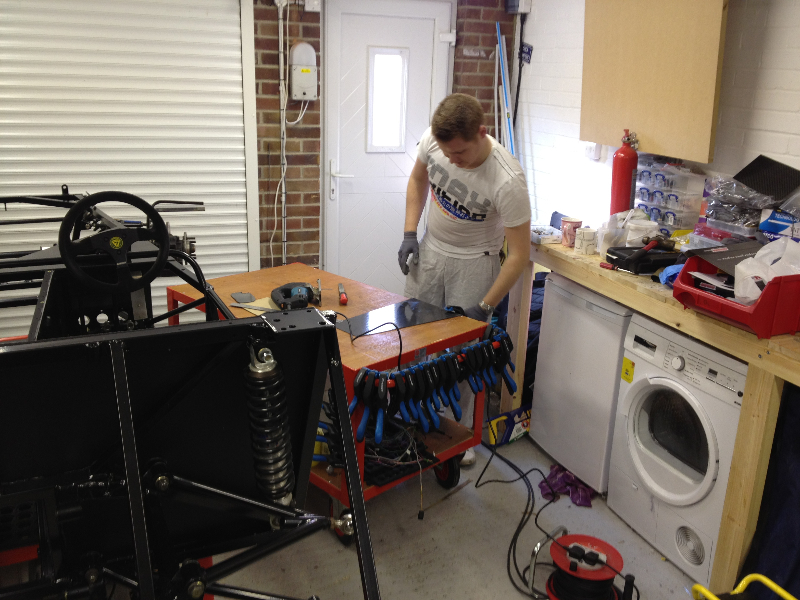
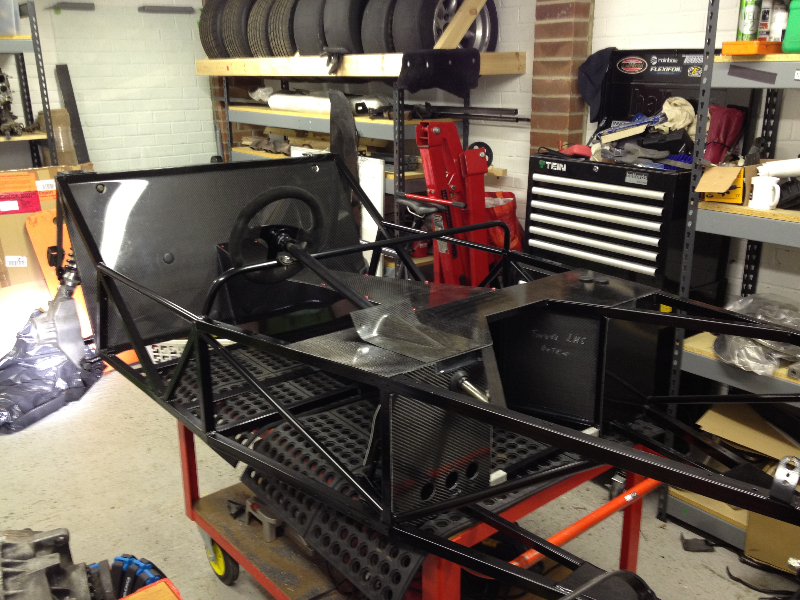
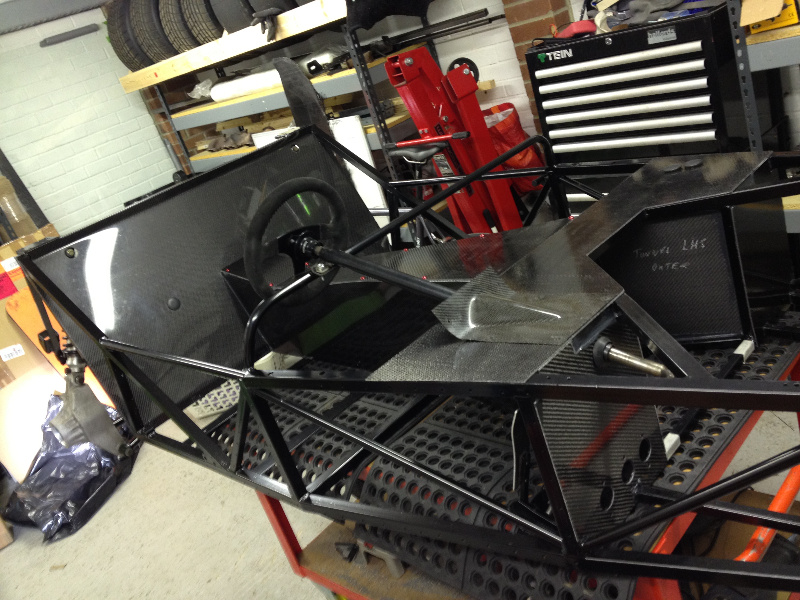
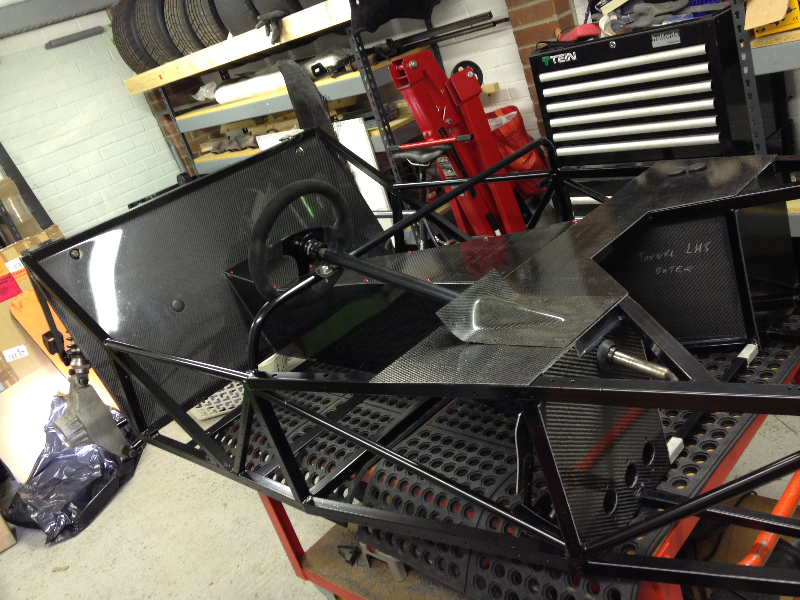
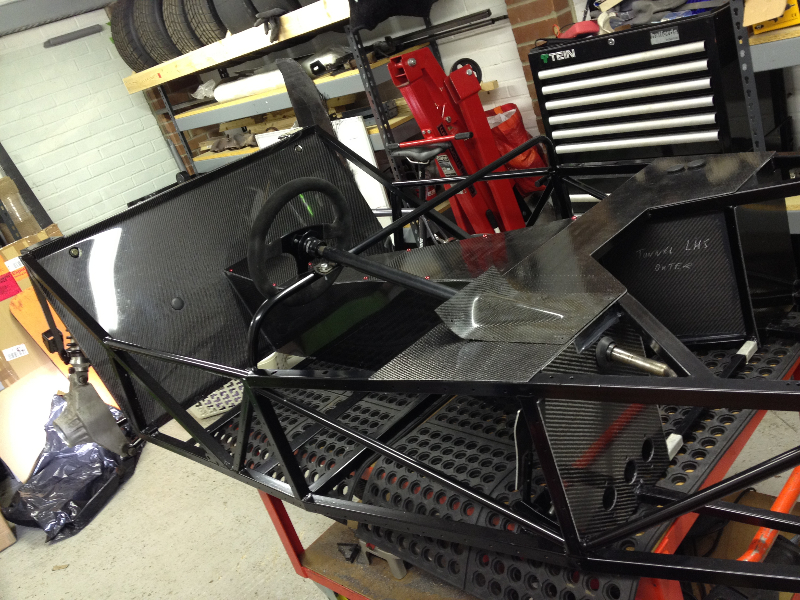
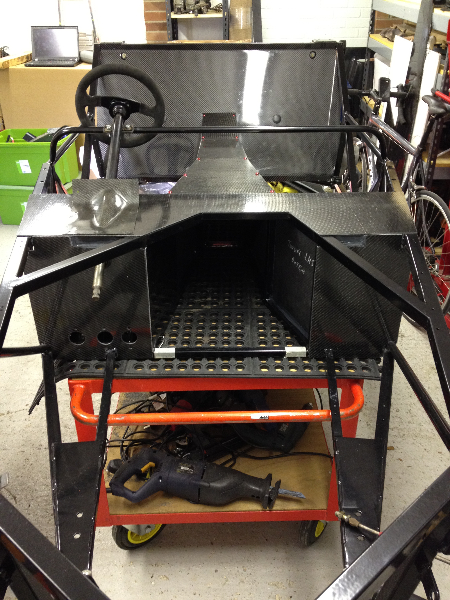
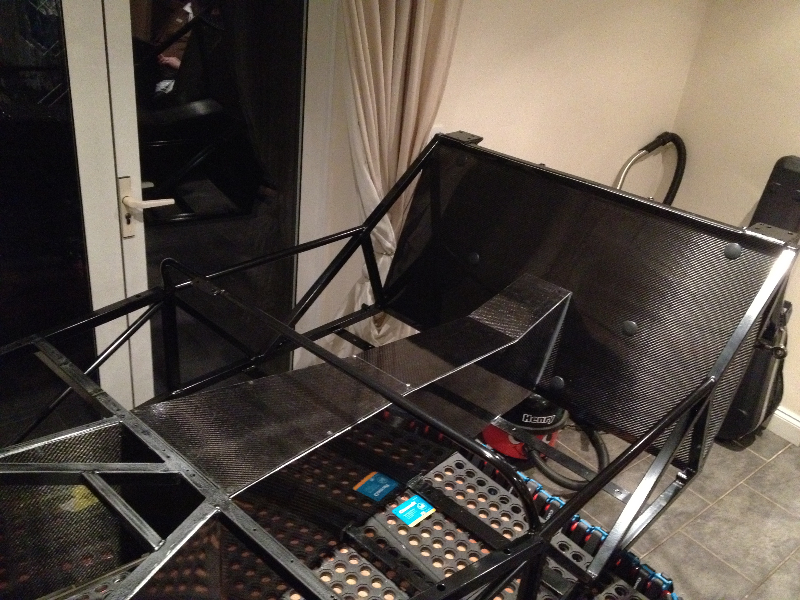
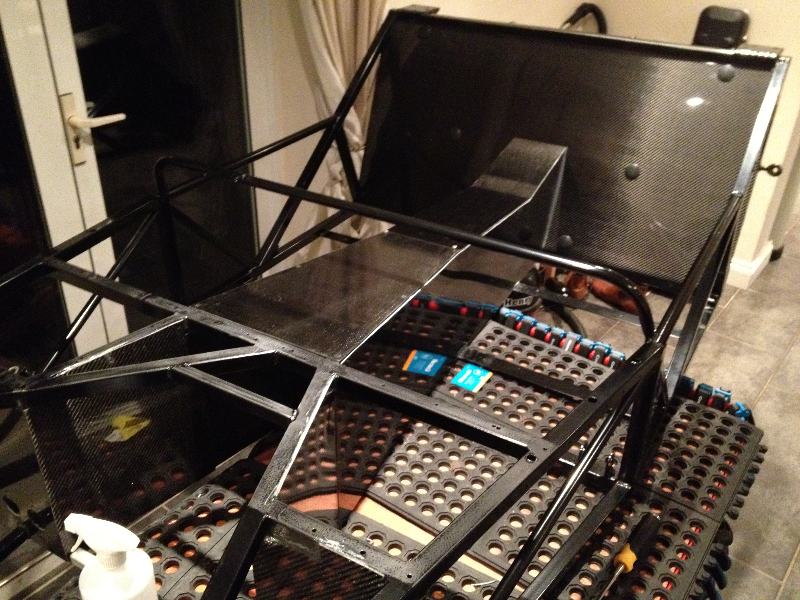
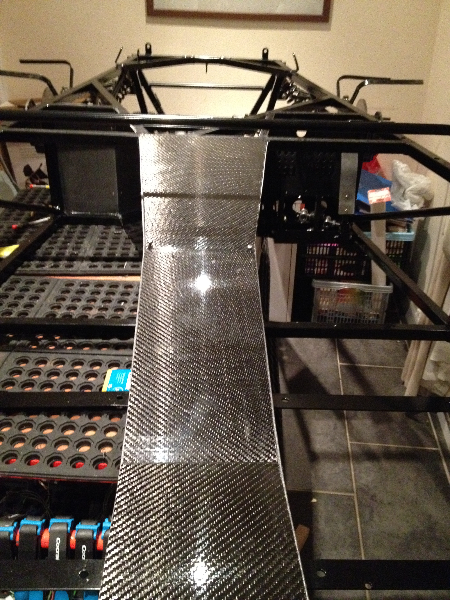
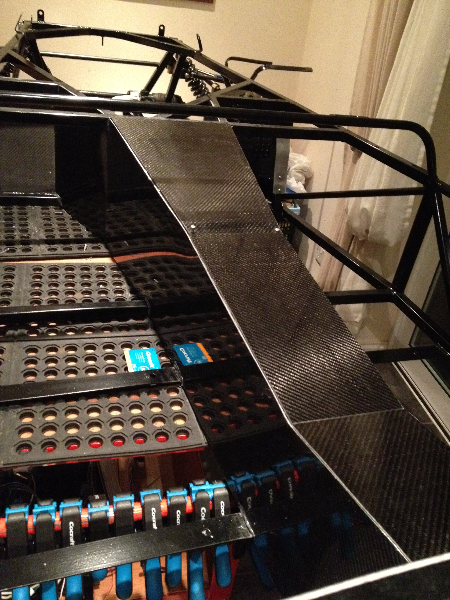
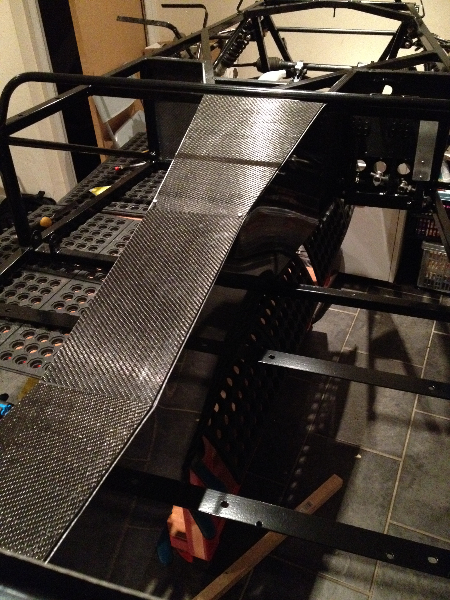
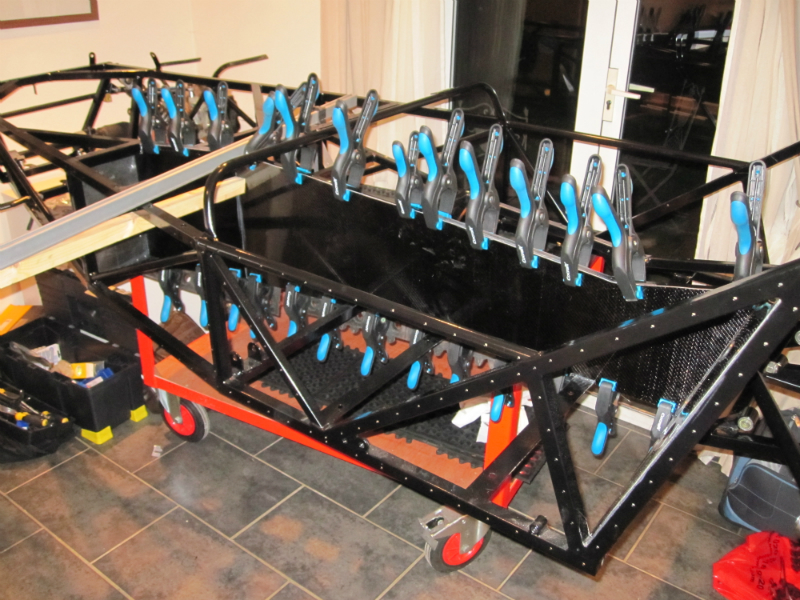
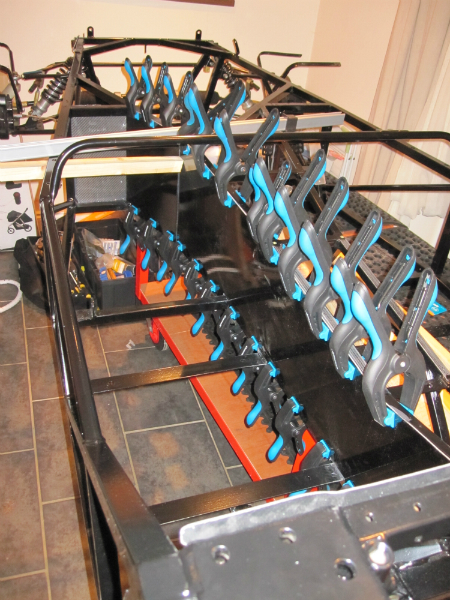
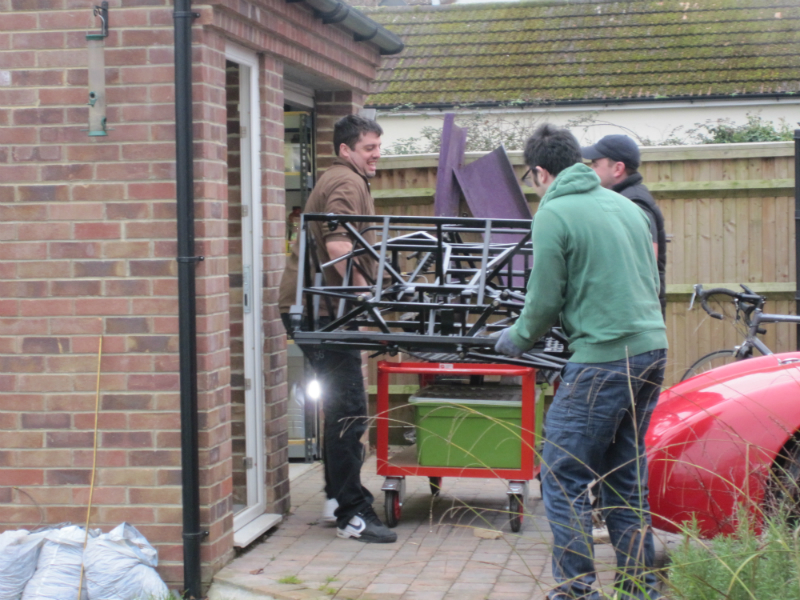
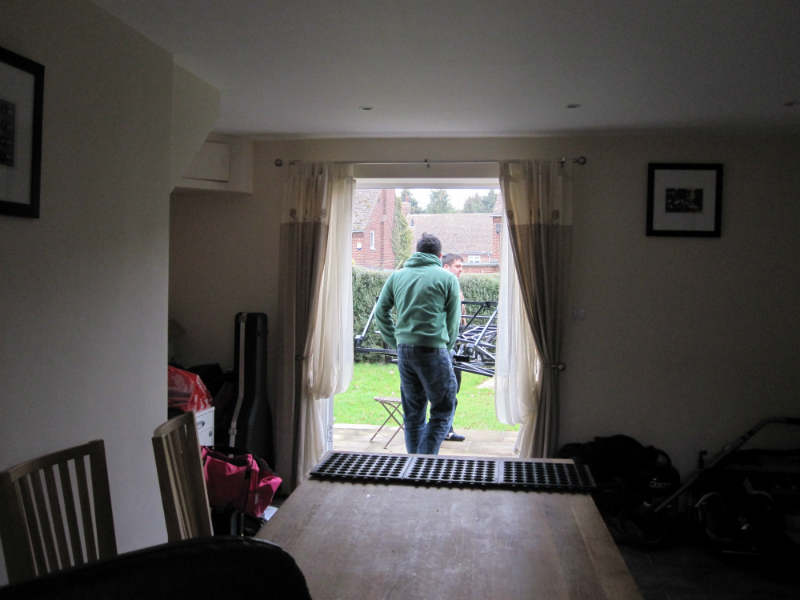
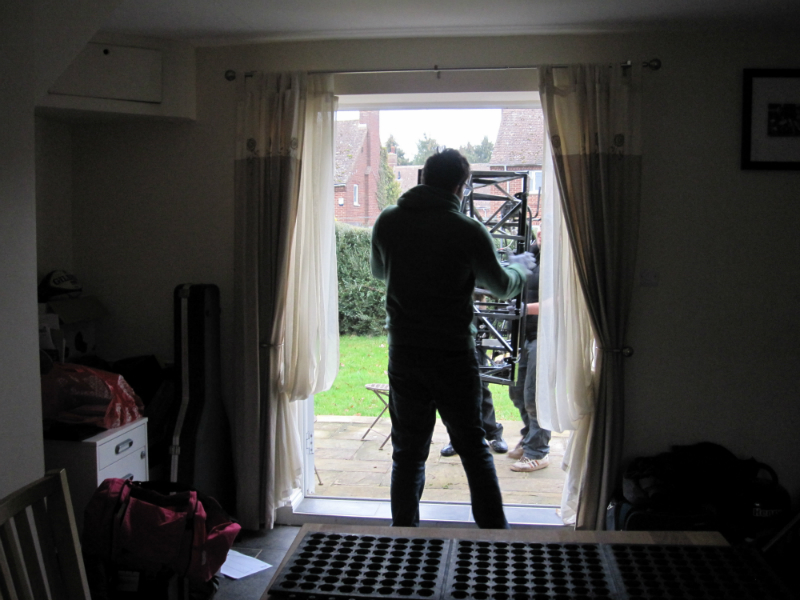
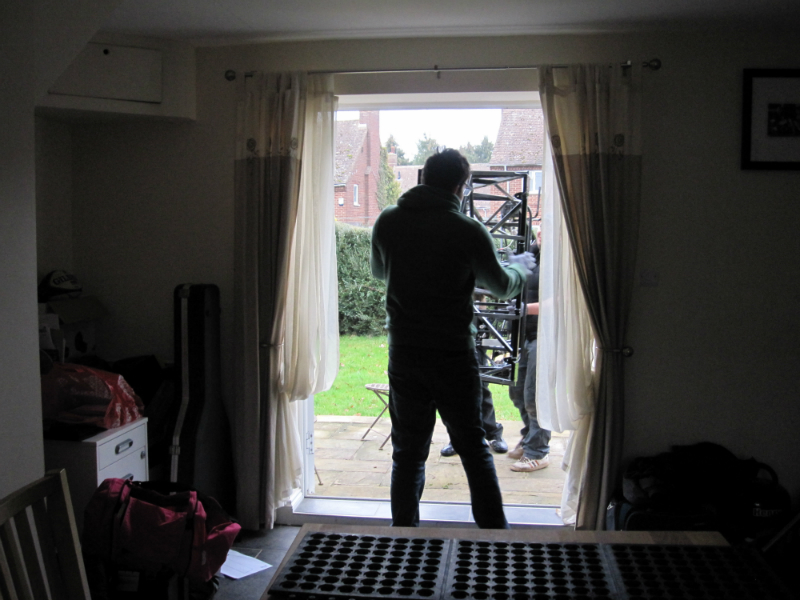
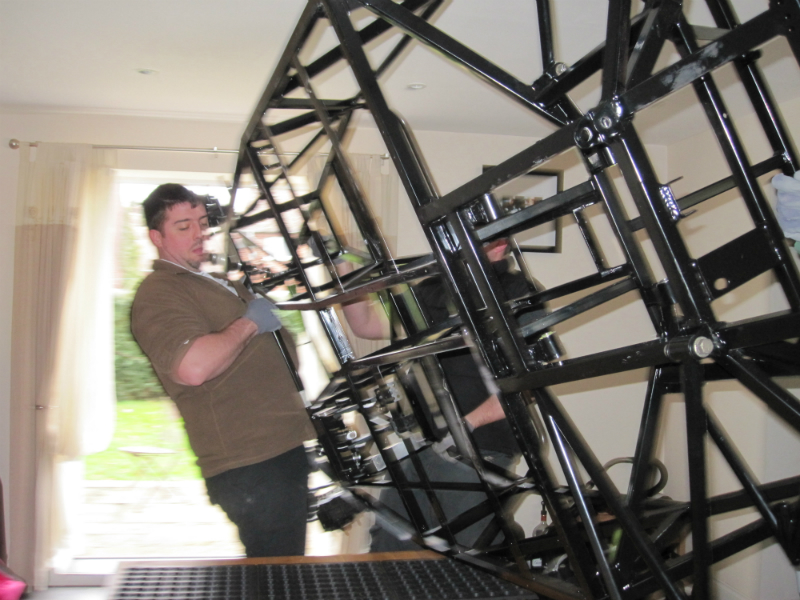
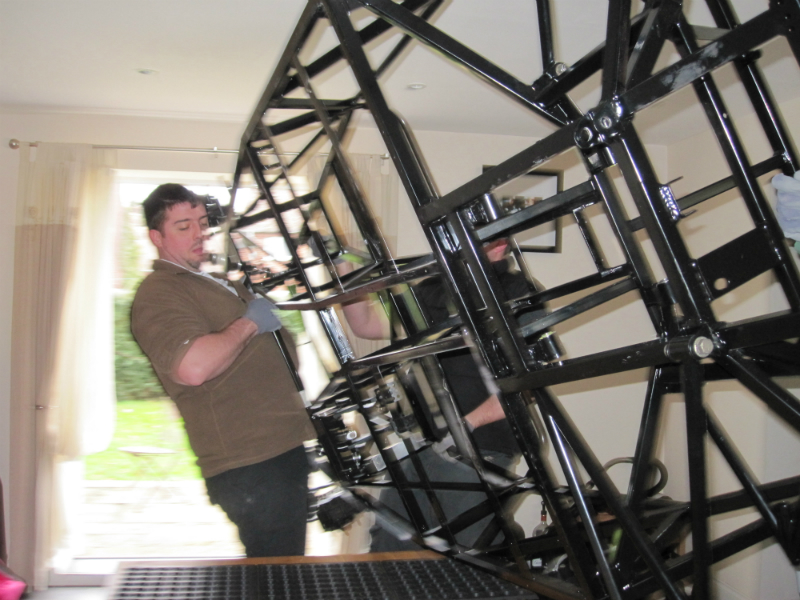
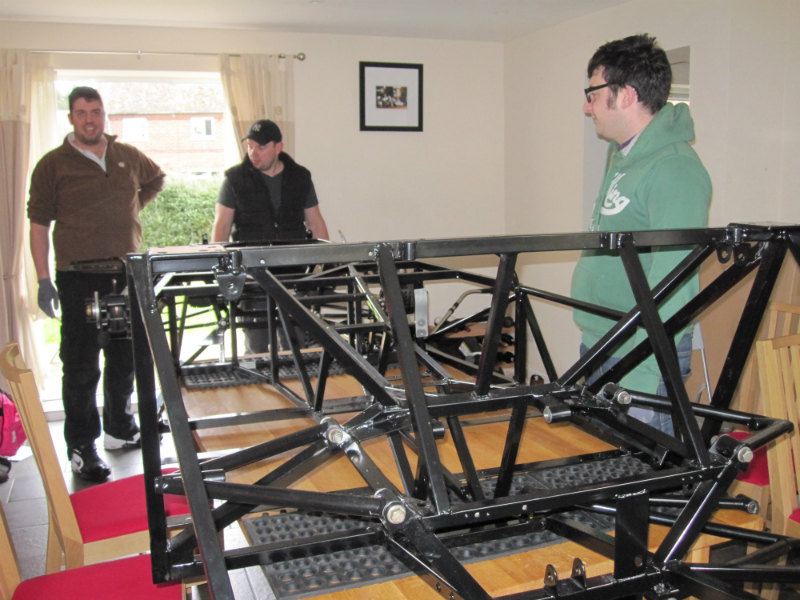
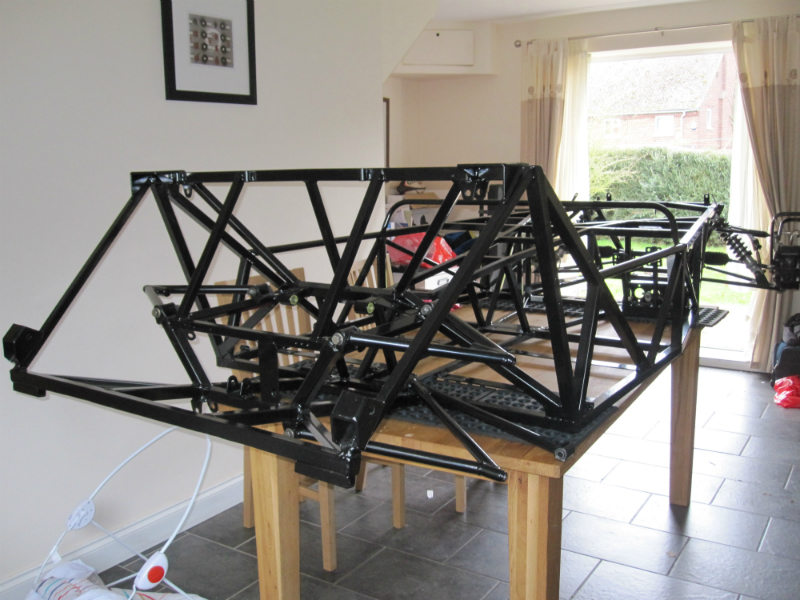
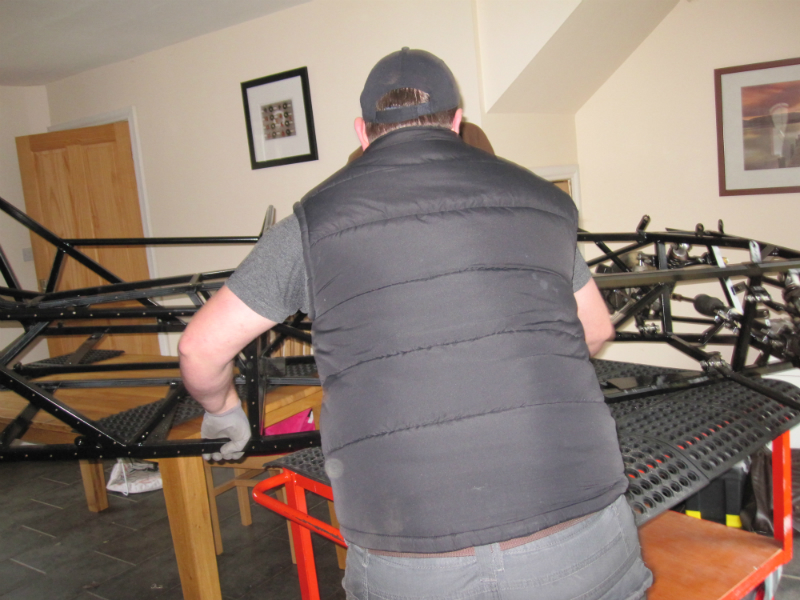
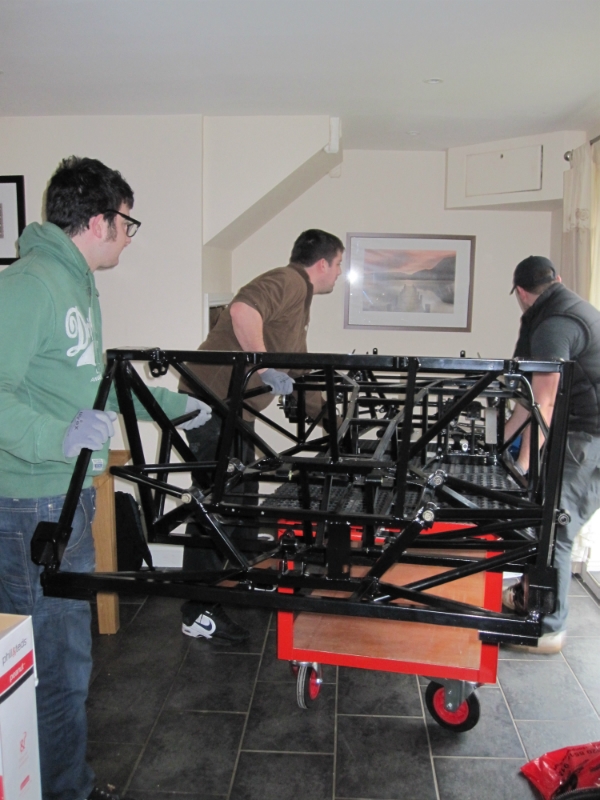
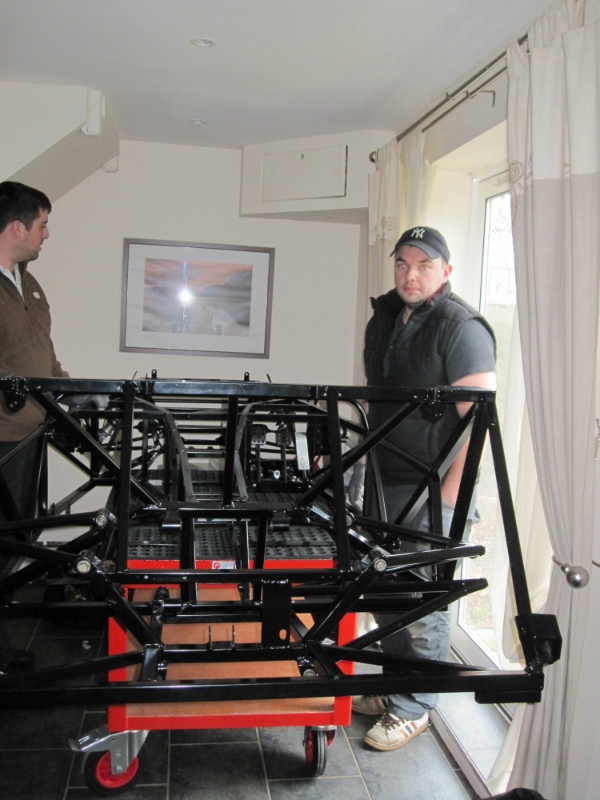
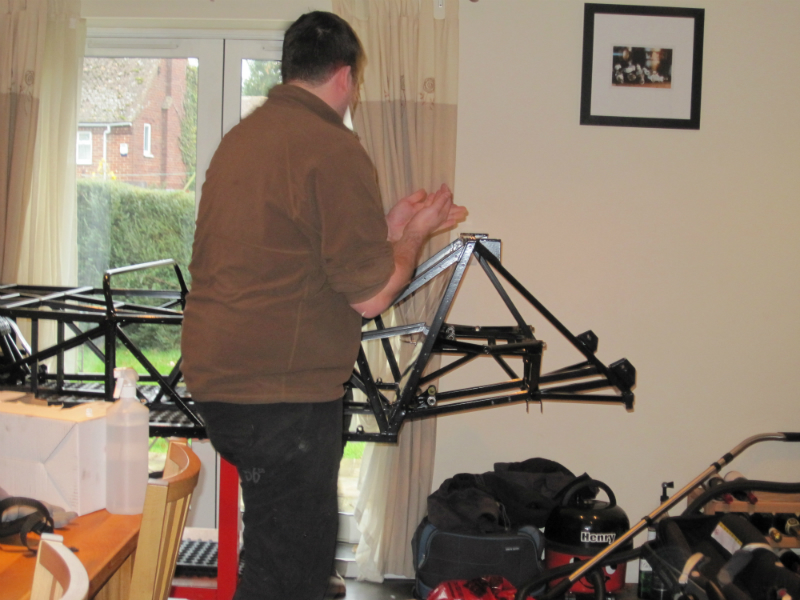
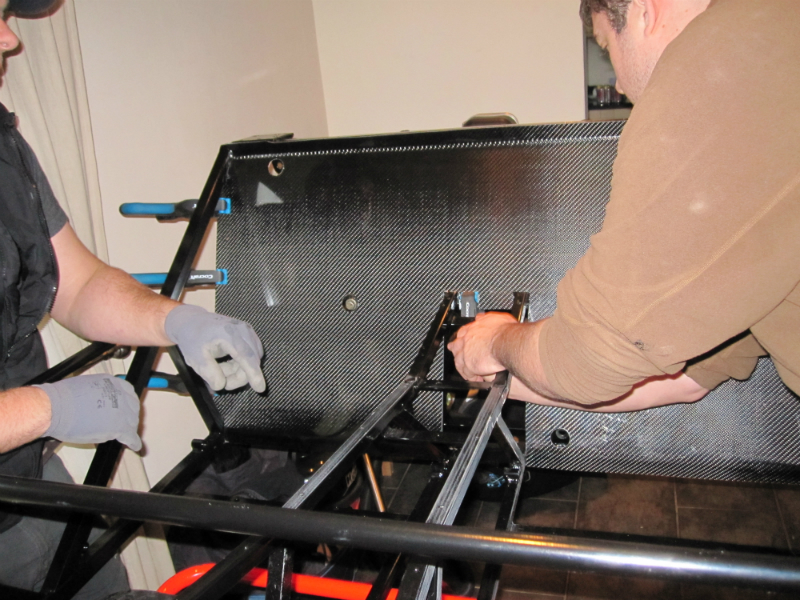
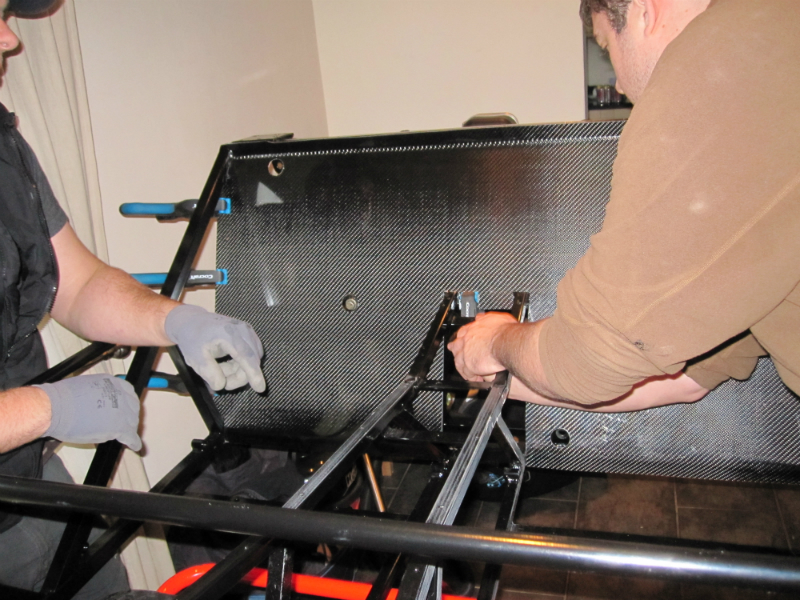
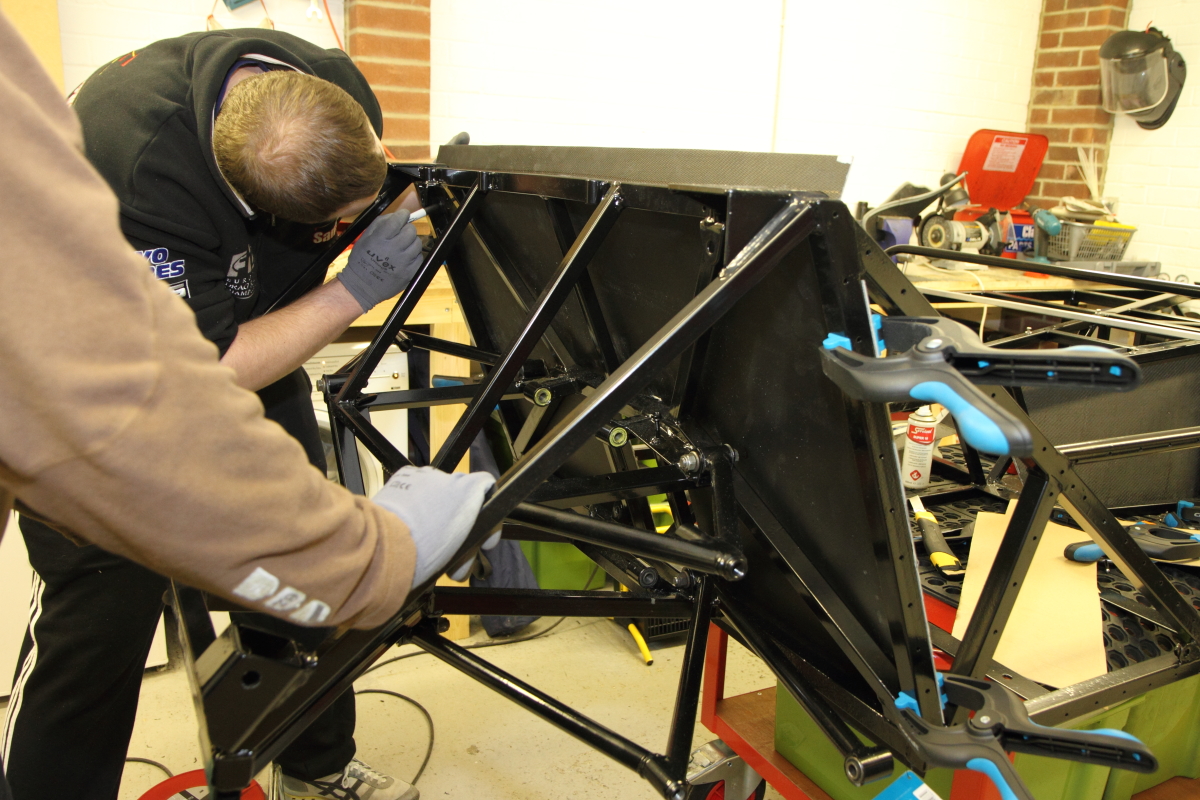
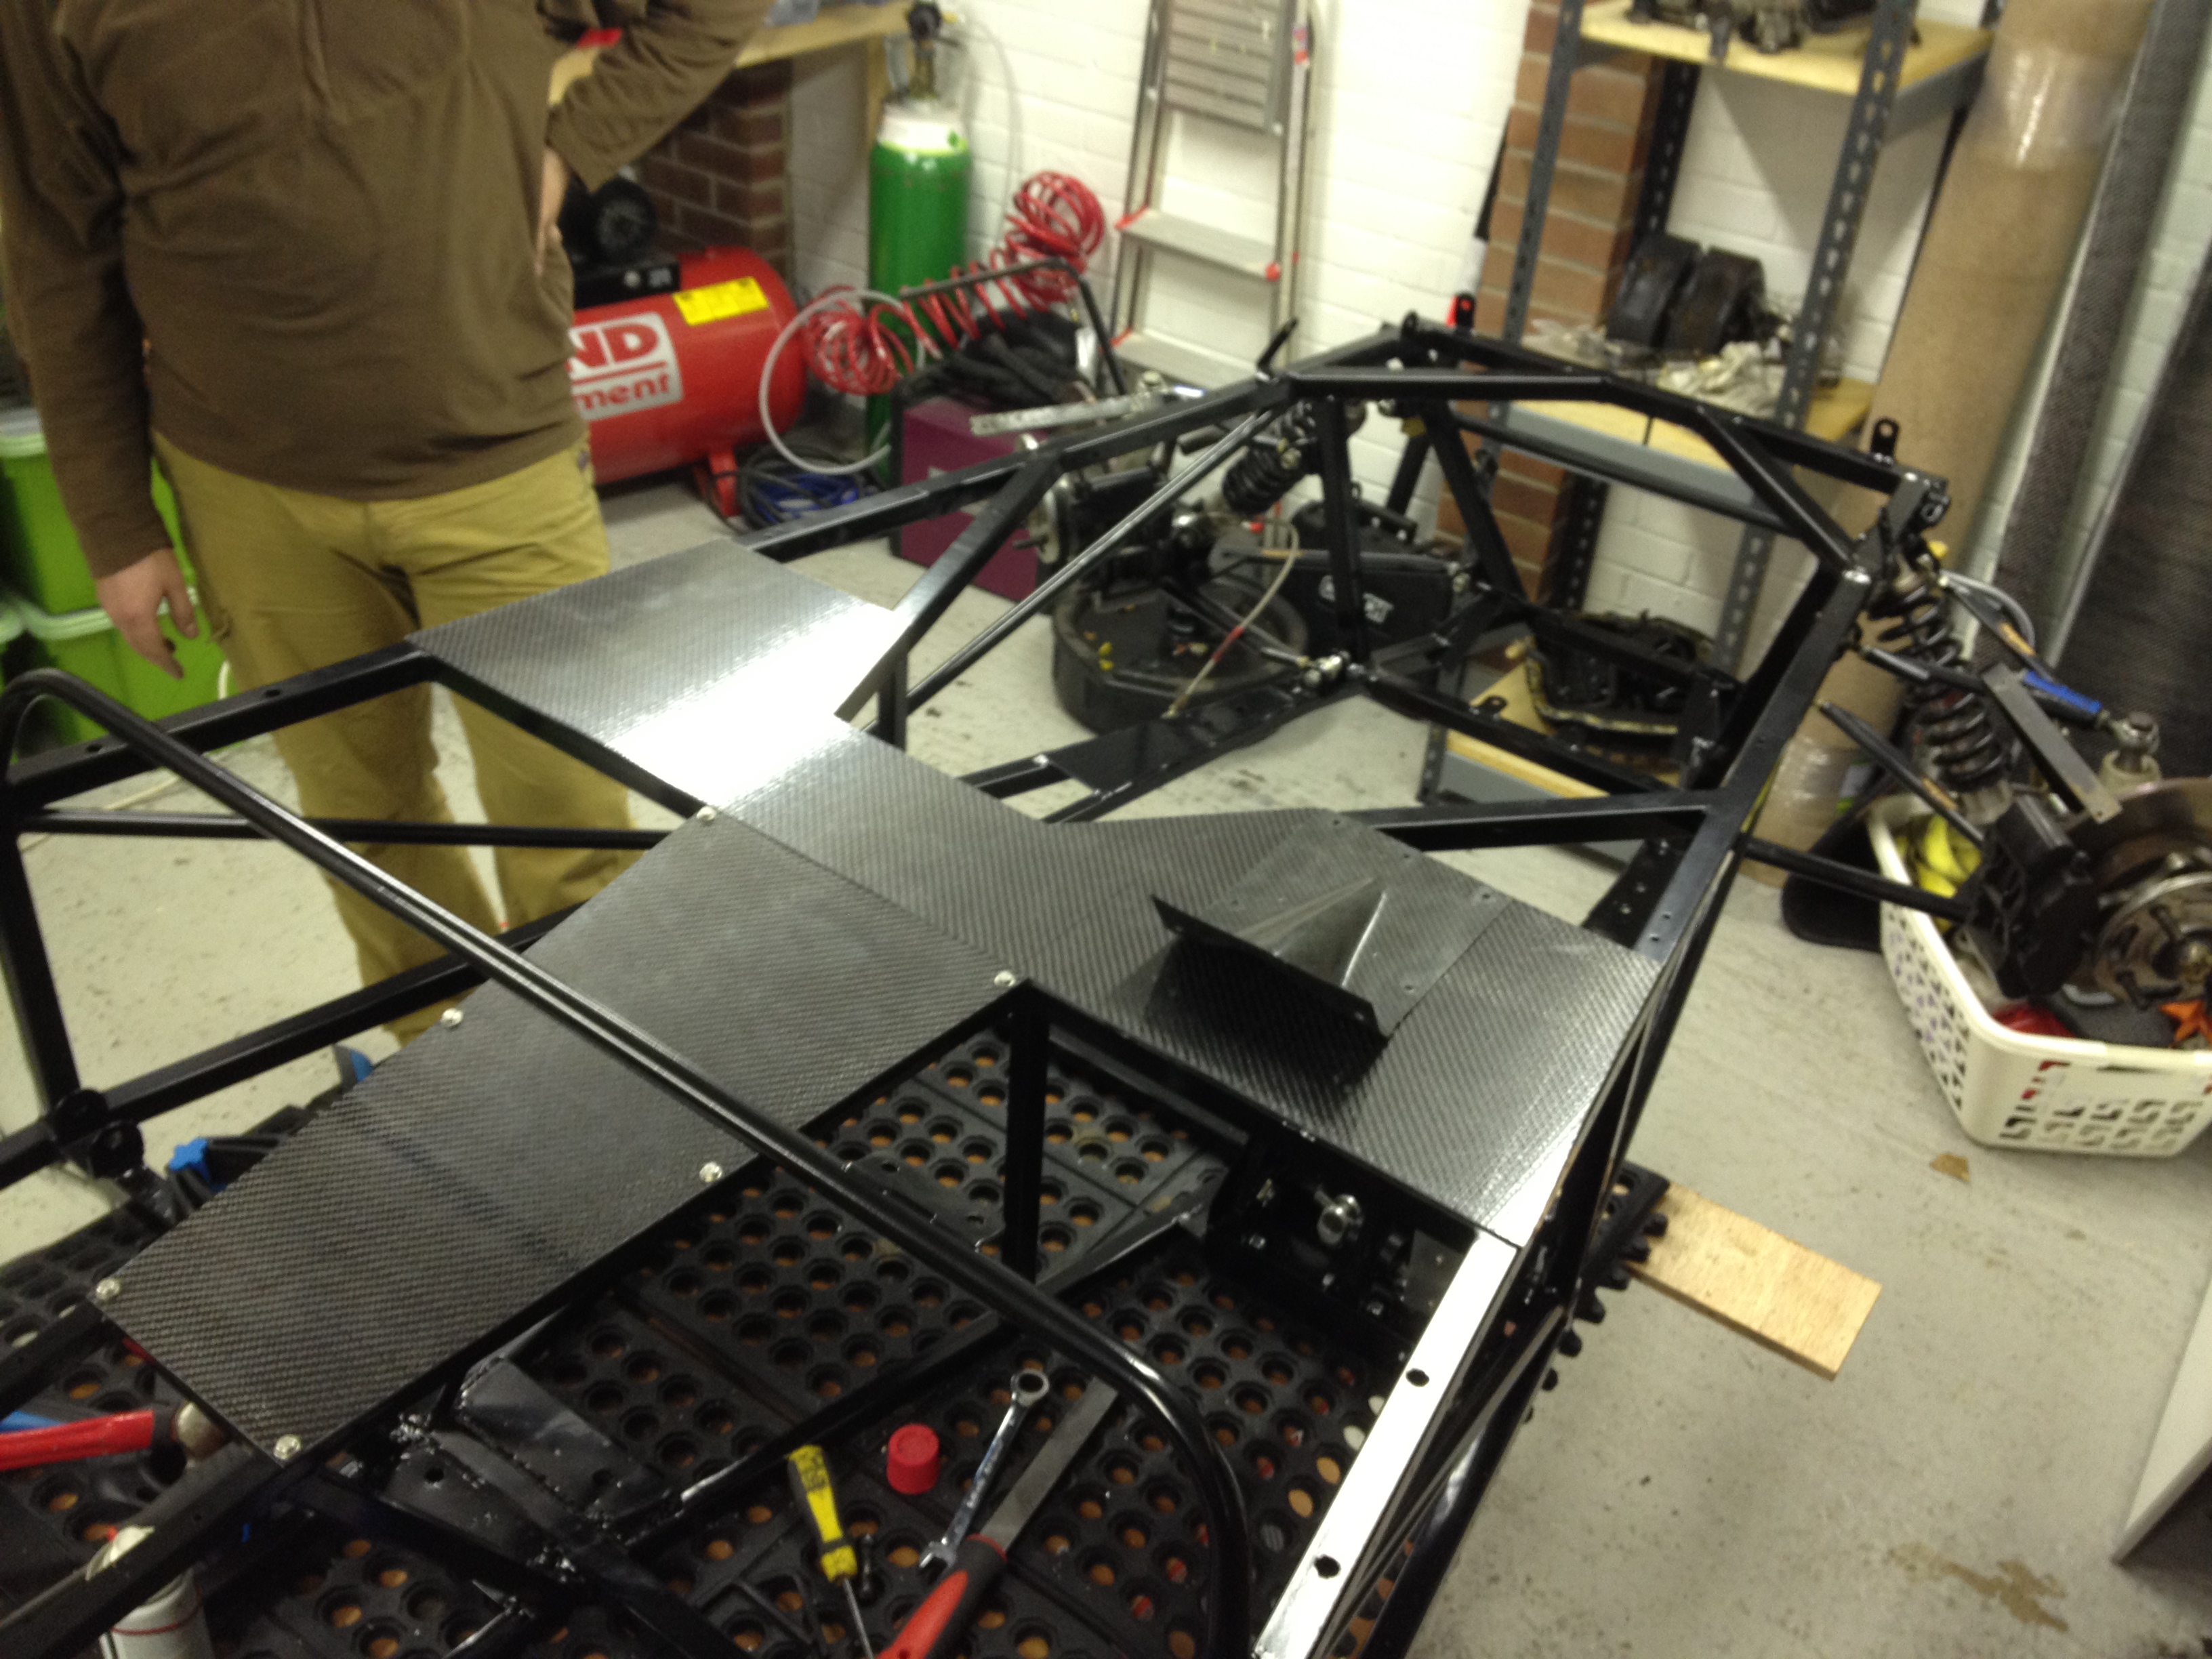
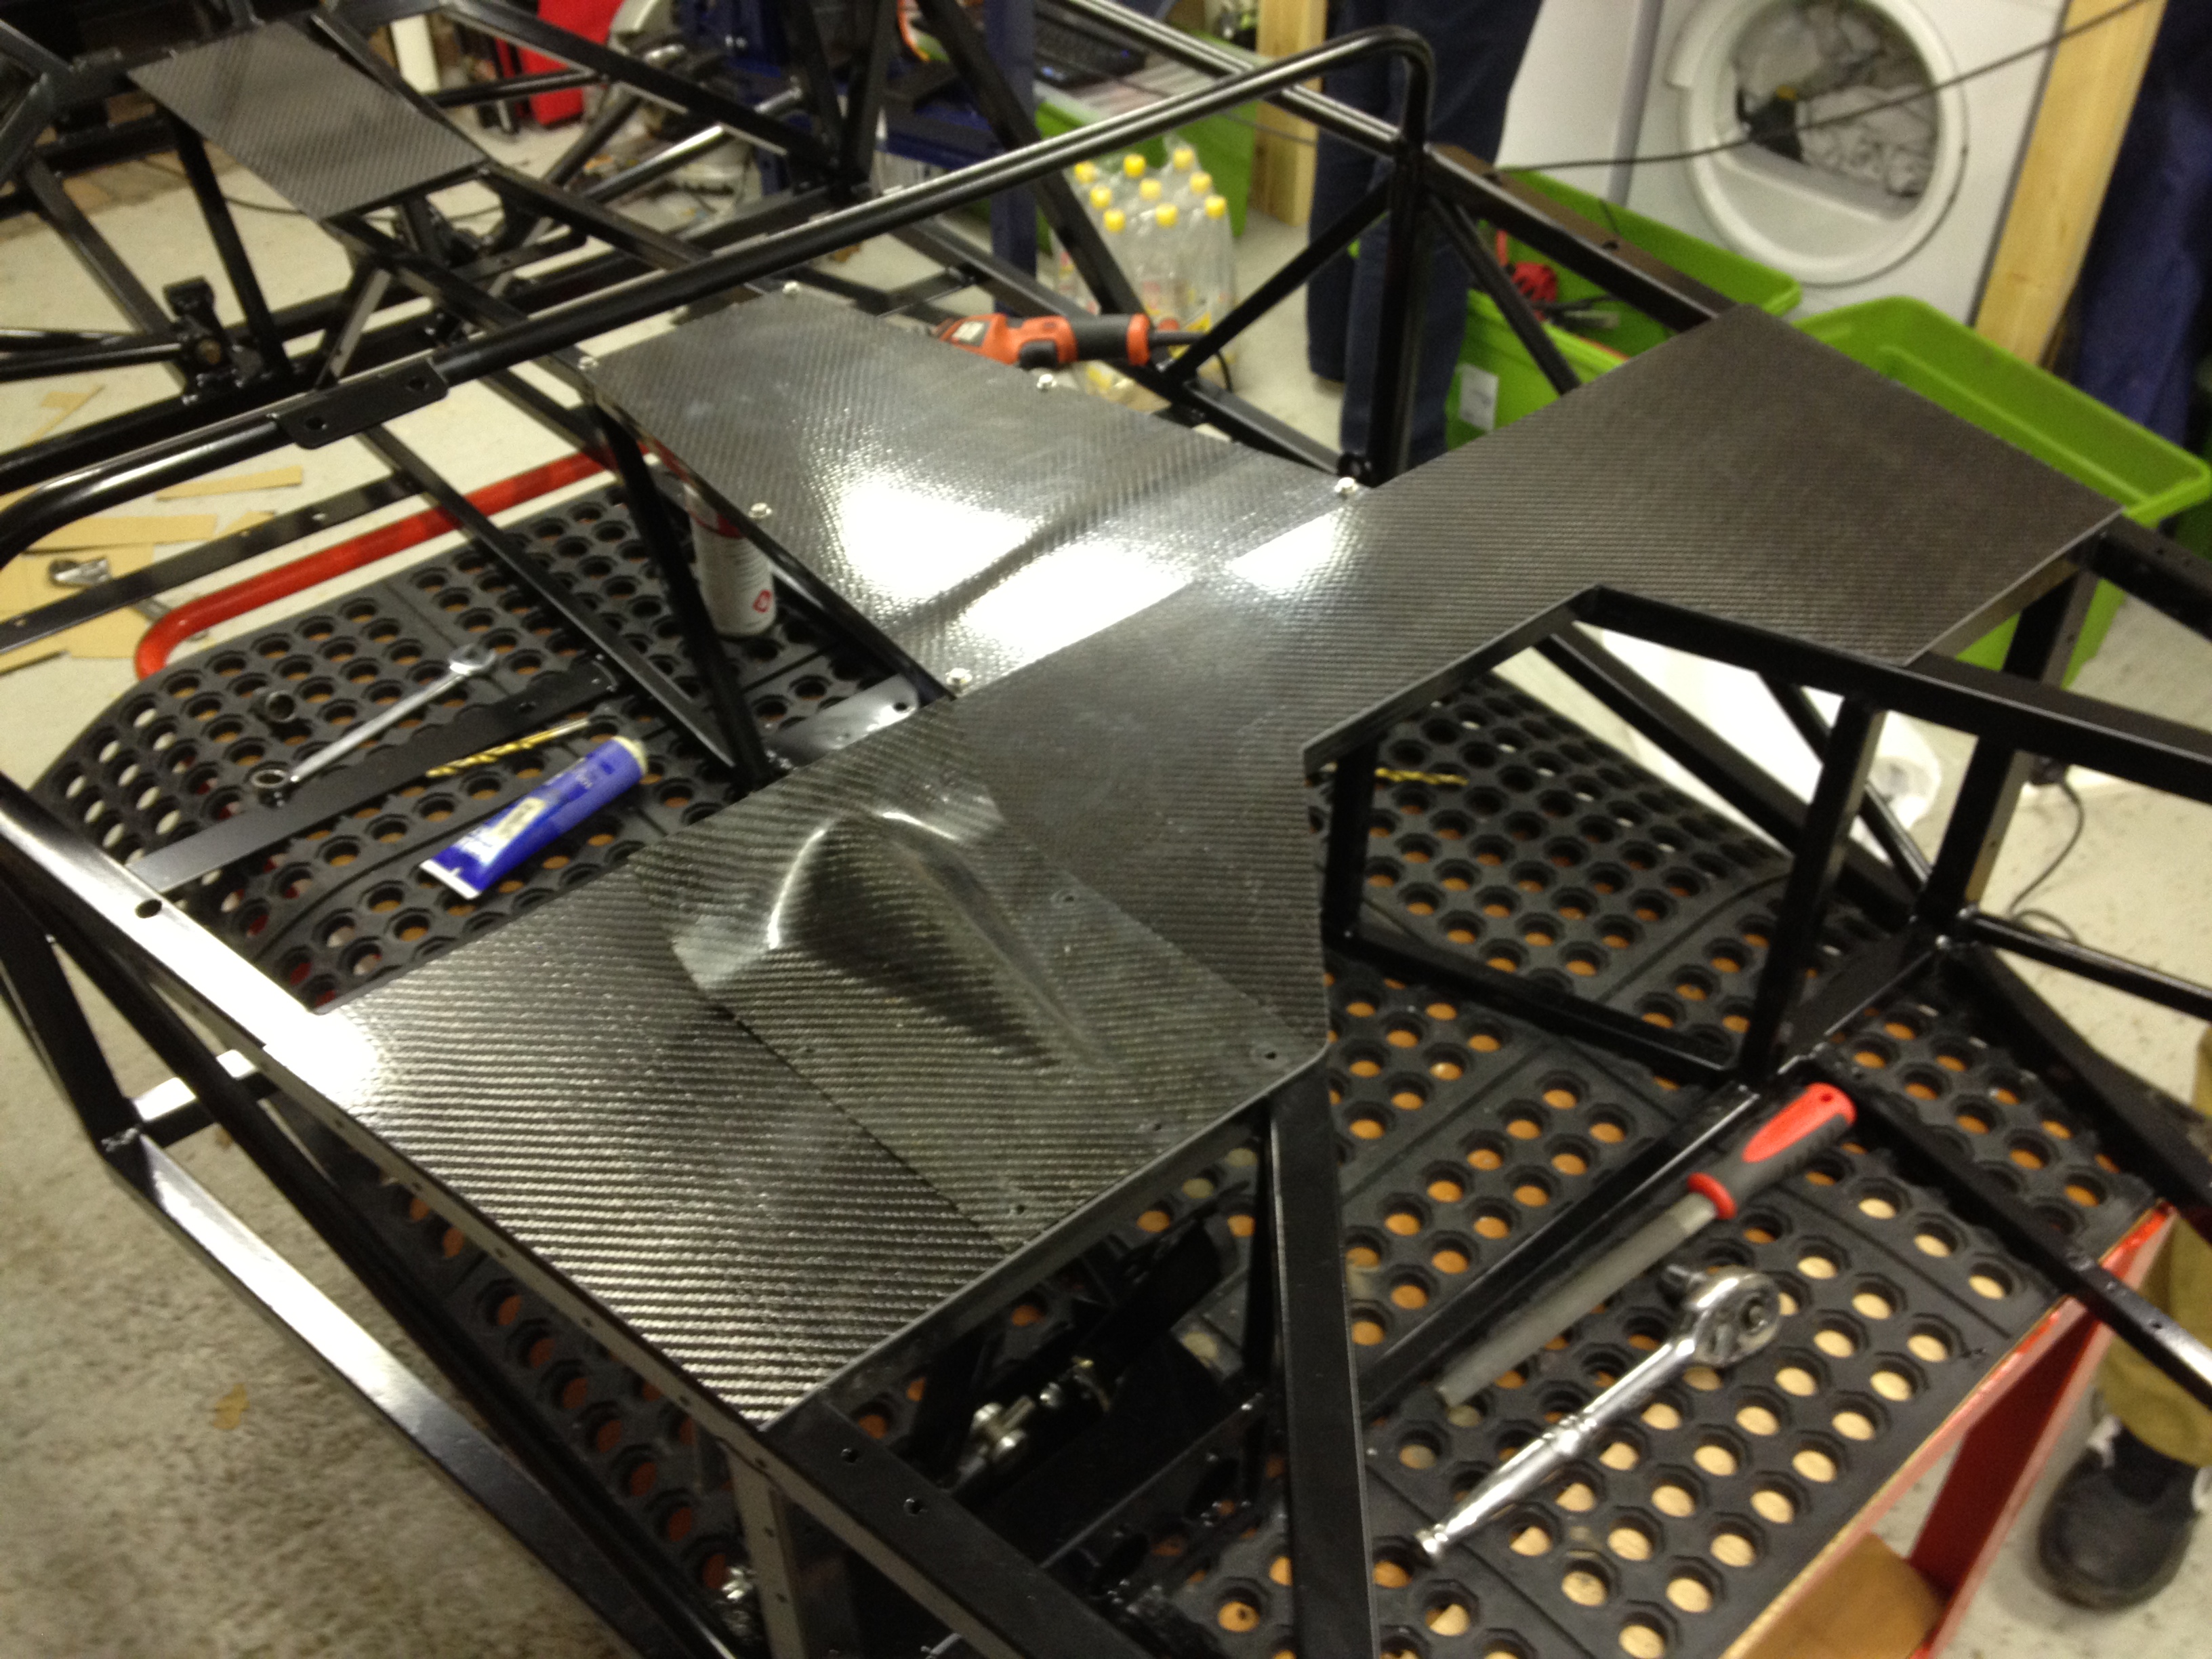
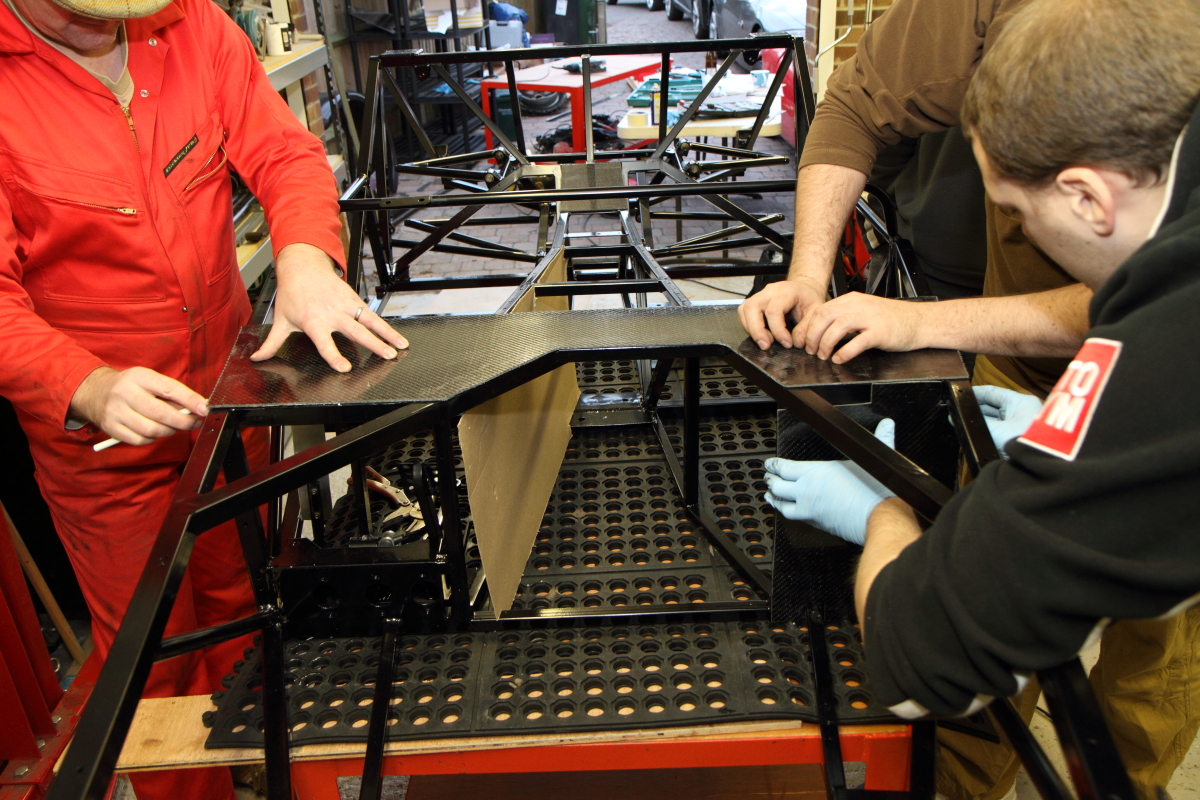
As all the CF paneling is now complete the car was removed from the dinning room as we can no longer use the excuse of adhesive cure temperature to keep it there!  That went without a hitch and back out through the patio doors and into the garage again, at that point we realised that the thermometer was showing -9c…  We shut the garage door down and fired up the heater!

Loads of stuff done today:

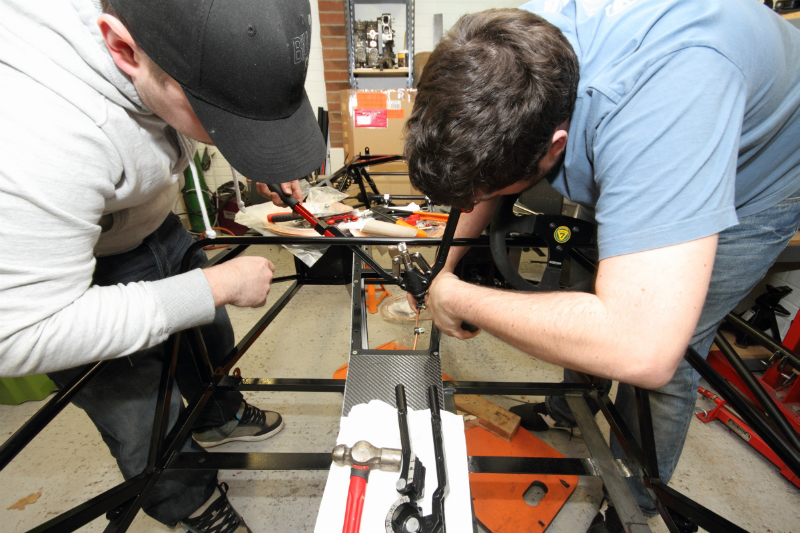
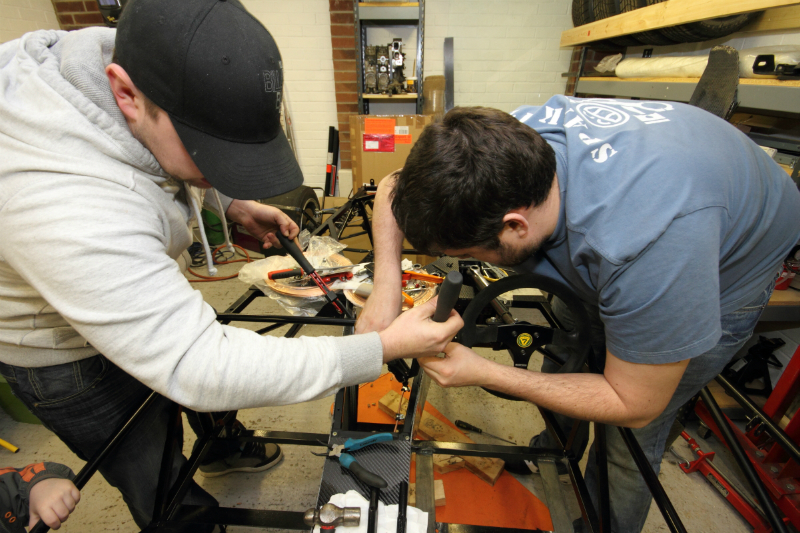
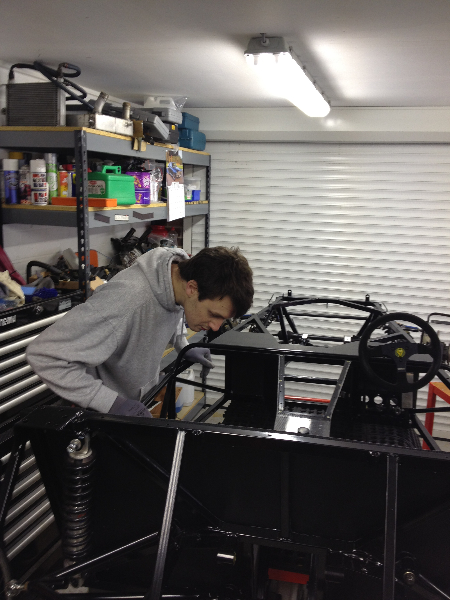
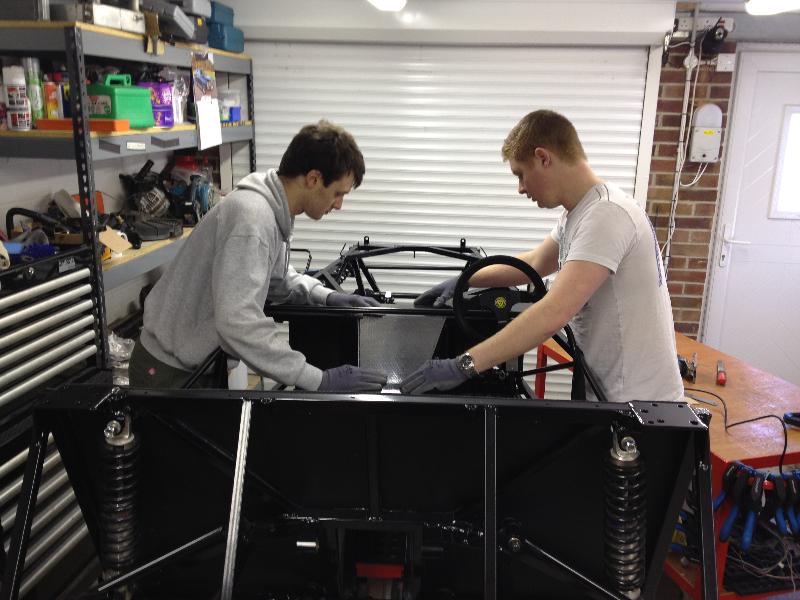
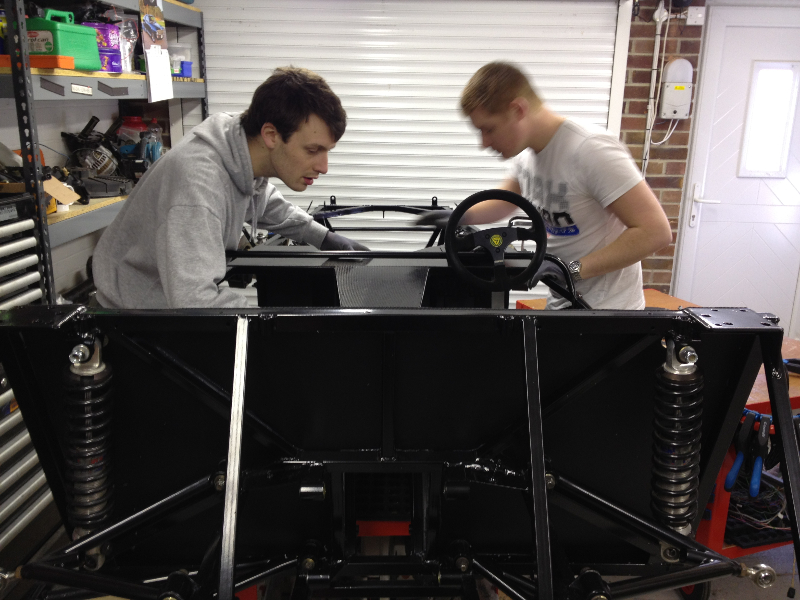
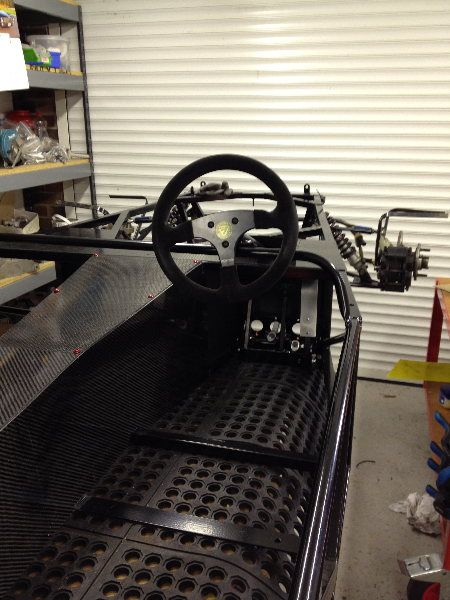
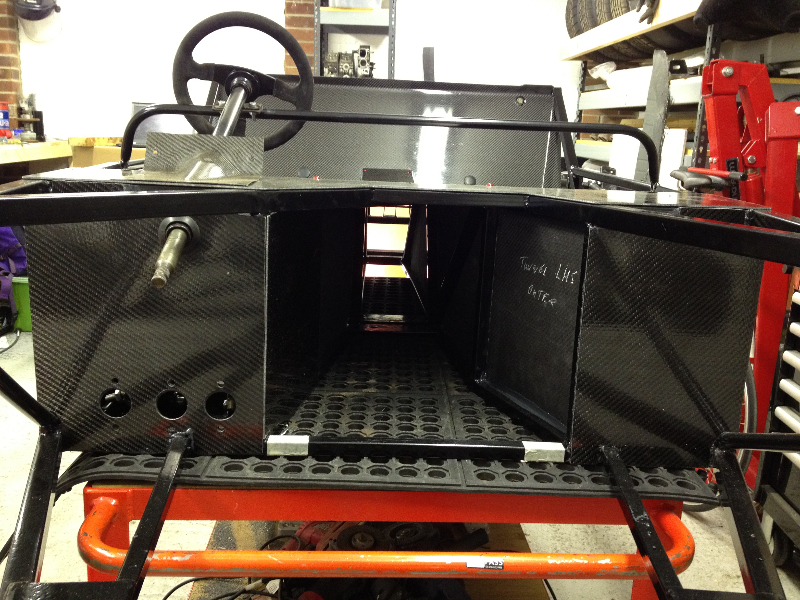
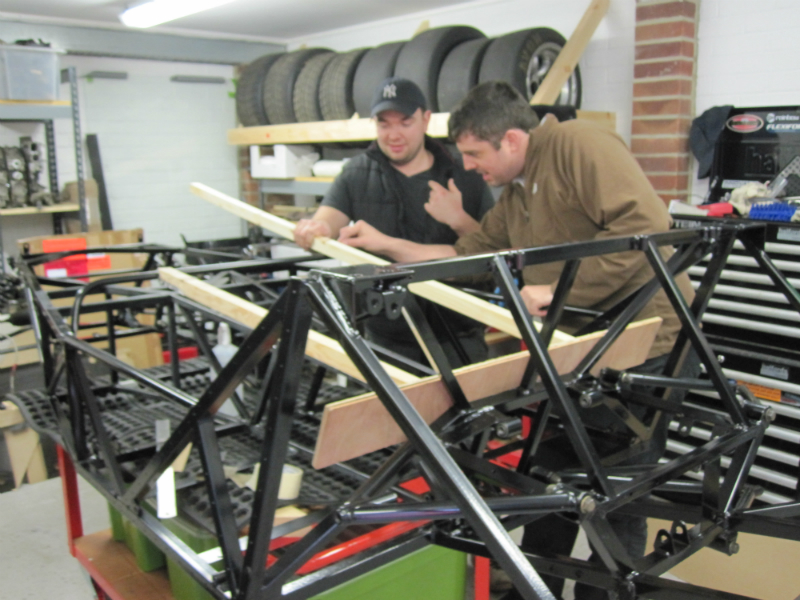
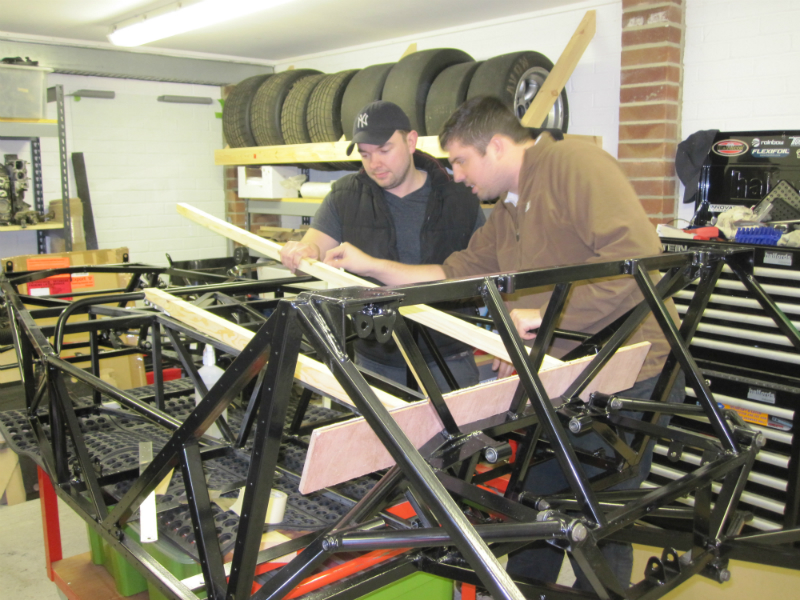
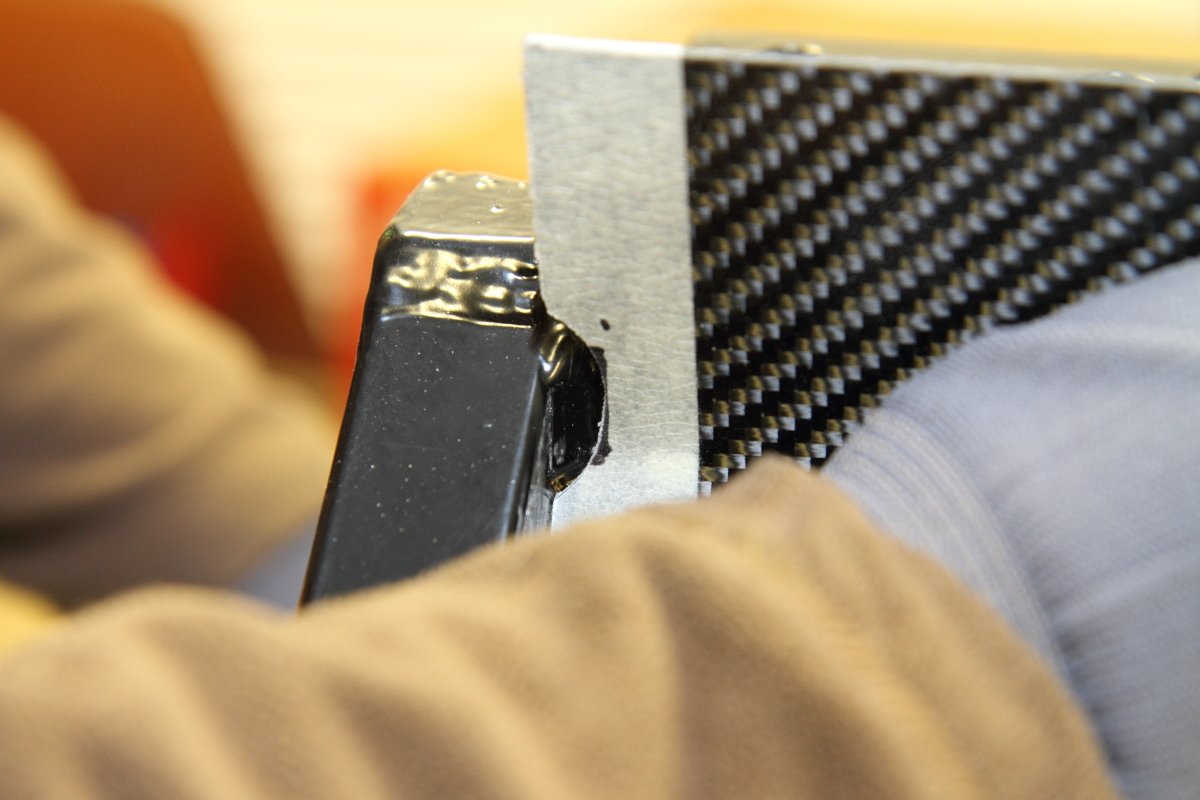
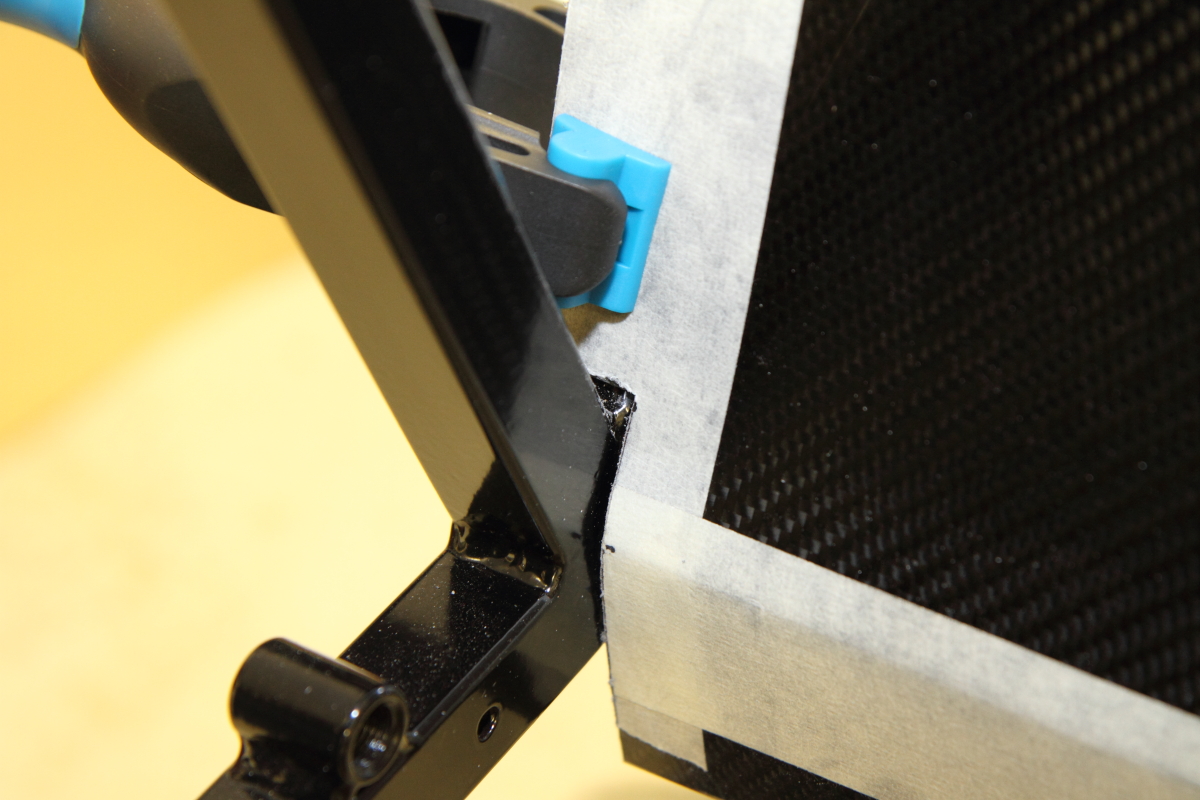
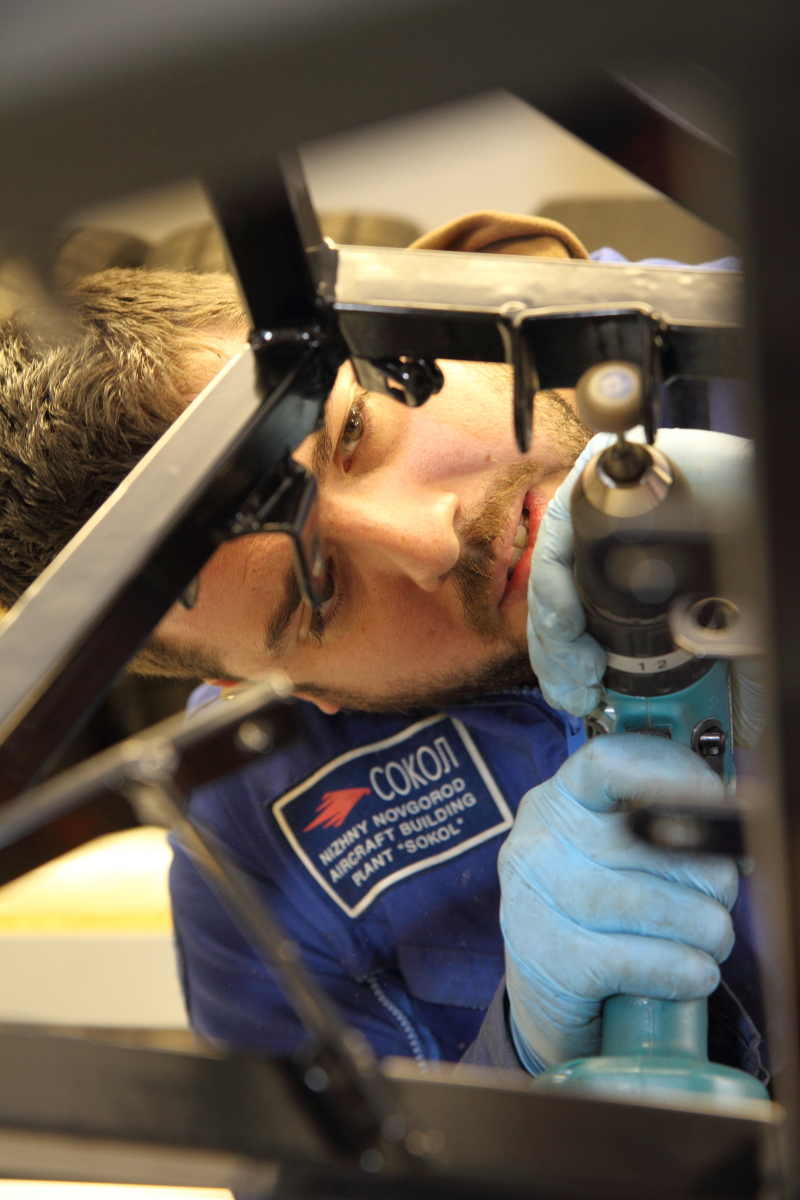
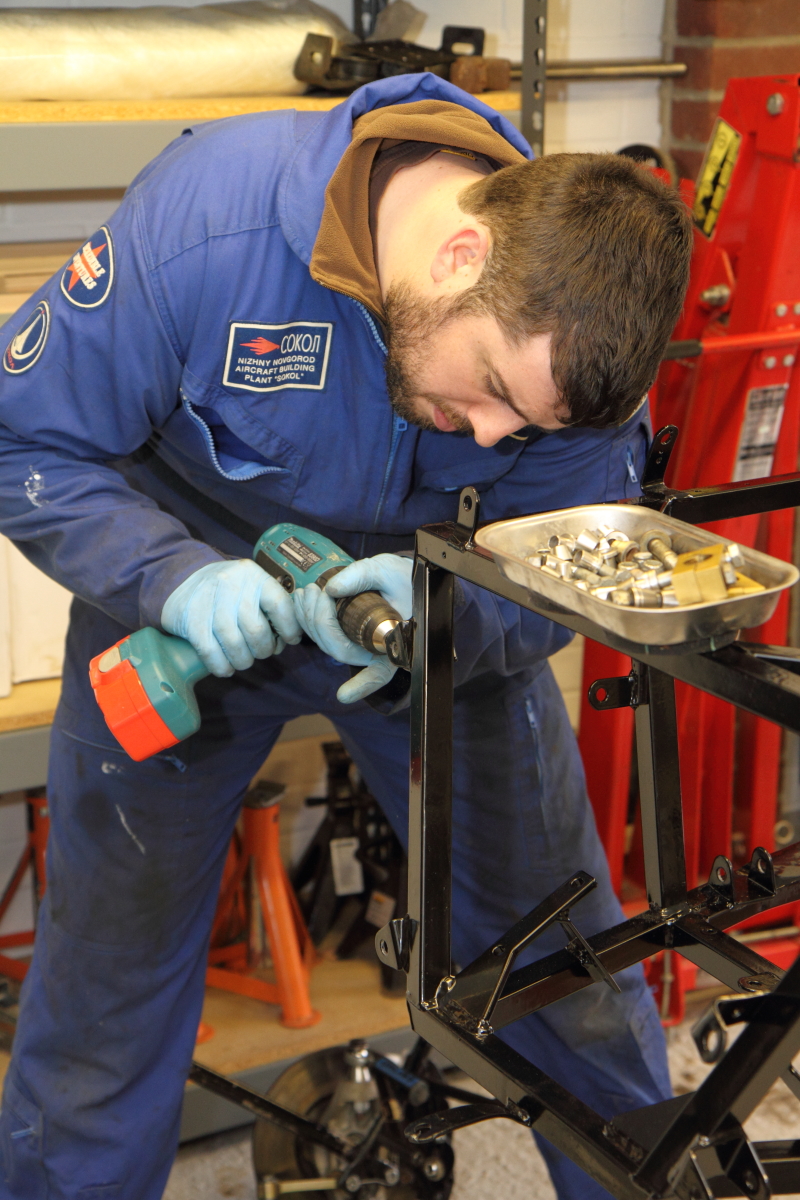
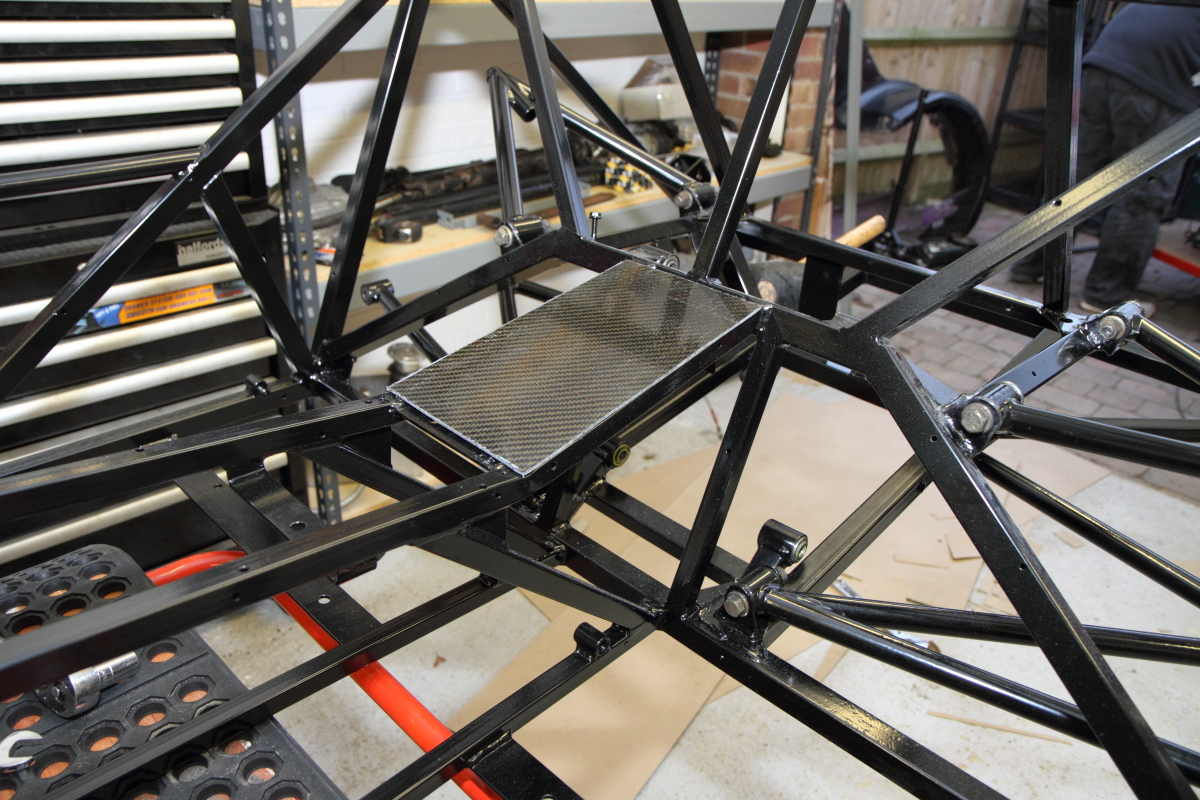
Craig fitted up the removable tunnel top sections. (one for transmission and one for prop shaft to diff bolts), riv-nuts in the chassis and nice dome head aluminum fasteners looks really good.  There was also a family effort on the scuttle top to clear the steering column, must get some more adhesive to get that stuck down.

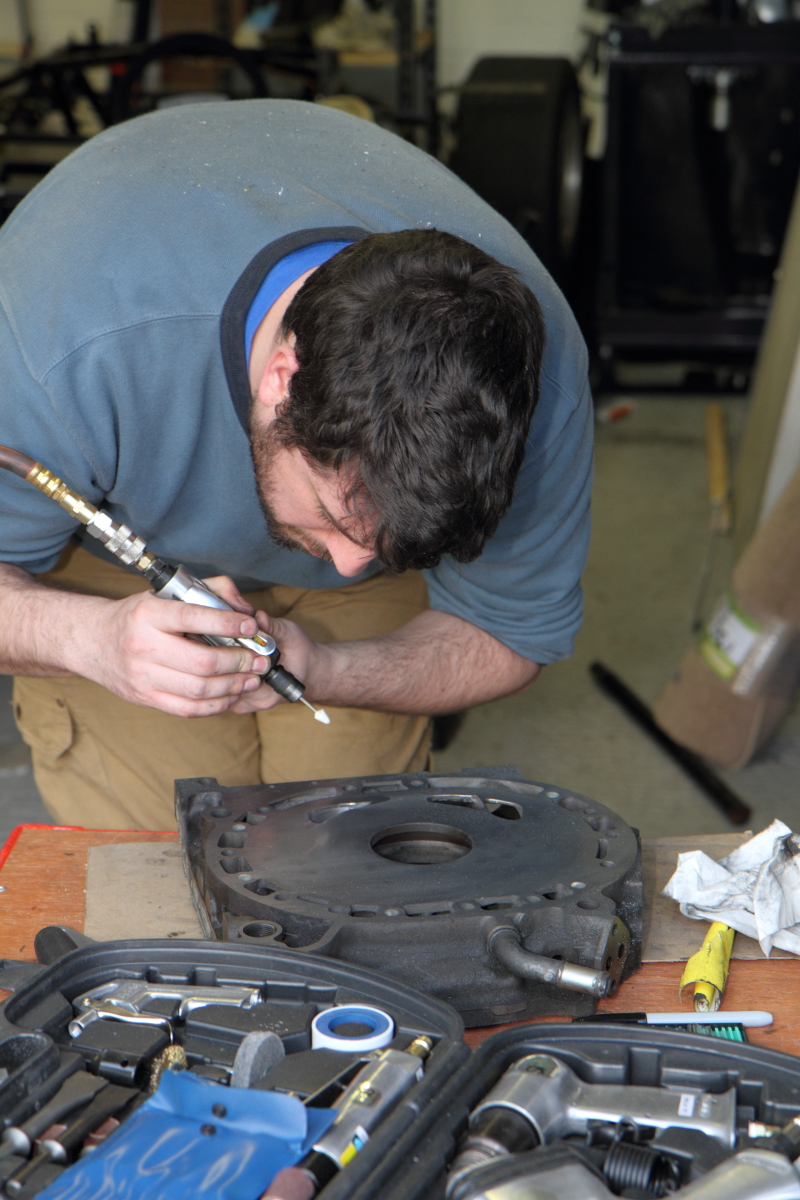
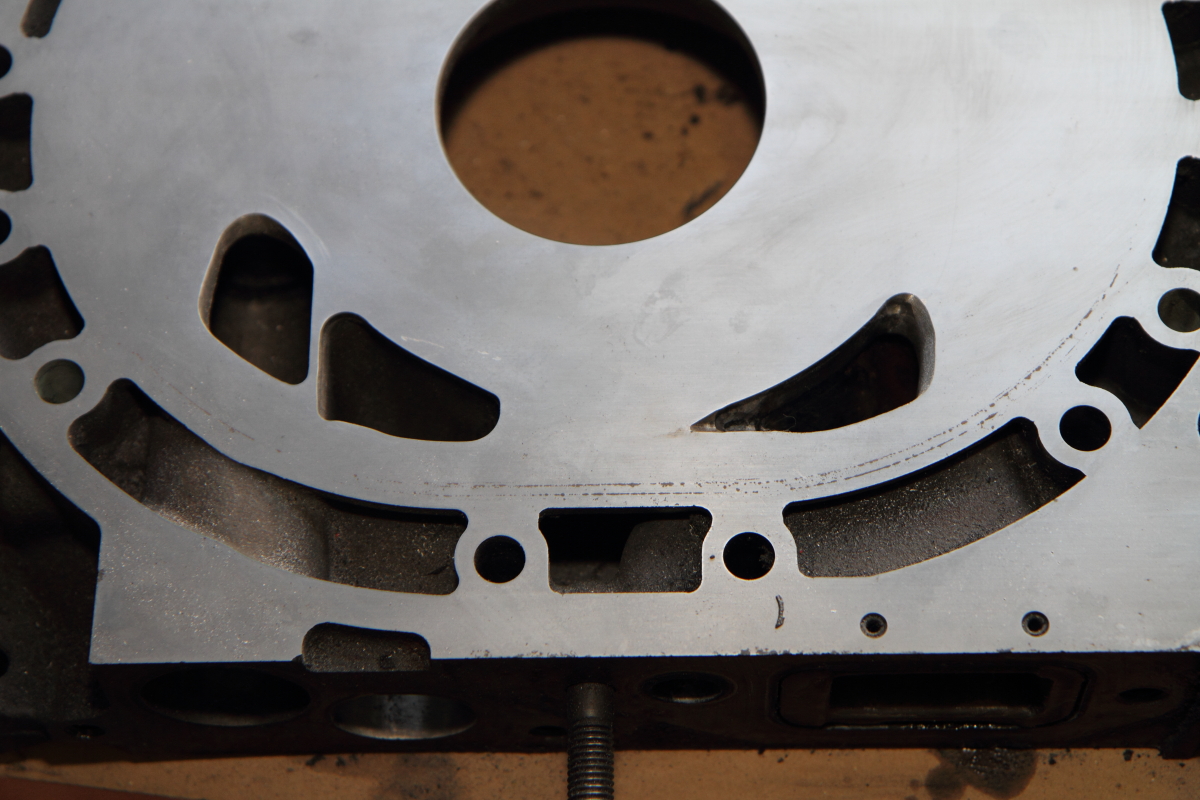
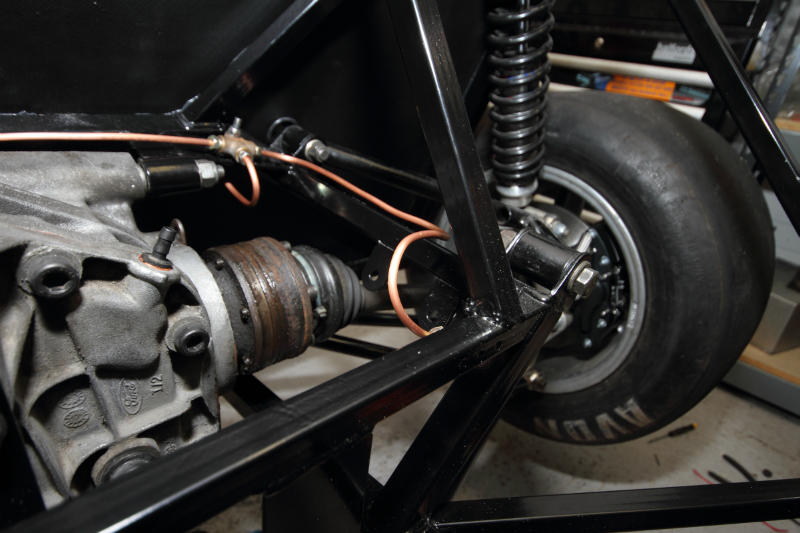
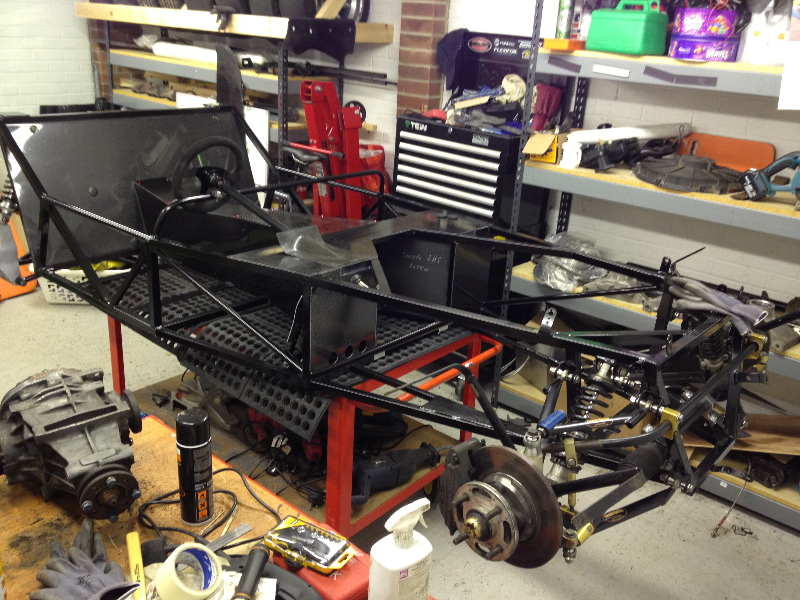
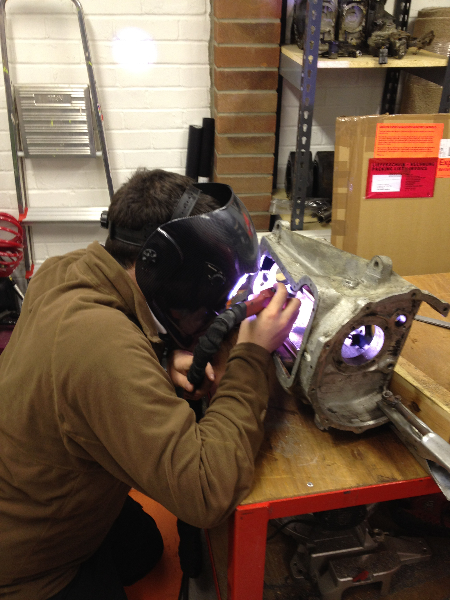
‘The Legend” set to work on the old diff.  He cleaned up the mating surfaces with a scraper applied some liquid gasket and torqued up the housing bolts.  Then commenced a mammoth session with the wire brush to clean the thing up, it must have been a two hour job but the end results look great!  Thanks chap…

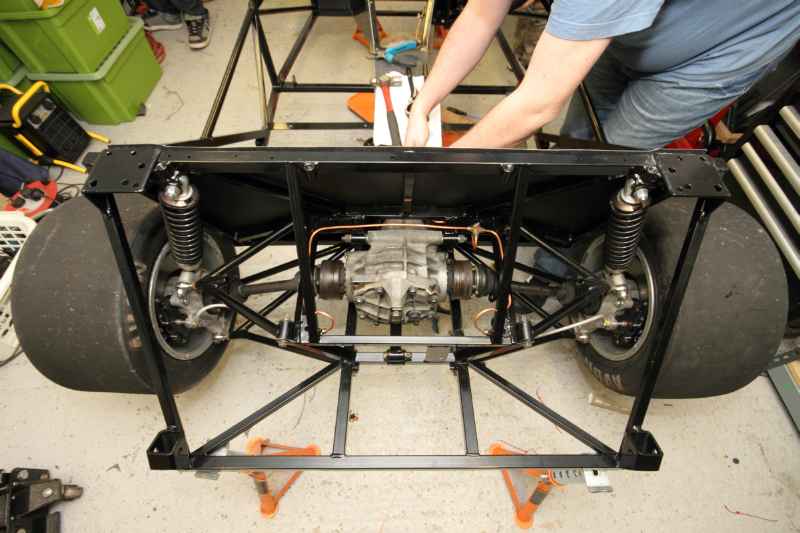
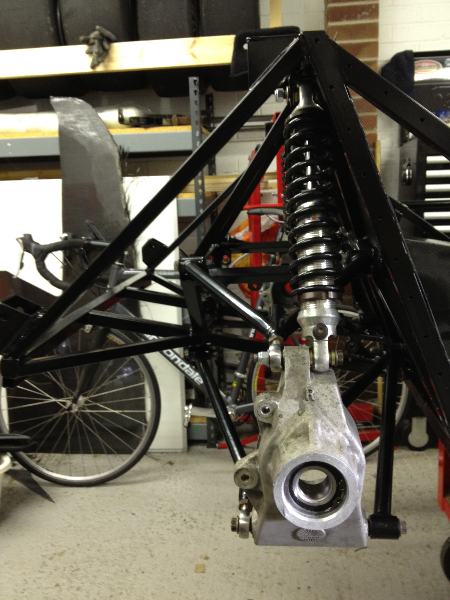
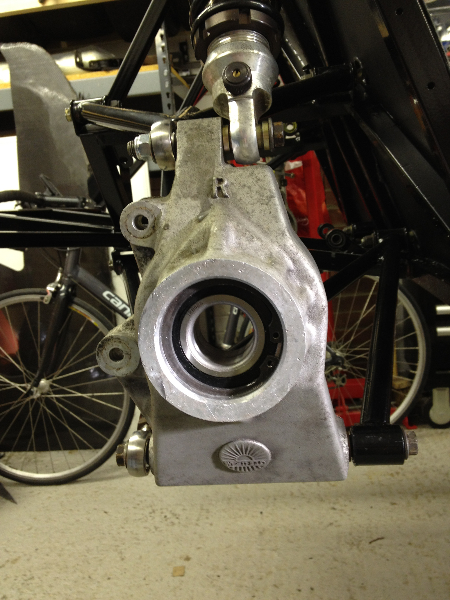
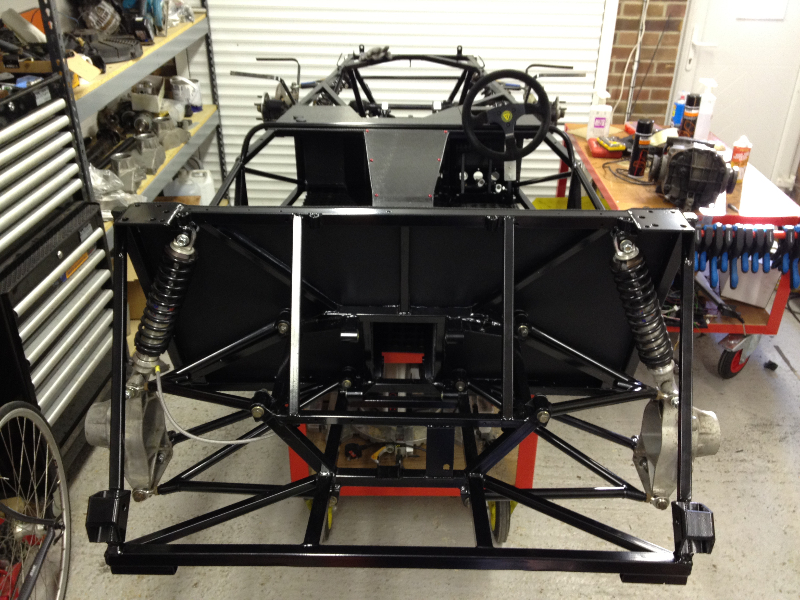
While this was all going on James had re-assembled the rear suspension, there was a small amount of bolt confusion but that was resolved when James and Dan created the worlds worst lathe and turned two bolts down slightly.

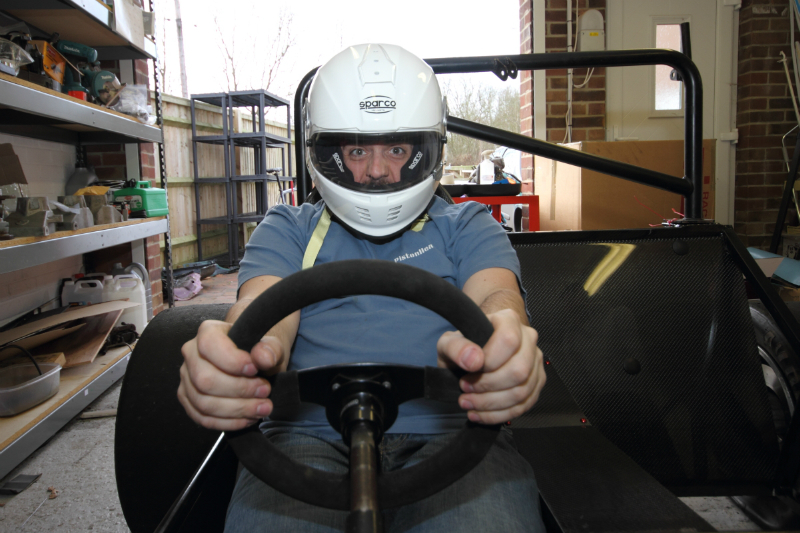
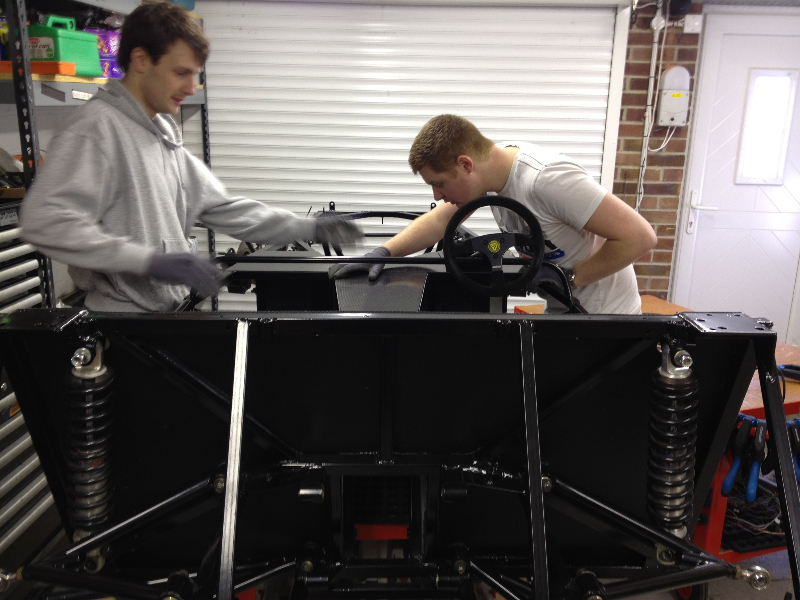
Chris and Mick painted up the steering column mid section and that was fitted up.  We can pretend to steer the car again.

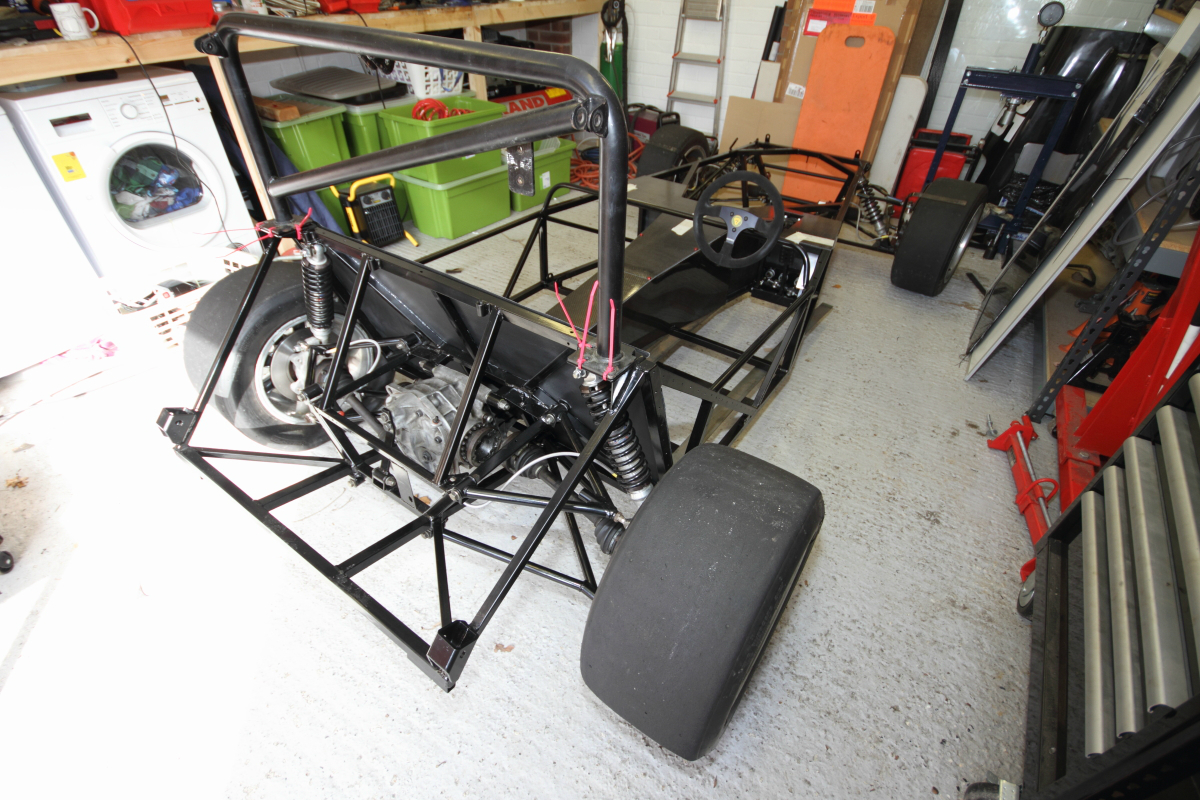
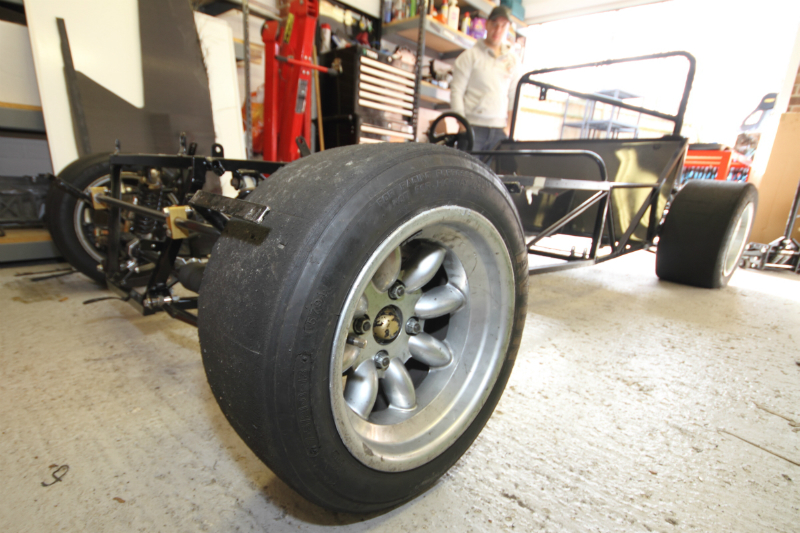
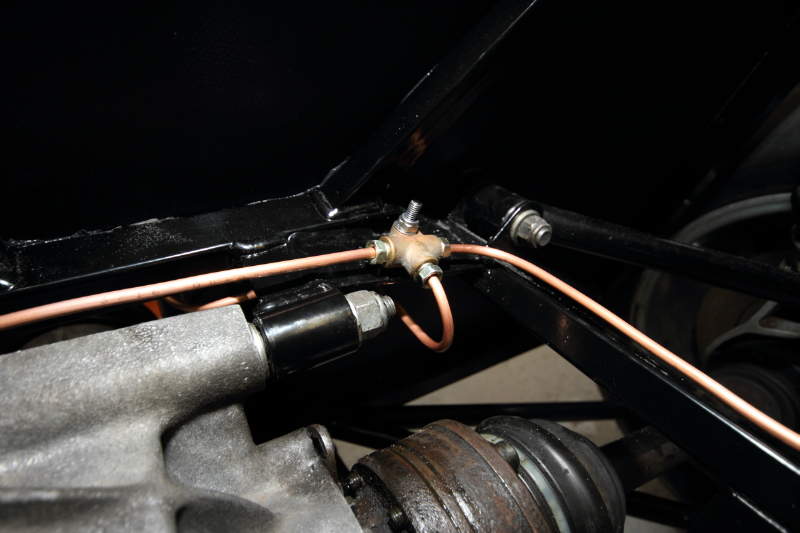
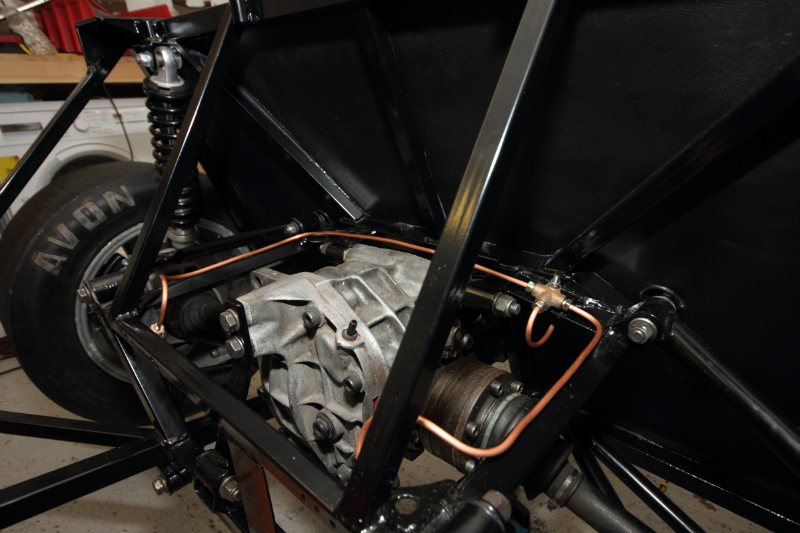
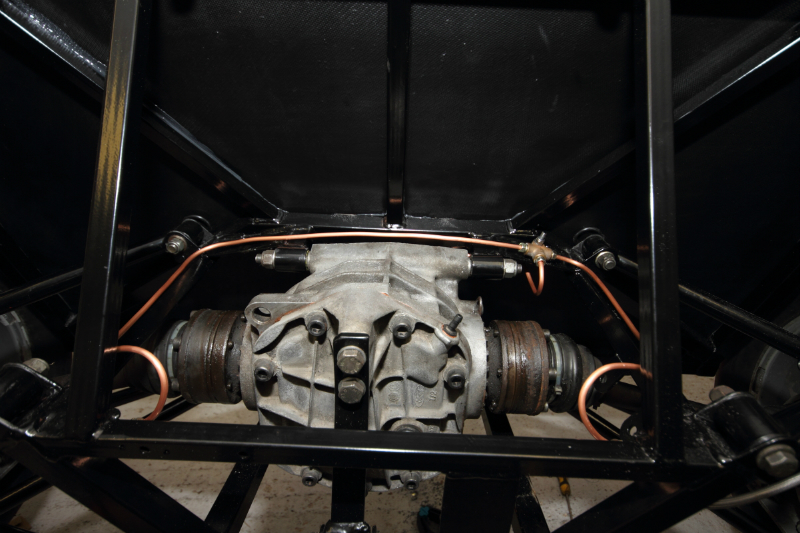
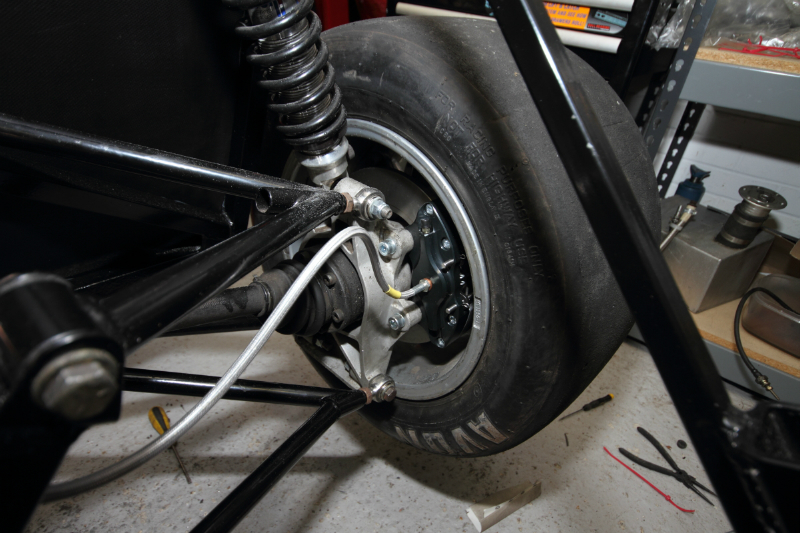
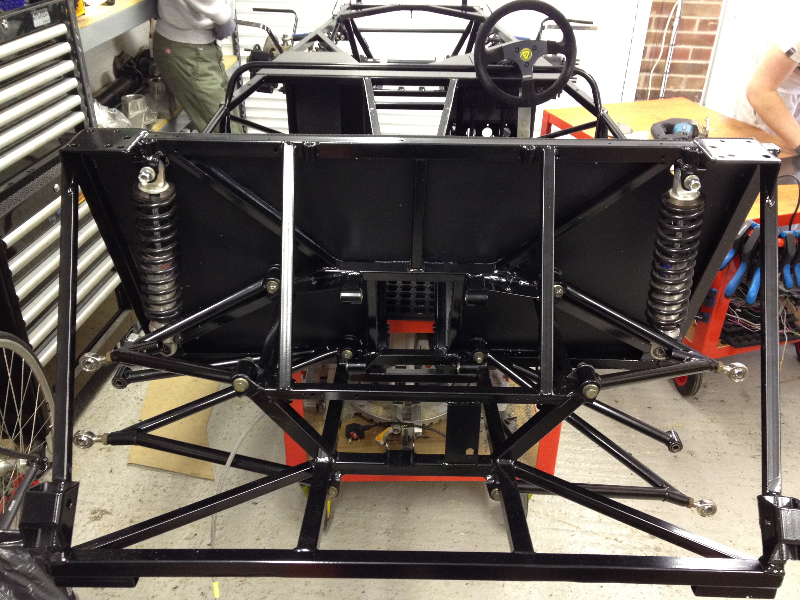
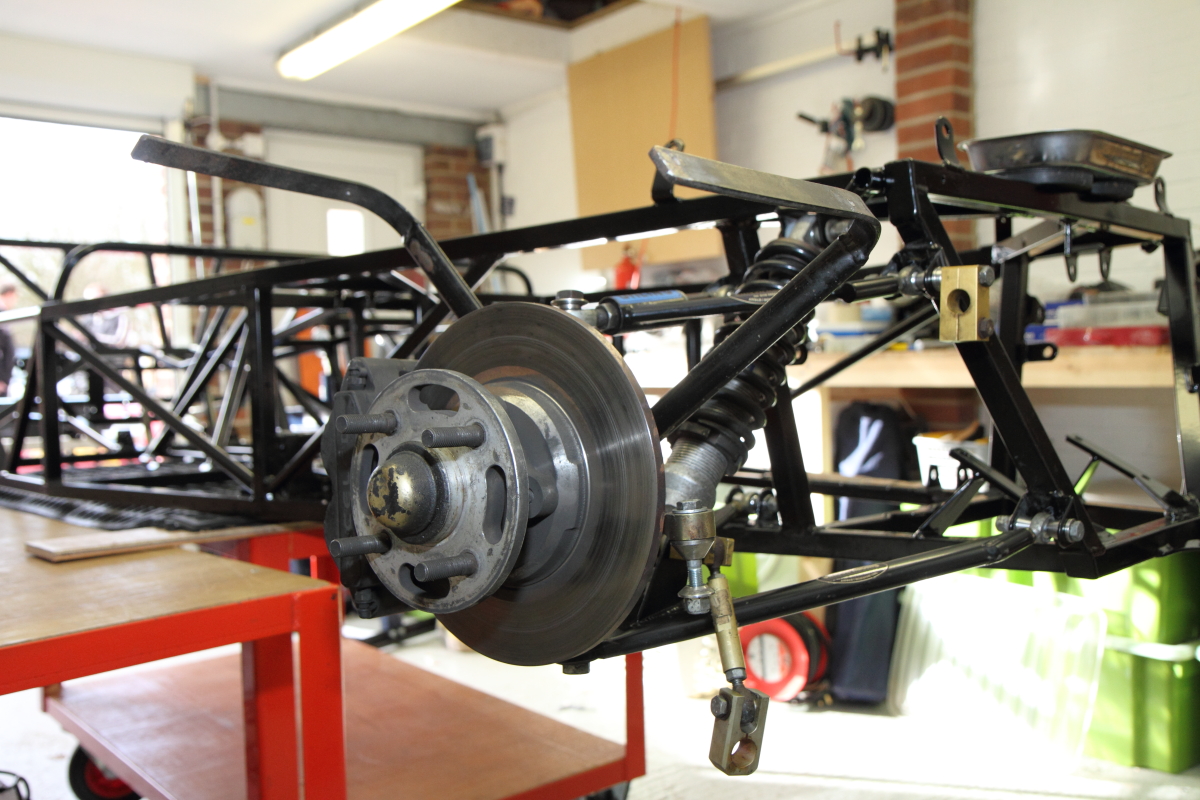
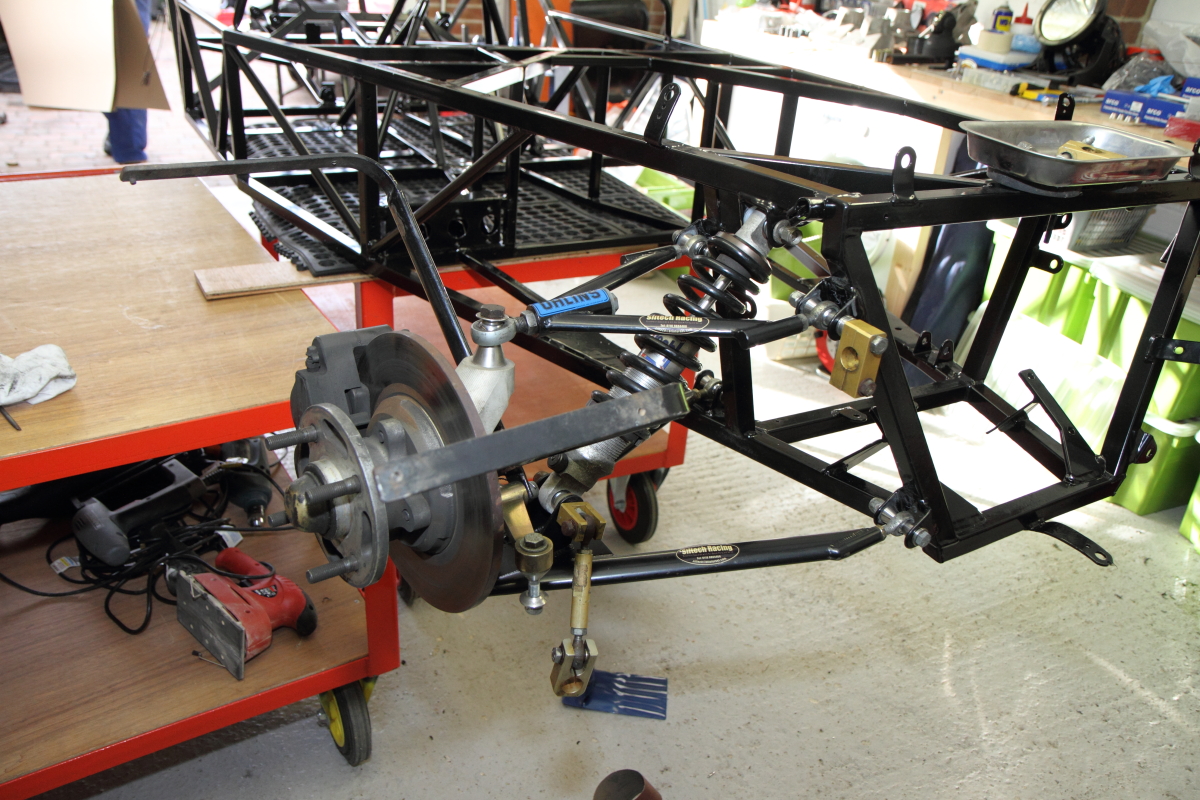
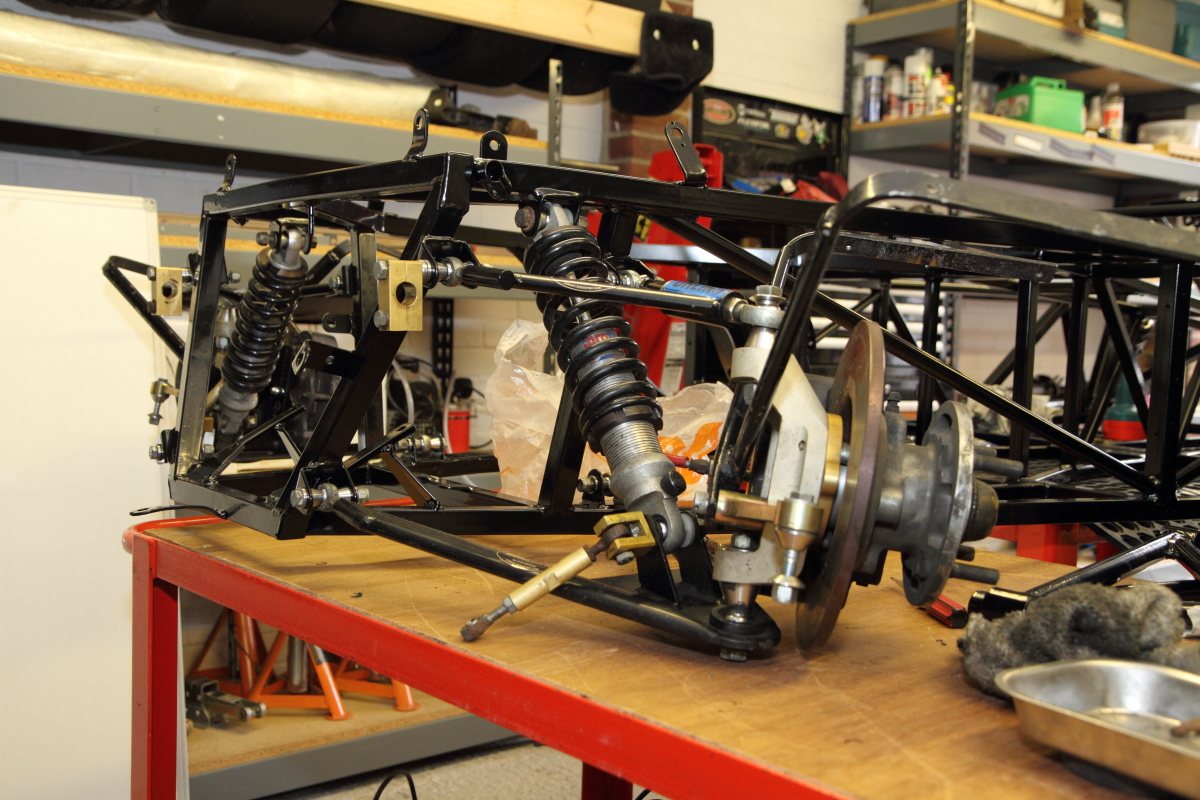
Team effort got the diff back in the chassis.  Drive shafts connected inserted and the outer flanges bolted up.  Wheels went back on to make us feel better an the car was put on the floor for some pretend stationary racing.

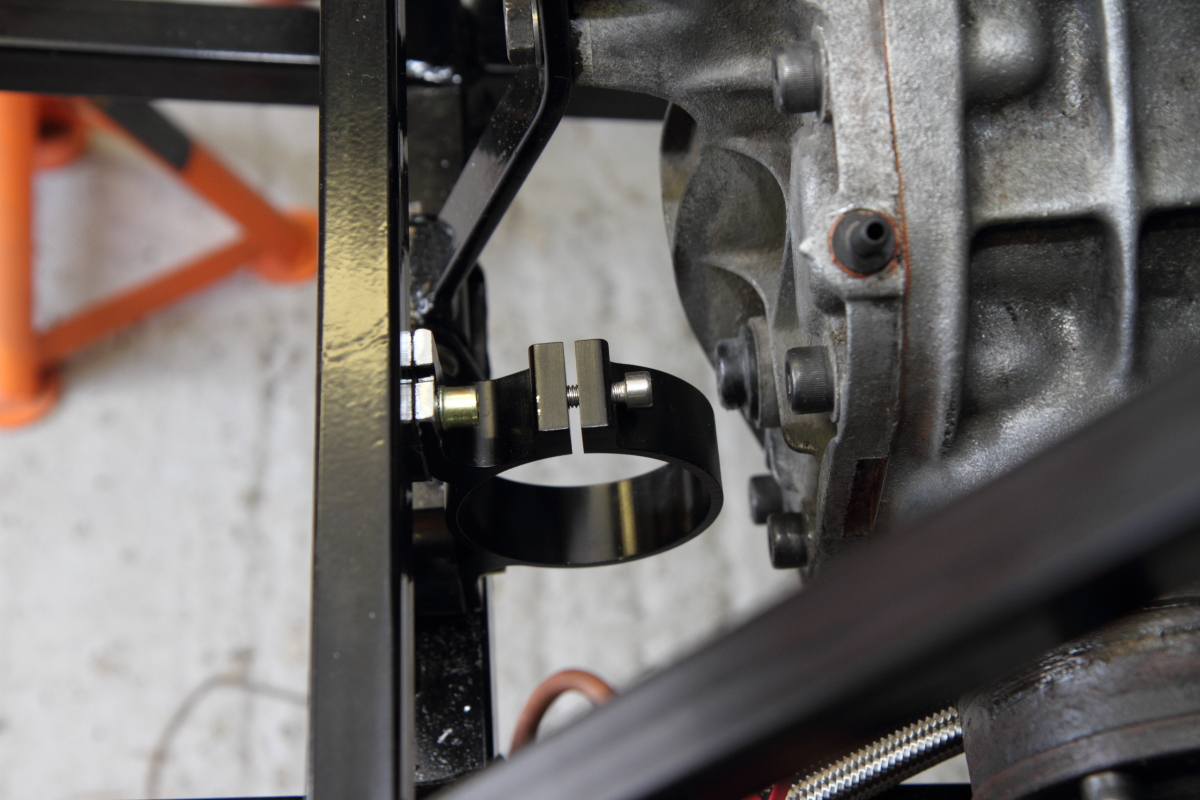
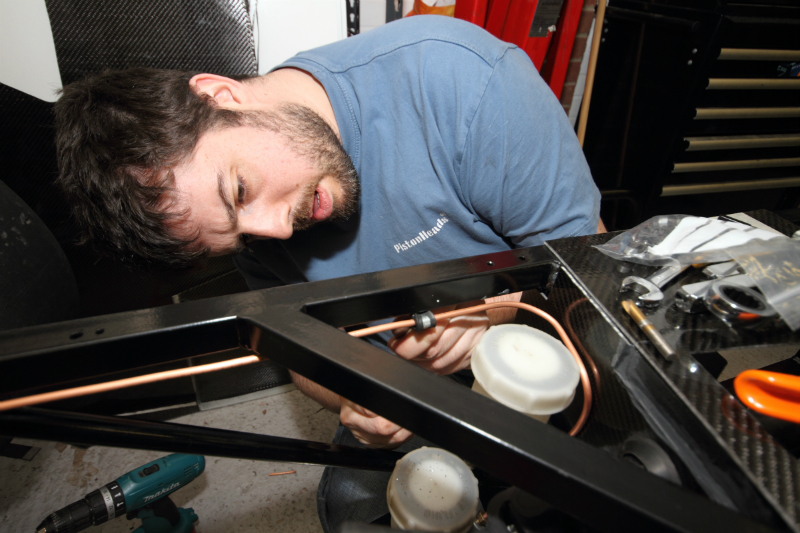
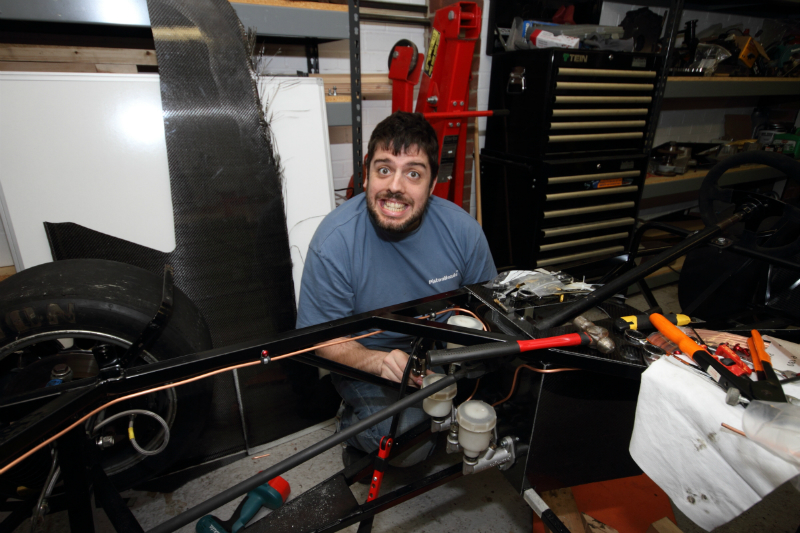
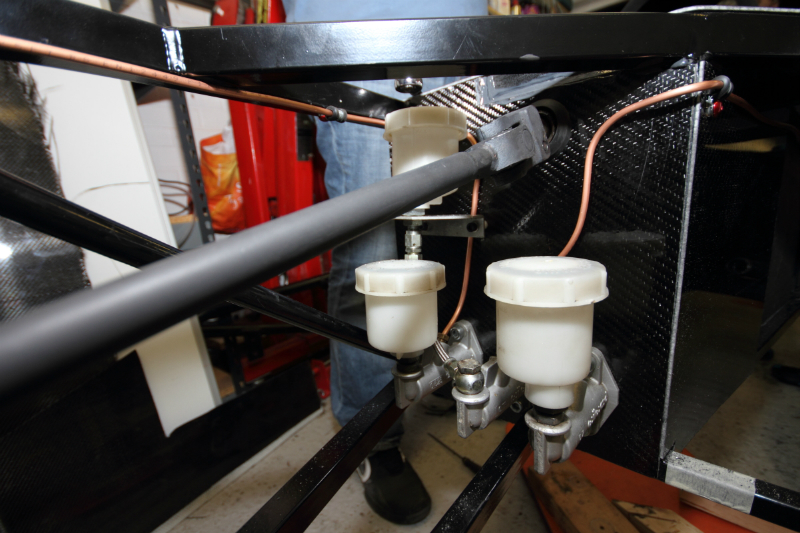
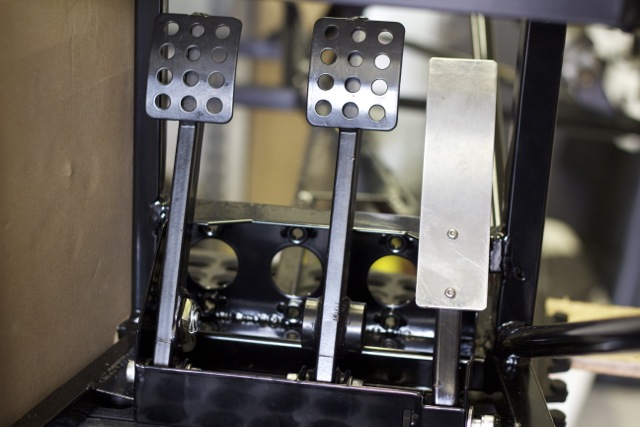
Master cylinders were cleaned and bolted up to the pedal box.

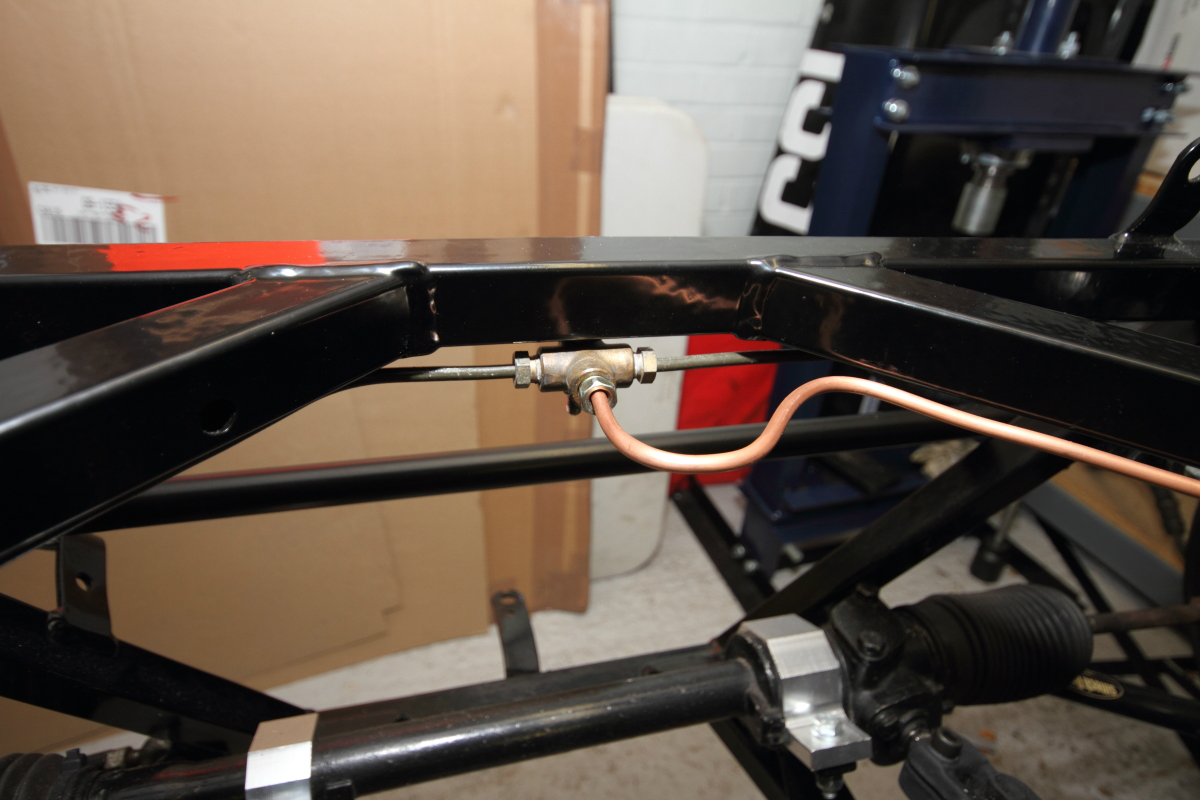
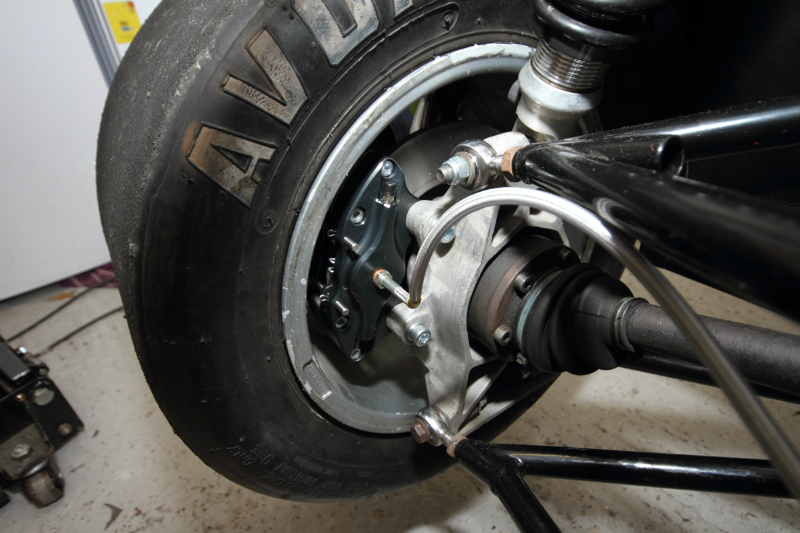
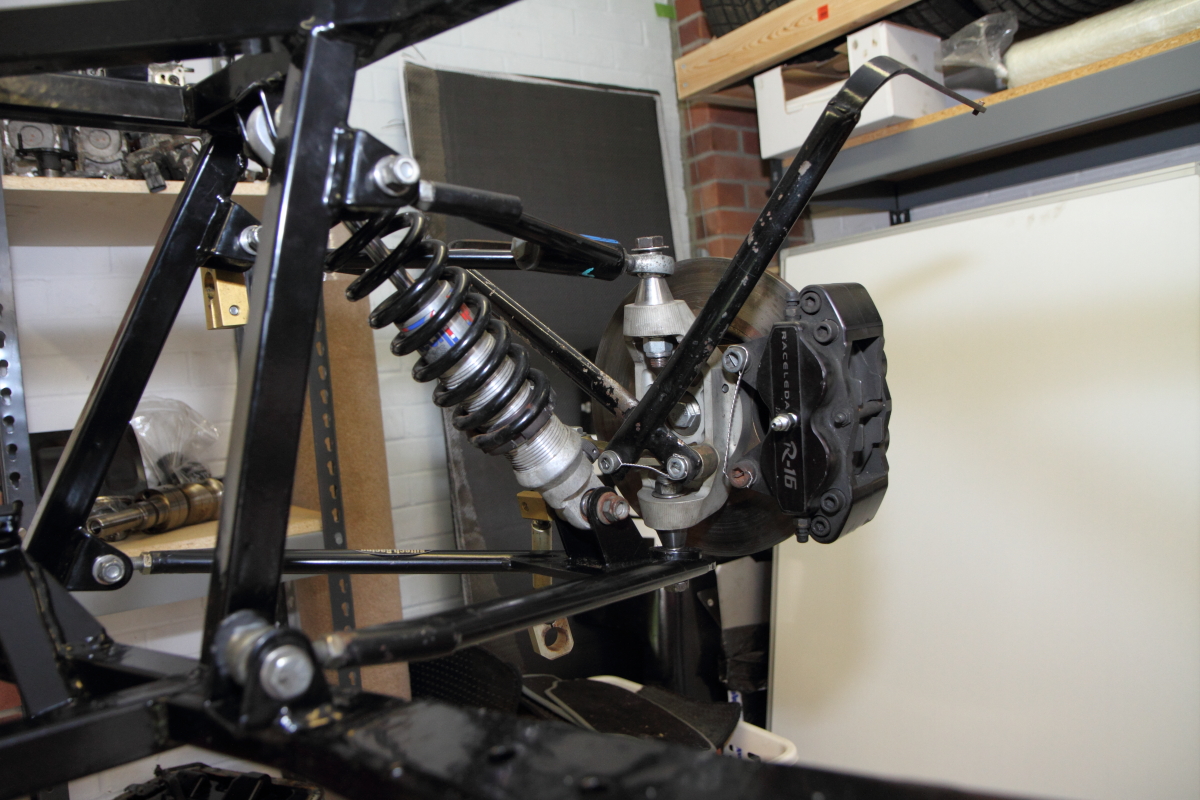
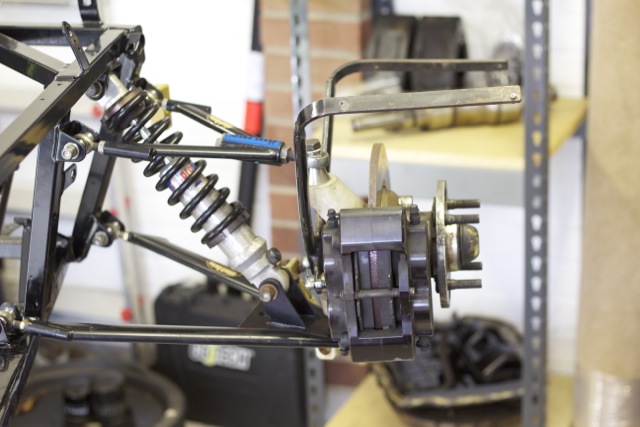
Finally we fitted up the new front brake hoses, although I think they are too long.

Loads of pictures of the first half of the day more to come of the finished article!
8th February 2012 – Build Day 7.75 (The revenge of Nigel’s crankcase)

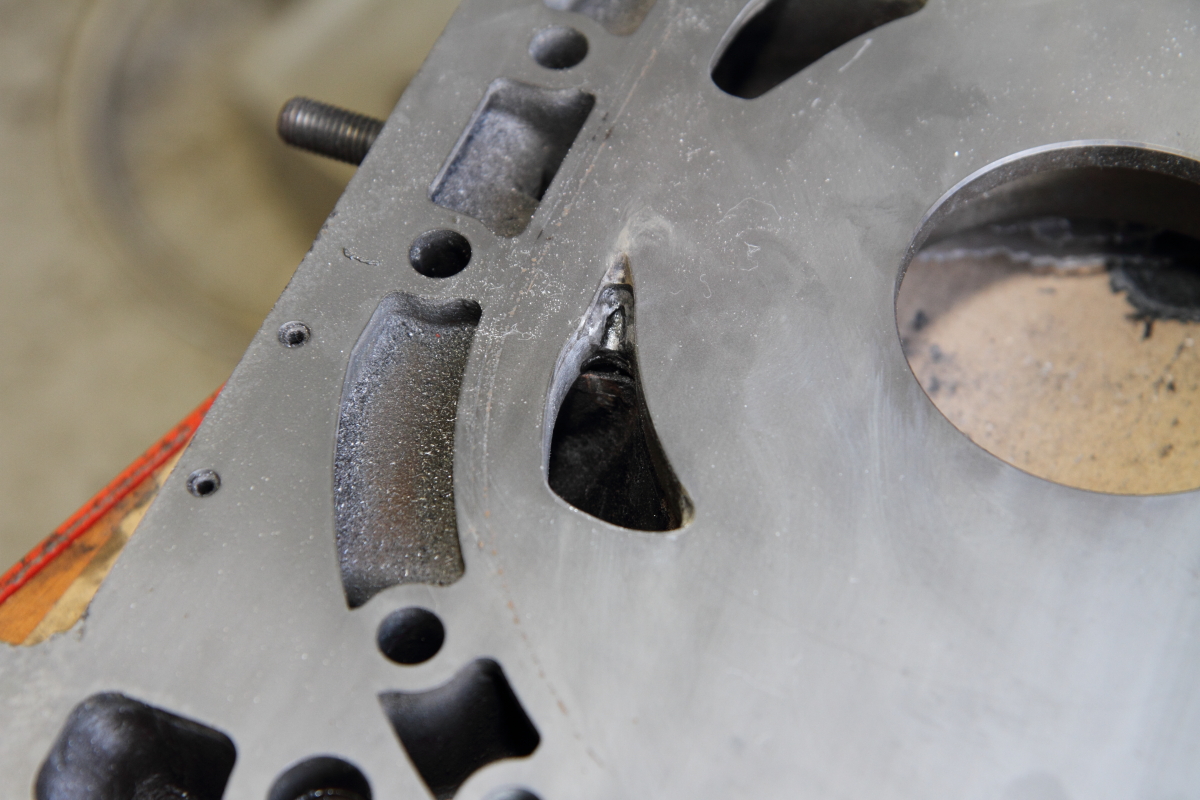
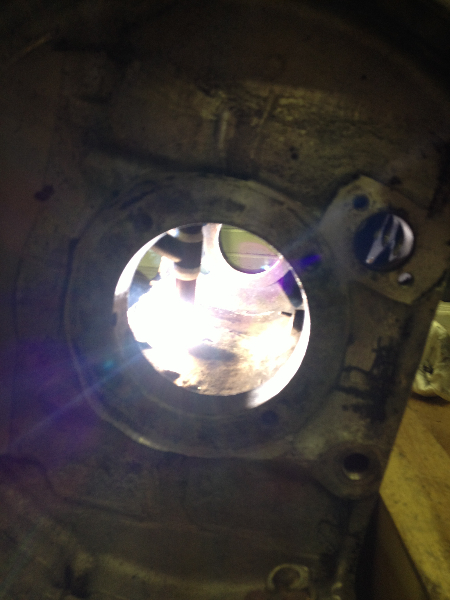
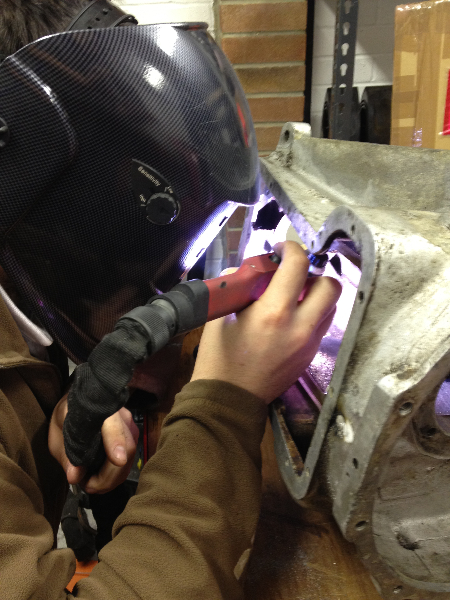
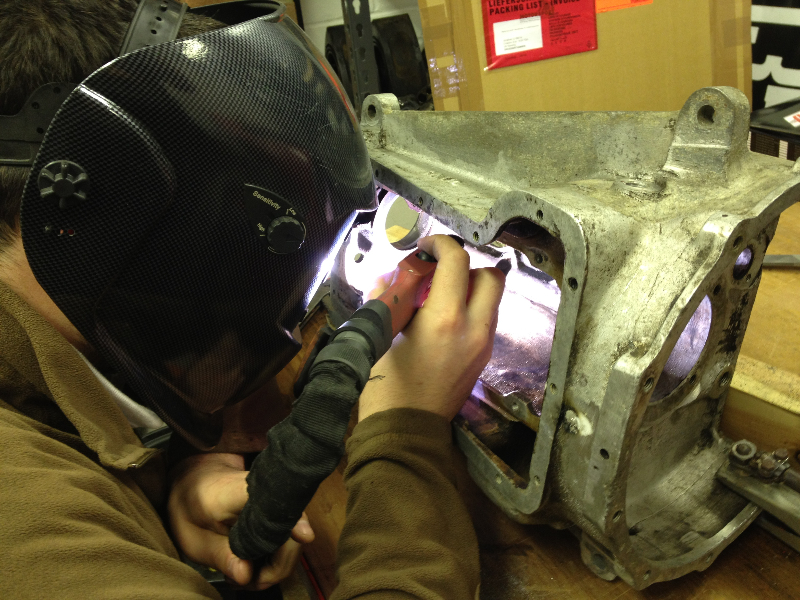
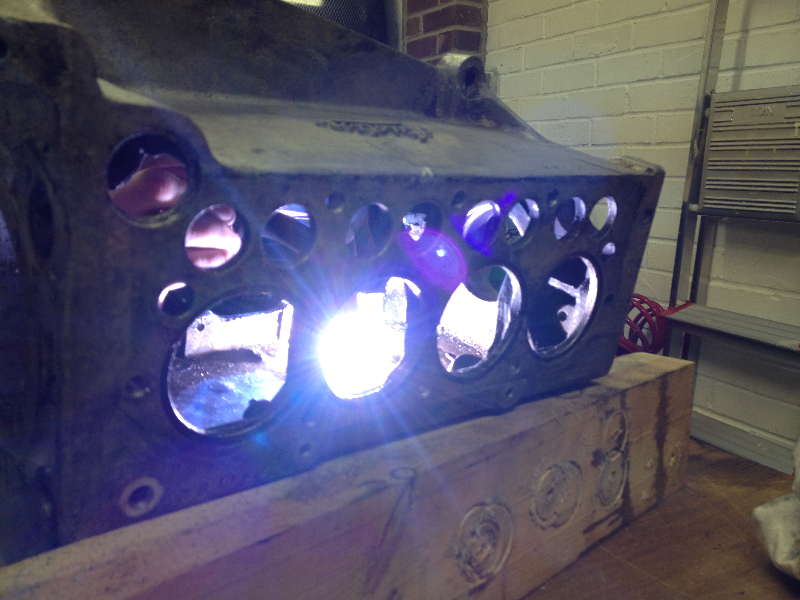
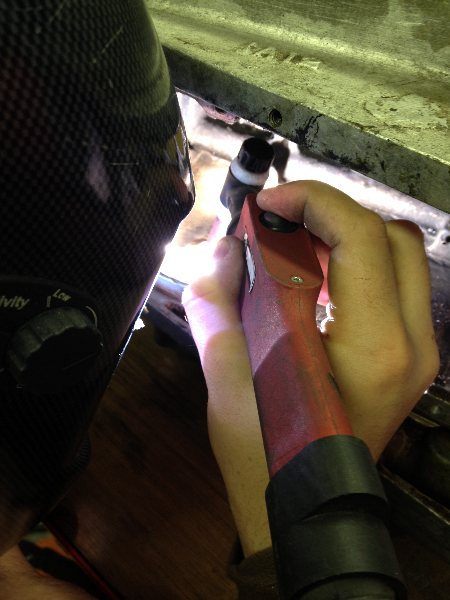
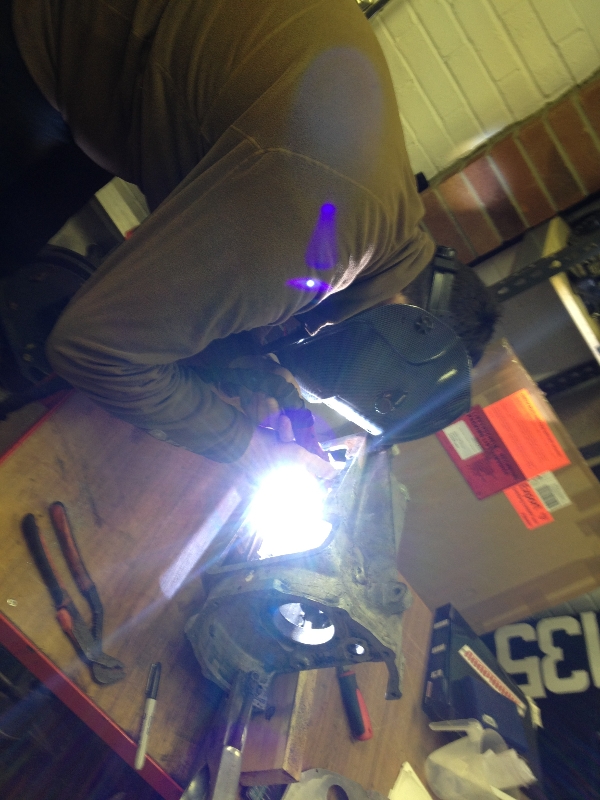
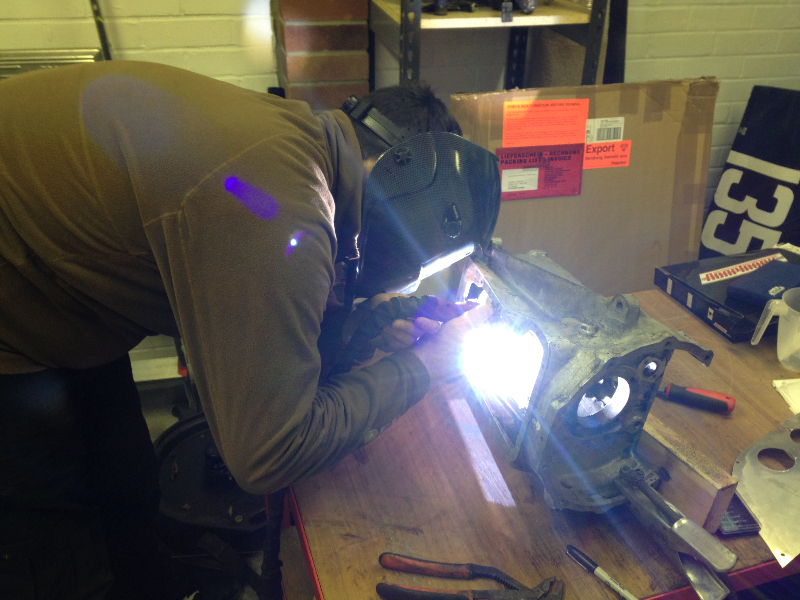
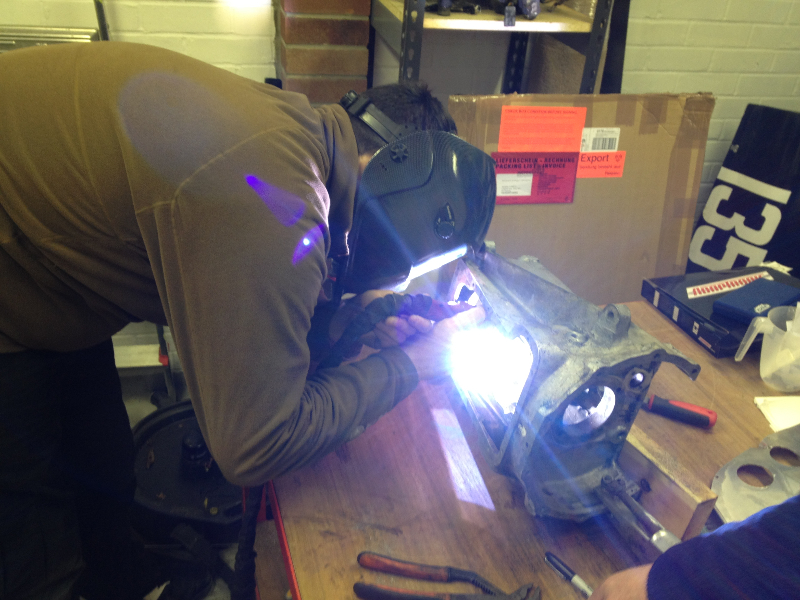
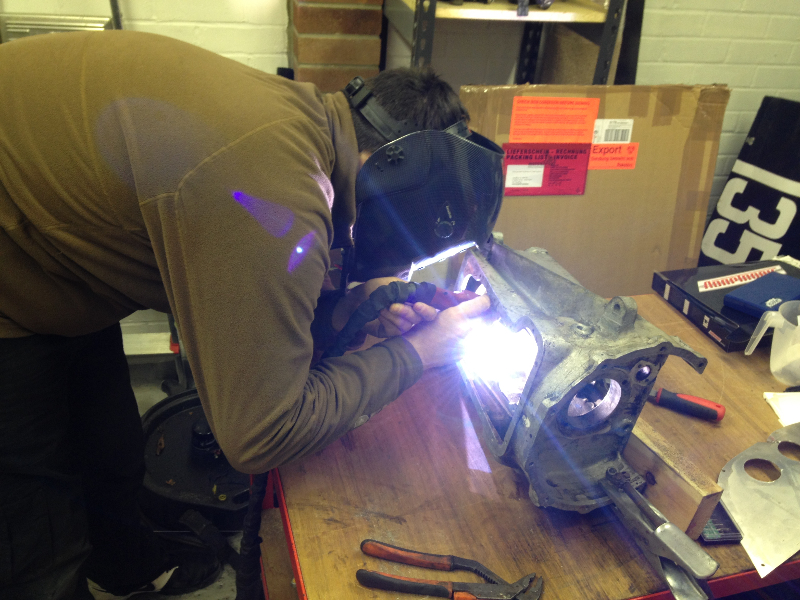
Wednesday night was set aside to repair Nigel’s crankcase.  If you follow his blog you will know that on dismantling his ‘chummy’ engine he found that a late (non-magneto) crank had been used and was contacting the crank case where the casing is relieved for the magneto.  This had caused a crack to run up the side of the crank case.

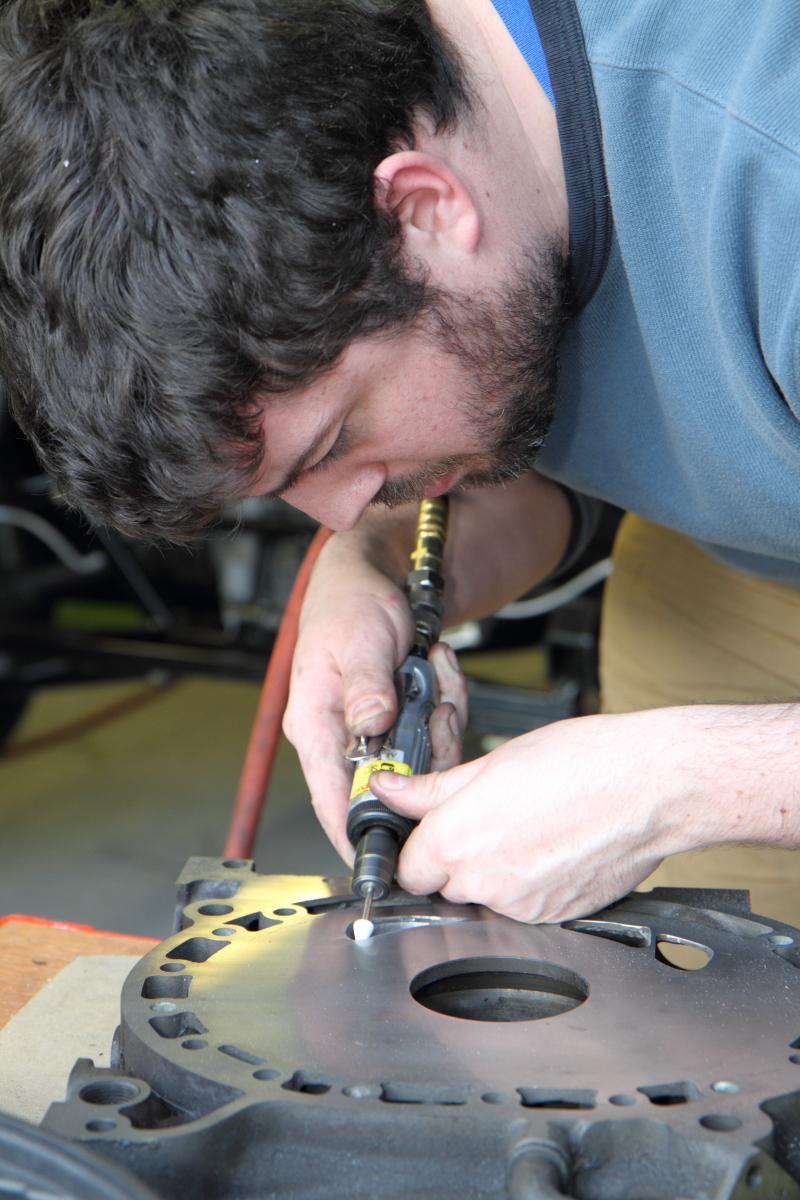
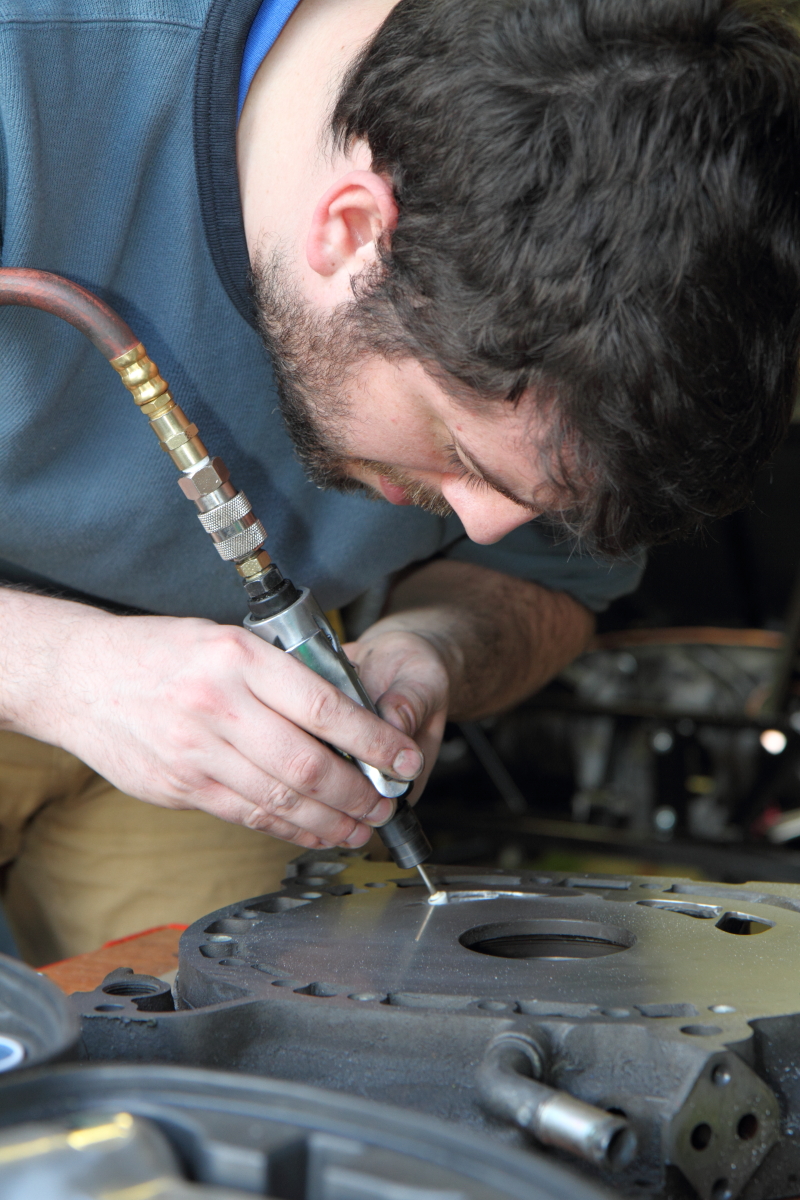
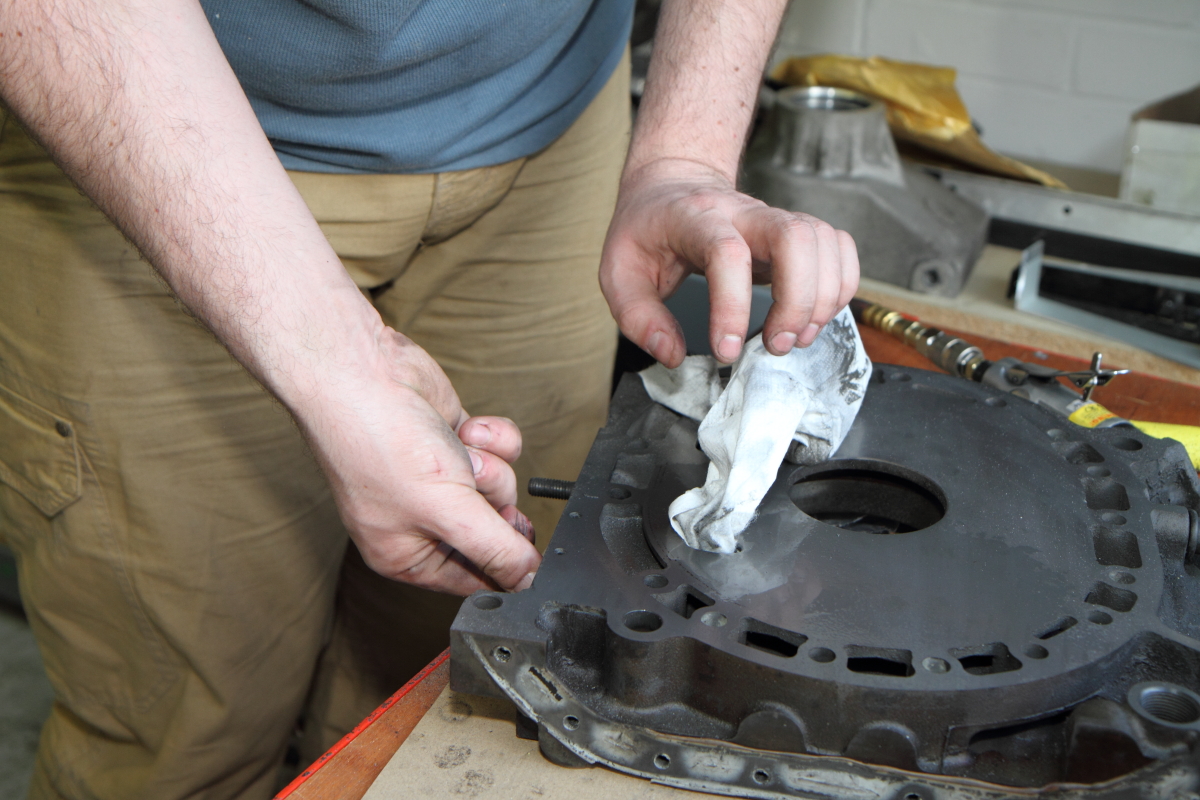
So I promised that I would have a go a running a weld up the crack with the tig.  Little did I know what I was letting myself in for!  The main problem seemed to be contamination of the casting, porous ali and 70 years of soaking meant that there was oil everywhere.  In the end we found the best method was running the tig torch up and down the area to heat and clean (you could see the oil moving out of the heated area).  Then I ground out the crack with a die grinder, cleaned with alcohol, heated again.  In the end we got there, I found that increasing the welding frequency also improved things a lot.
Hopefully it will be serviceable Nigel is due to start grinding it back flush this weekend.

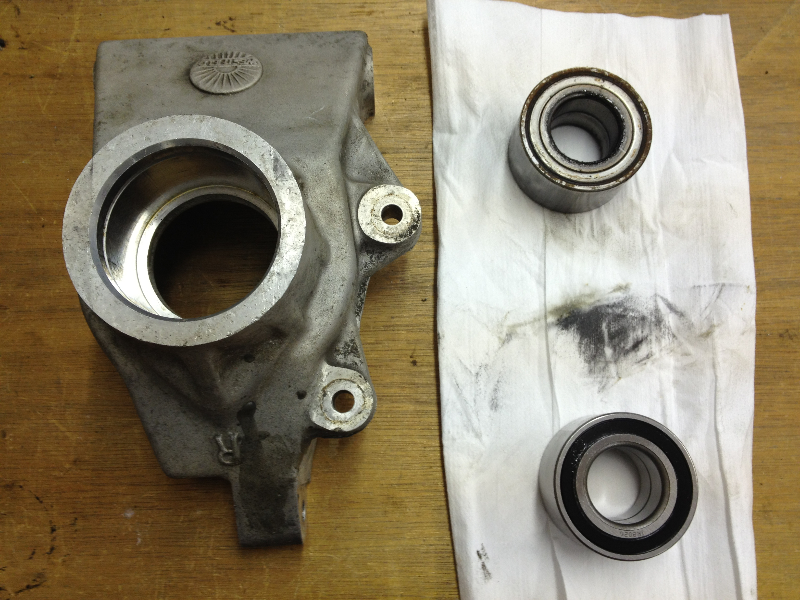
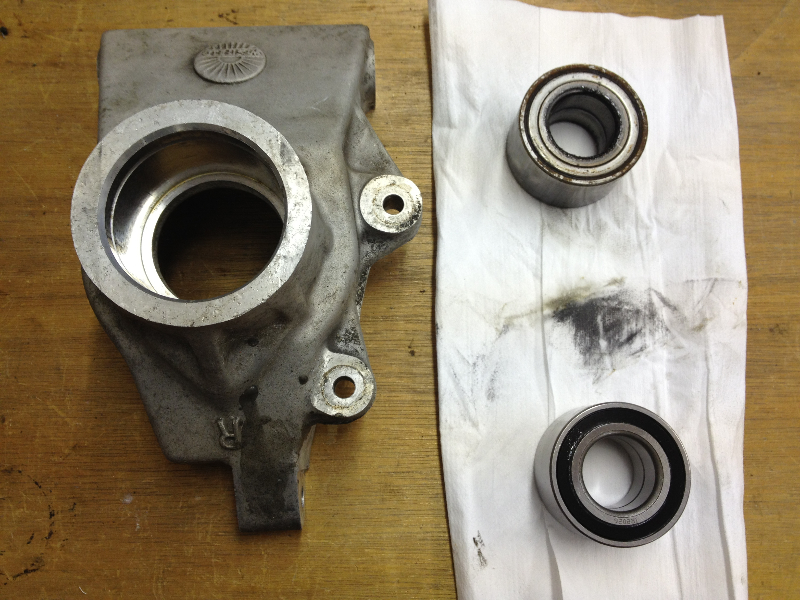
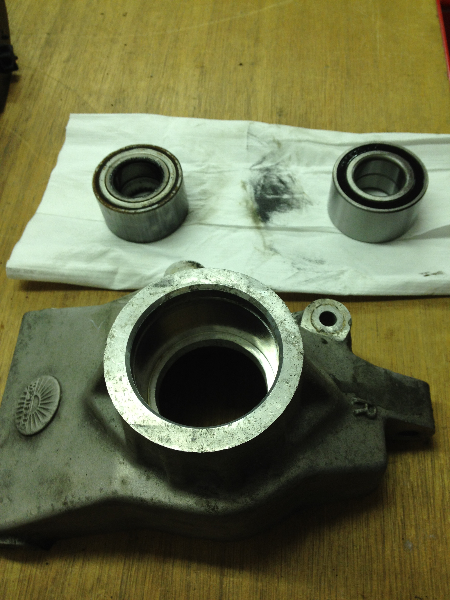
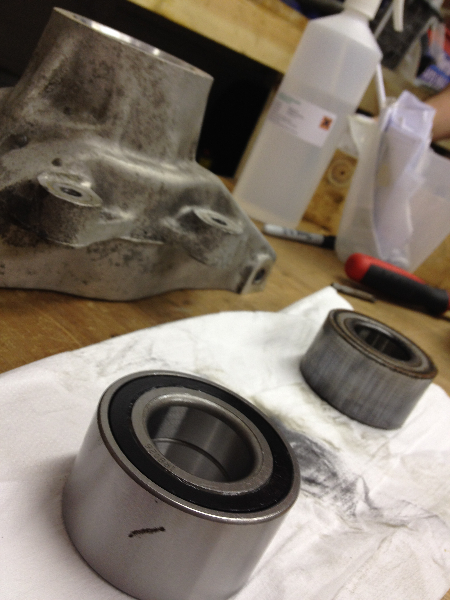
We did get something done on the Westie, we dismantled the LHS rear upright and pressed new bearings into both of the uprights.  Managed to blow the seal in my press in the process :(

29th January 2012 – Build Day 7 – The car creeps in through the patio door ;)

Build day 7 – Jonny Mac, Craig L and Jon

Perhaps the best day yet, mainly because of Suzanne’s face when she came home from shopping…

So the day started slowly following the beer drinking with Jon the night before, nothing a sausage and bacon sandwich couldn’t fix.  So we set out to finish the rest of the chassis panels and got them sorted pronto quick in the morning.

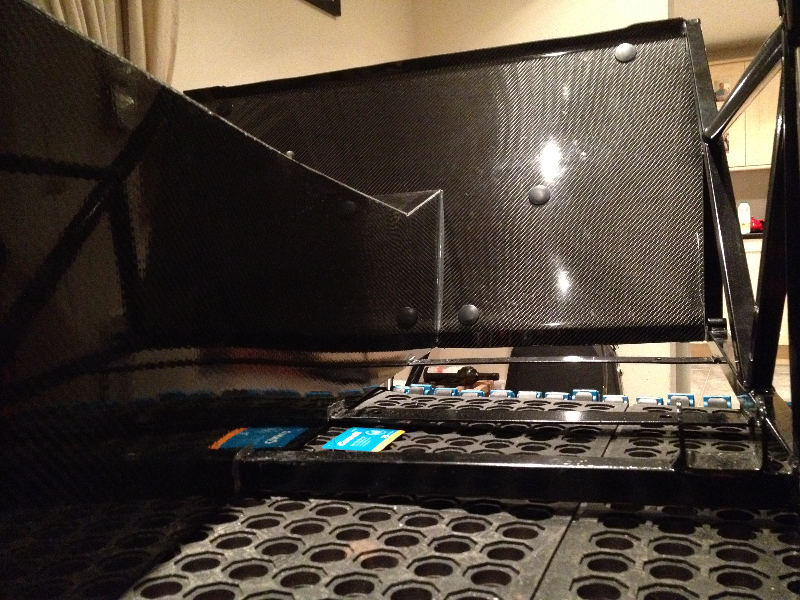
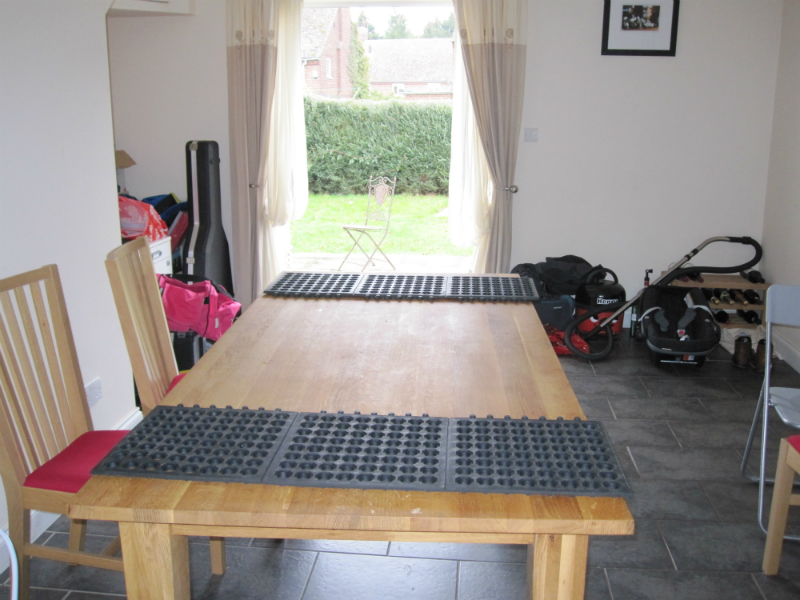
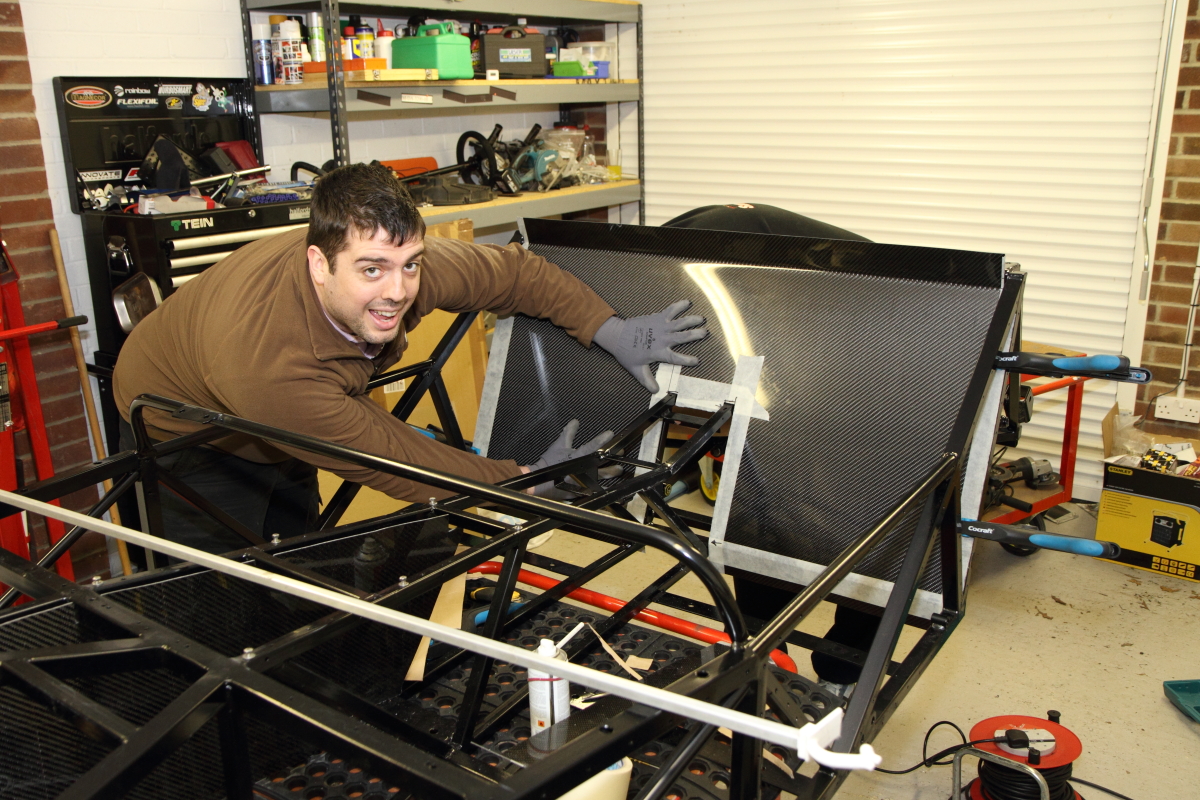
The next job was to start gluing all the carbon panels to the chassis, problem is the epoxy adhesive would take about three weeks to cure at the 3 degrees ambient temperature it is currently.  The solution was simple – there was a large warm house only meters away from the garage, luckily the dinning room has large patio doors about the right size for a chassis to go through.

So the decision was made and we embarked on a journey across the garden and into the dinning room!
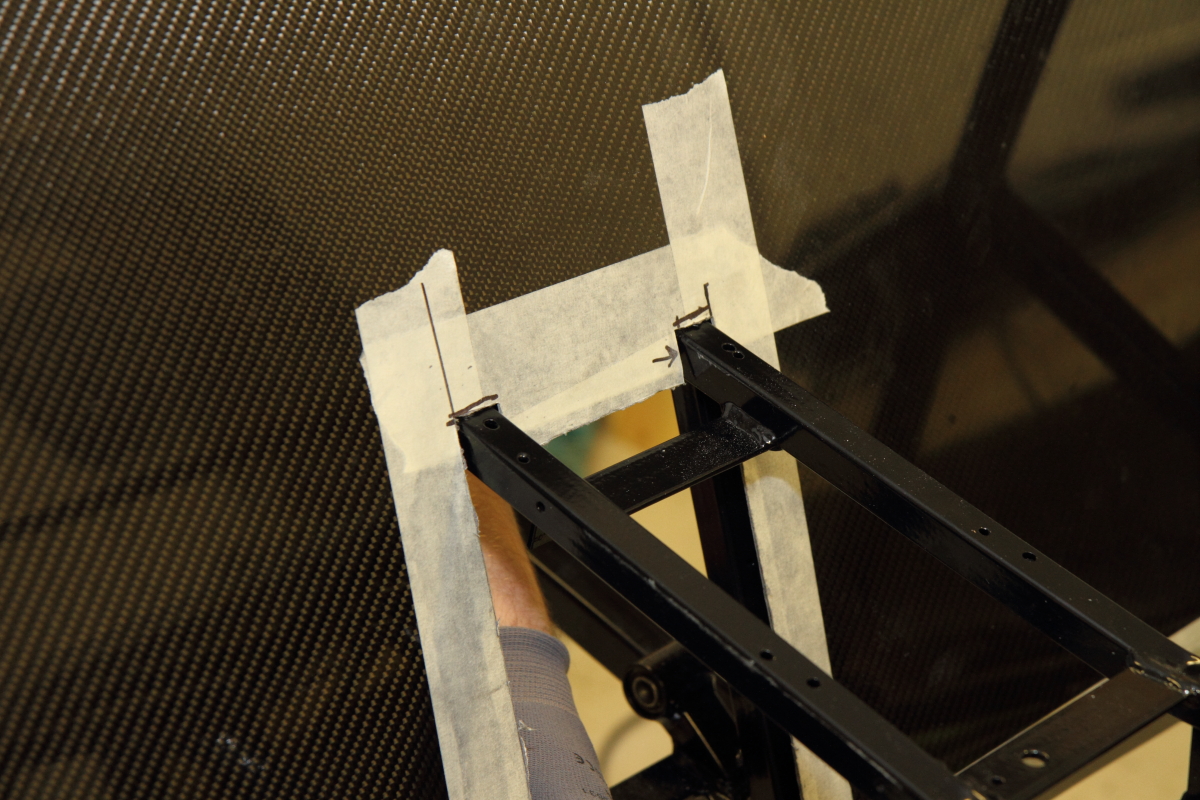
I will let the pictures guide you through the process…

28th January 2012 – Bulid Day 6

Just the two Jon’s today.  We started the day attacking the Rivet Racing IT.  The first job was an easy one mounting the web camera to the wall of the garage.  Then it all started to go a little bit wrong.  First of all getting the wireless repeater to work required witch craft.  We could get the repeater working, but not the main router or the other way around but never both!  In the end we got there but hit a stumbling block in trying to work out the stream relaying so it could be served out from the data centre…  Humph!

Tail between our legs we decided to seek solace (and lunch) at the pub.  A couple of pints and a fish finger sandwich each later we were fed up with IT and decided to do some work on the car.

The afternoon was good and productive and we finished up a few more carbon panels, the evening ended with beer taking priority over the car ;)

27th January 2012 – Build Day 5.5

An impromptu get together of James, Paul and Jon S following some unexpected evenings out of partners and a change of plan for Paul’s evenings entertainment.  So in true team style they both volunteered to invade the garage and carry on with getting some build done.

It ended up being a bit of an epic nights work finishing up at midnight but we got a lot of fiddly bits done.  James and I managed to get the rear panel blank cut out and fitted up which took hours of trial and error to get a good fit, end result look really good though.

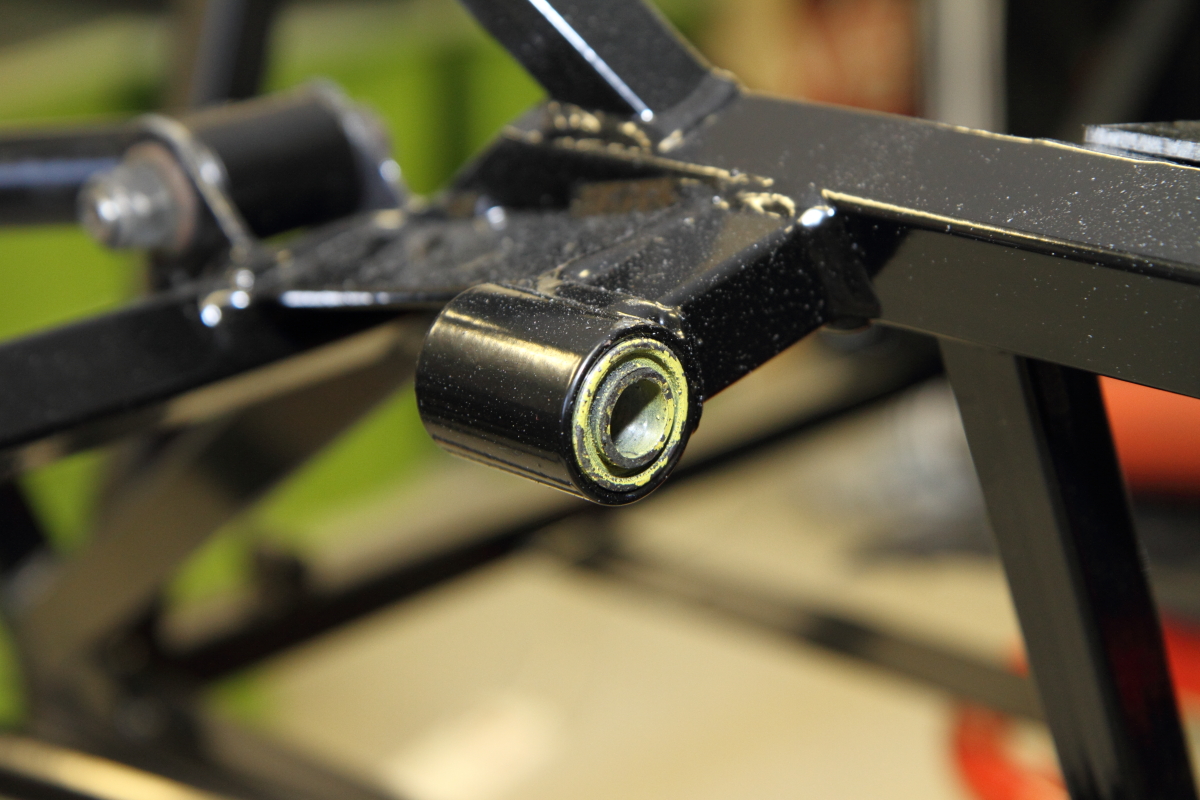
While we were doing that Paul painstakingly removed the rear wishbone bushes to get rid of some more powder coat to see if we could getter a better fit.  Again all the hard work has paid off with the fit being far looser to cut down pre-load but still without any lateral movement thanks to the nylon bushings.  Managed to damage a couple of the bushes removing them but no problem they will be with us shortly next week.

Pictures to follow as they are currently all on Paul’s camera…

22nd January 2012 – Build Day 5

Another build day was scheduled but this time it felt a little different.  With the chassis returned it was the first day that the we would actually be building the car rather than demolishing it or welding seemingly endless pieces of steel to it!

So Paul and I were the first to get going as for some unknown reason we had decided to start at 0930 on a Sunday morning…

Paul managed to waste at least two hours being prised away from his cups of tea…

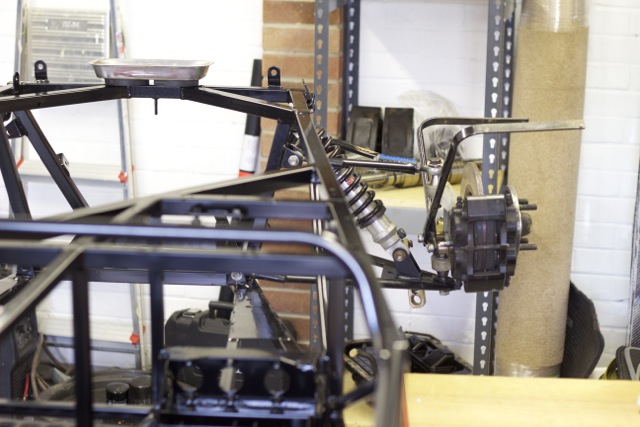
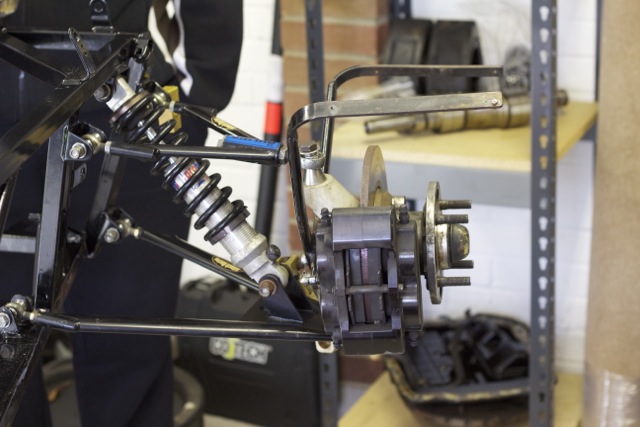
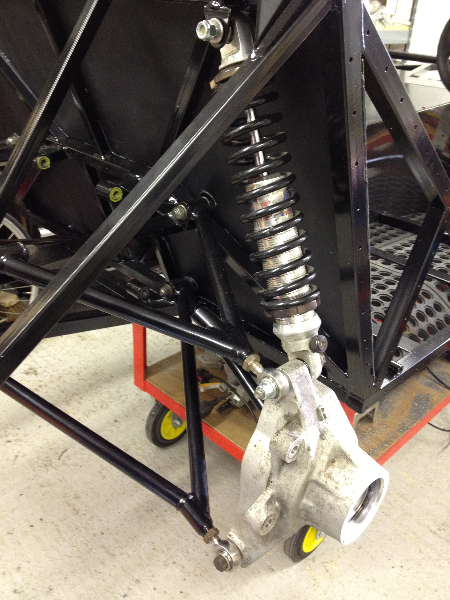
But finally we got under way and decided to take the easy pickings first.  The front suspension setup had been removed in one piece so we thought we would just bolt that all back up, et woila…  We had not planned for the powder coat factor!

So we found that everything that came apart originally no longer went back into the same hole as it had about 2mm of powder coat on it…  Cue some frantic sanding of mounting brackets.

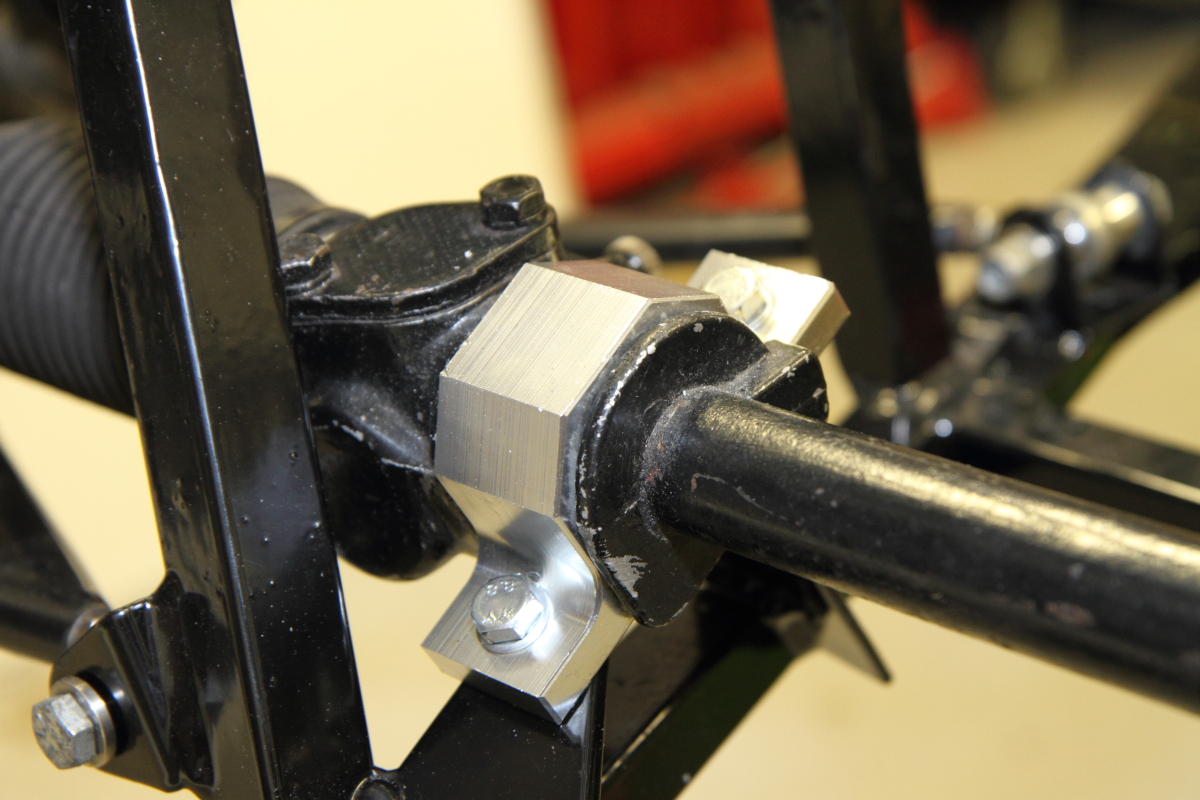
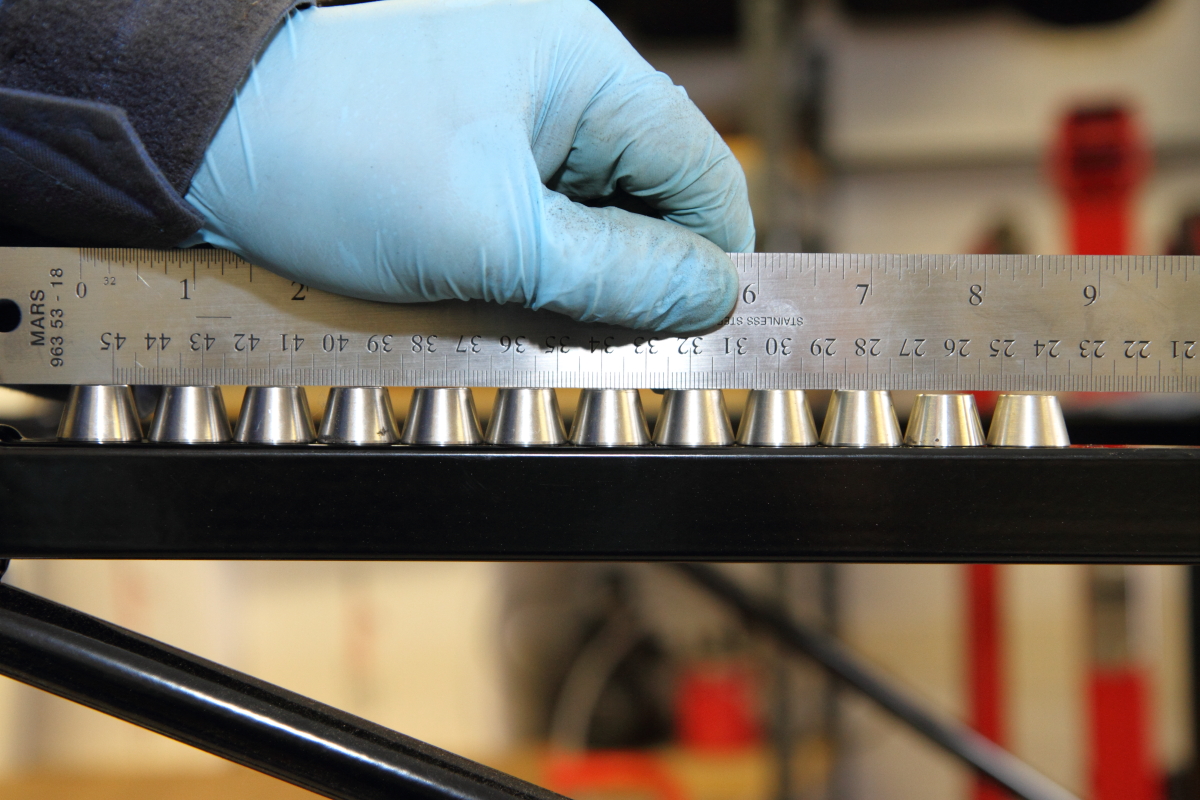
After all the powder coat was removed on the mounting faces we tried again, still problems of unfathomable resolve.  Then the eureka moment, some of the top hat inserts were smaller than others, see:

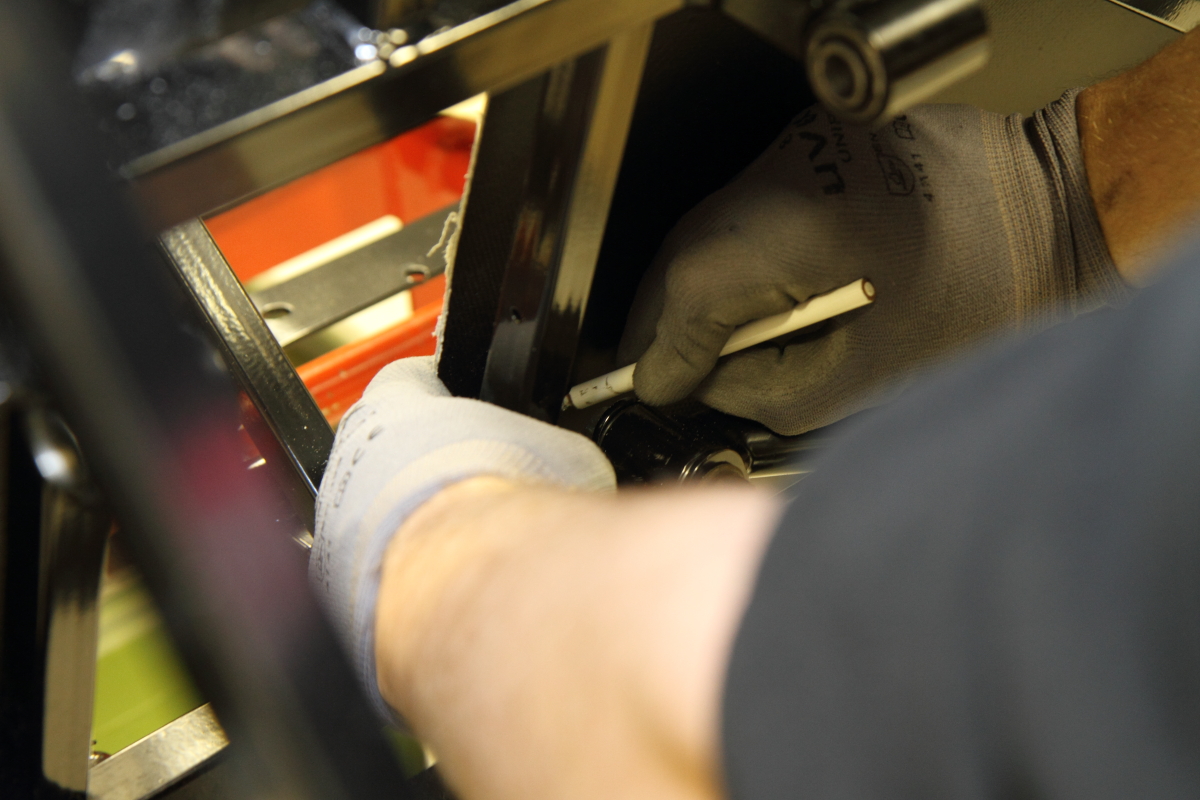
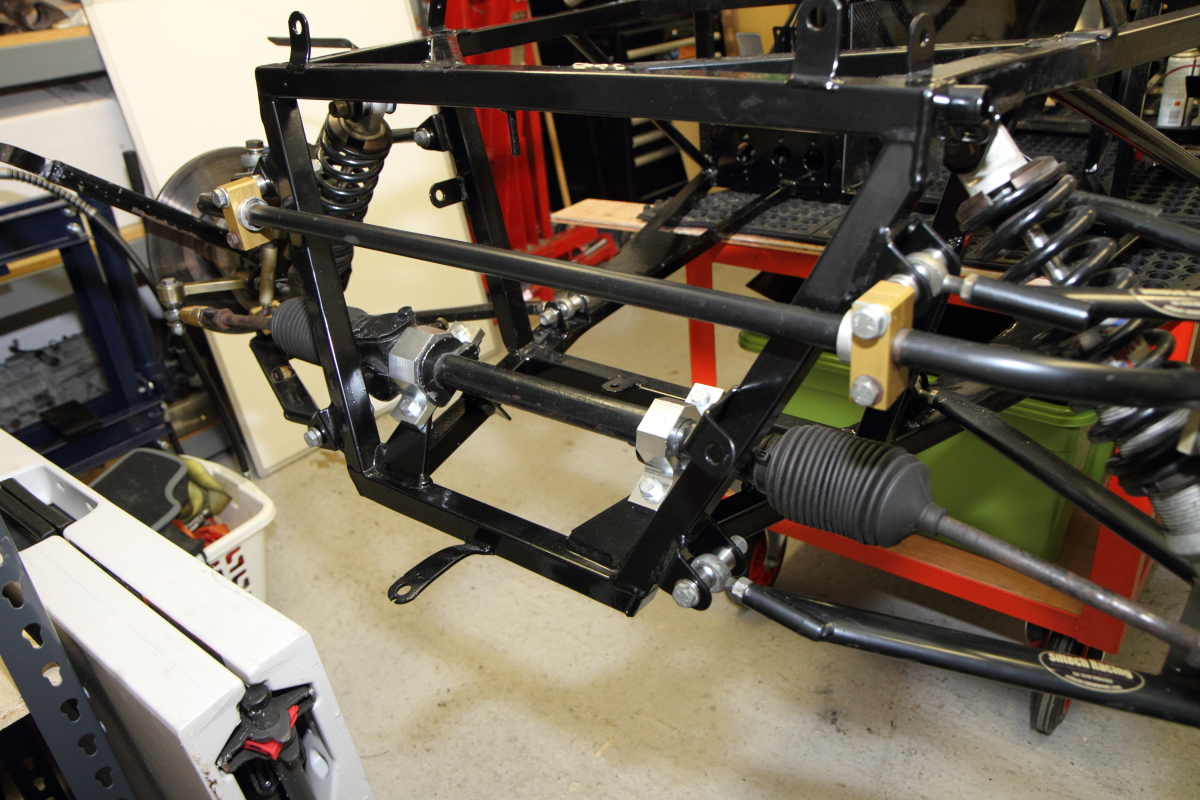
Blink and you wouldn’t notice, so we got the calipers out and measured all the mounting bracket widths, china-graph pencil in hand they were all marked up and the smallest ones has the smallest inserts used on one side.  As if by magic the whole thing was assembled very easily everything falling into place correctly.  Front roll bar was also assembled and everything left loose.

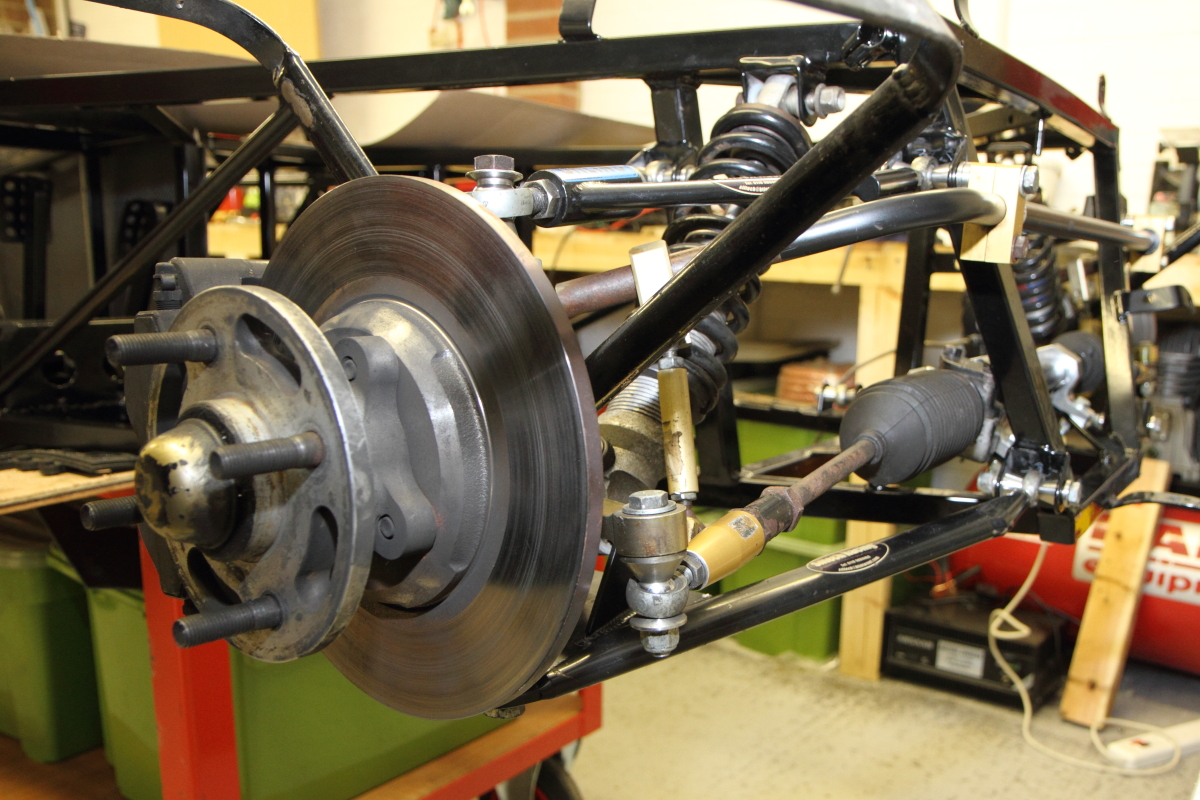
The car has front suspension again!

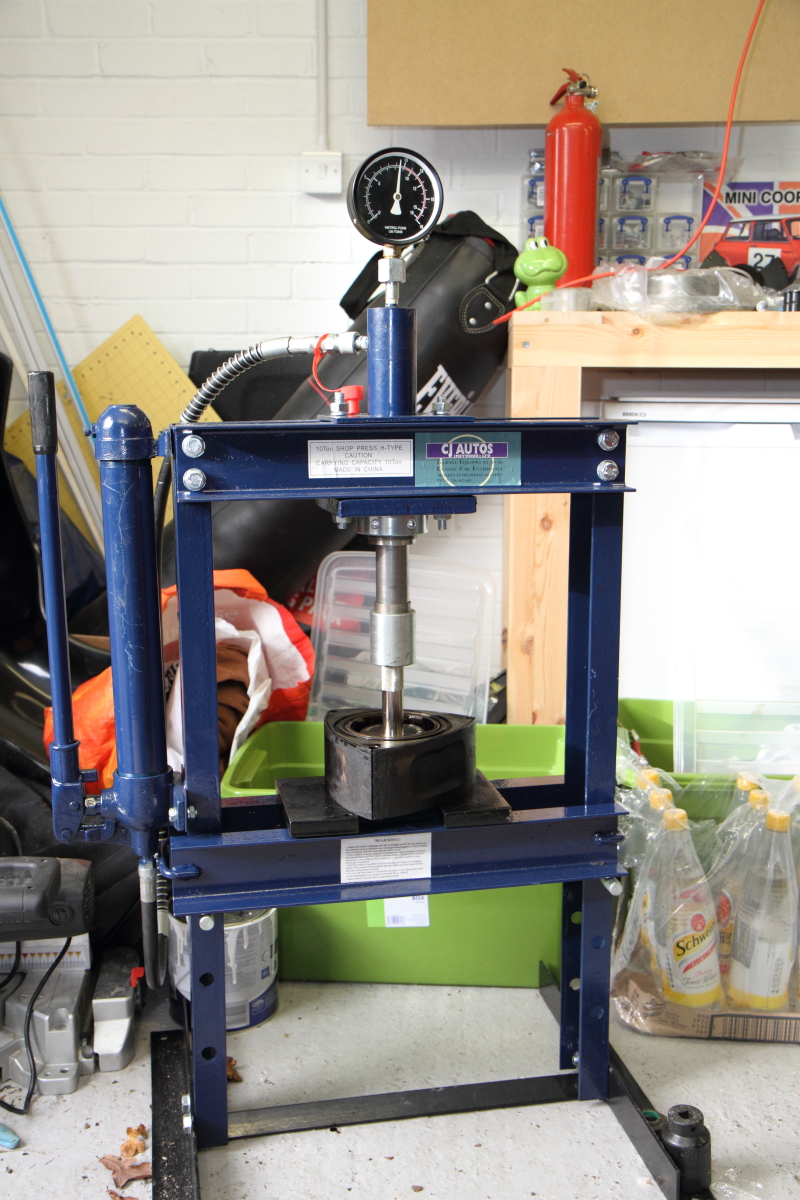
By this point a couple of the other guys had arrived James and Chris F.  After the resounding success on the front suspension they embarked on the rear bushes.  More powder coat removal needed.  While this was all going on I though I would give the new press ago to get the main rotor bearings out.  The bearing tools from pineapple racing are great bits of kit and a fraction of the price of the Mazda SST.

Wasn’t really expecting 10 tonnes to be needed but they did let go in the end, pressed the main bearings out of the stationary gears as well.  More than happy with the press even if I did need to get it out of the autosport show in Toby’s pram!  Sorry Toby…

The guys were hard at work on the rear suspension.

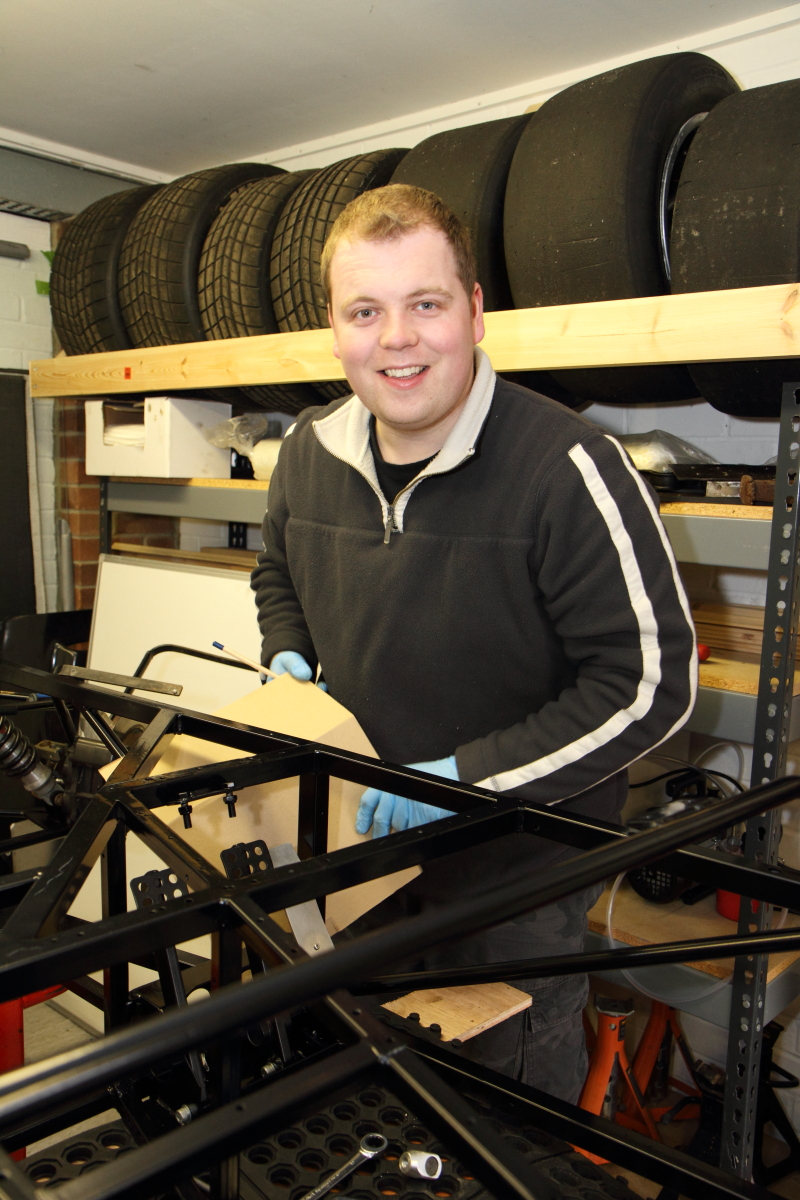
While Chris F had embarked on making the templates for all the carbon panelling we needed on the chassis.  Never have I seen such a happy chap armed with nothing more that an old cardboard box and a sharpie marker pen!

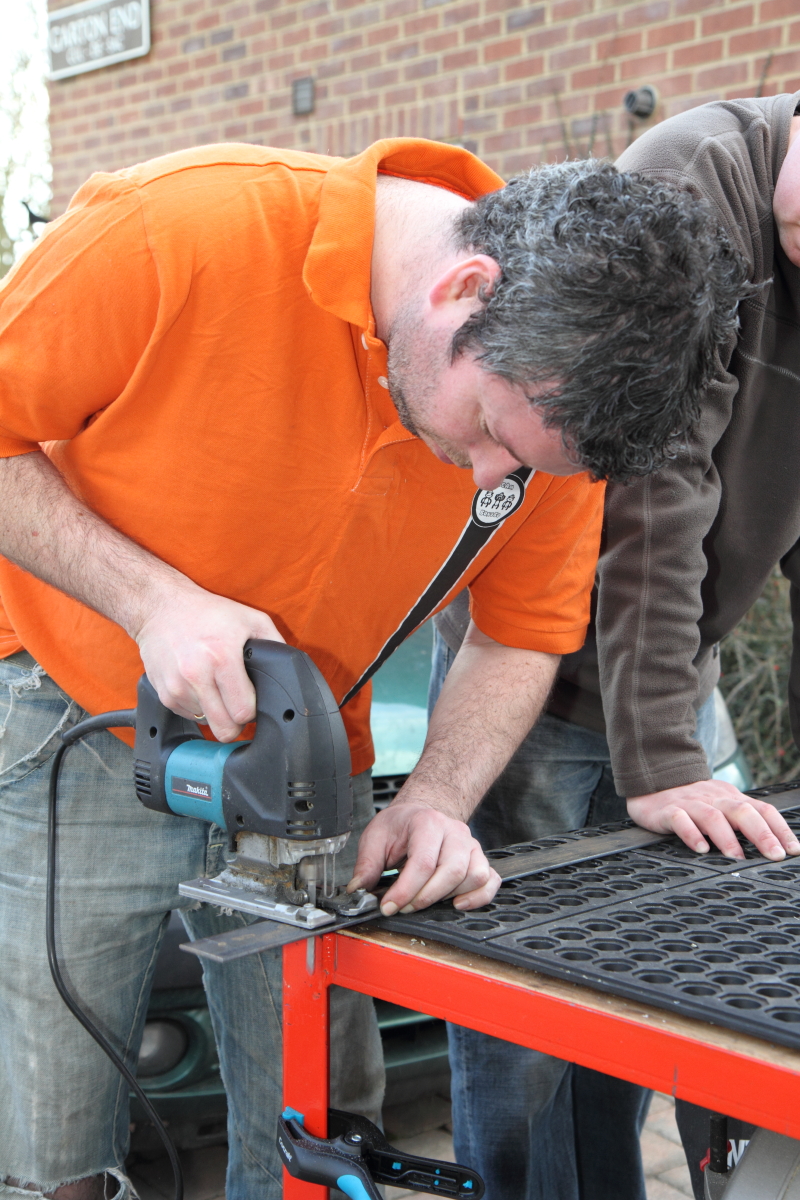
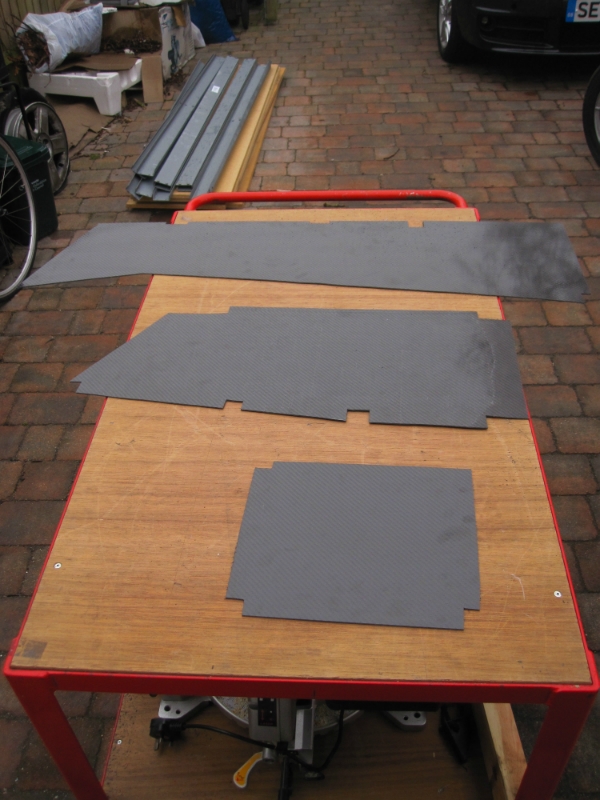
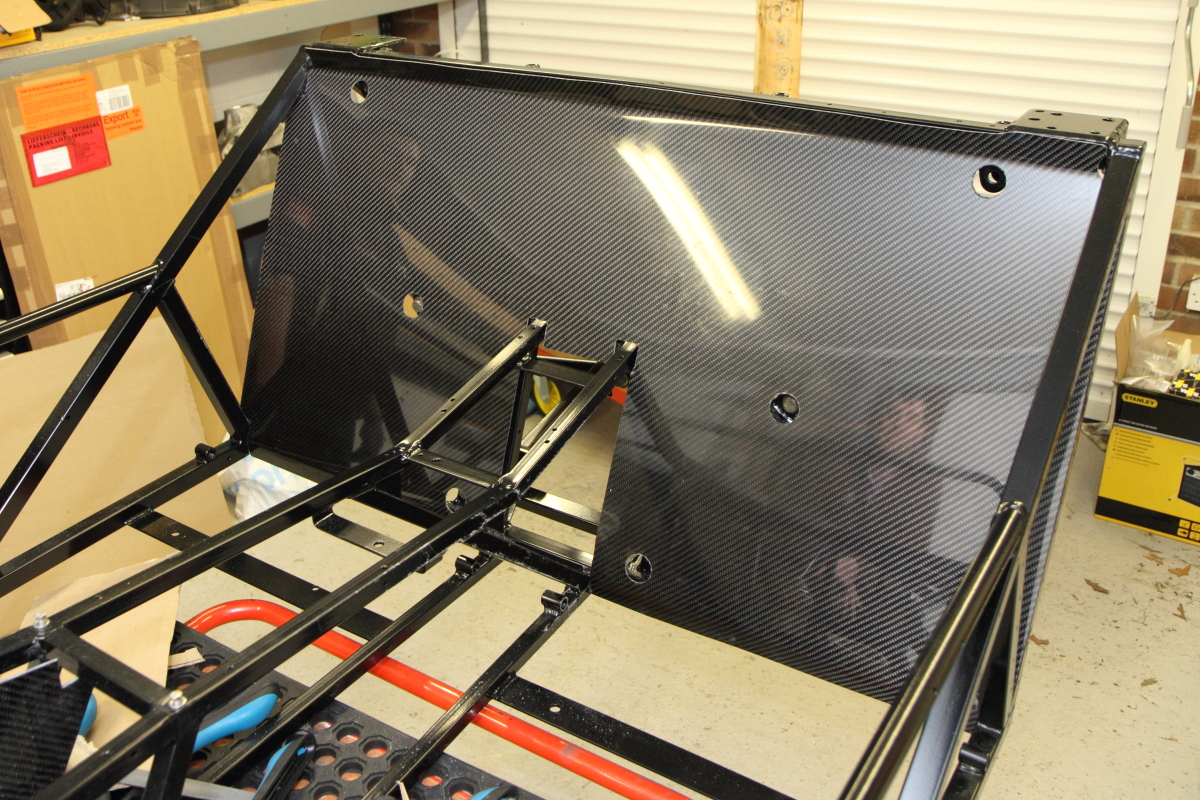
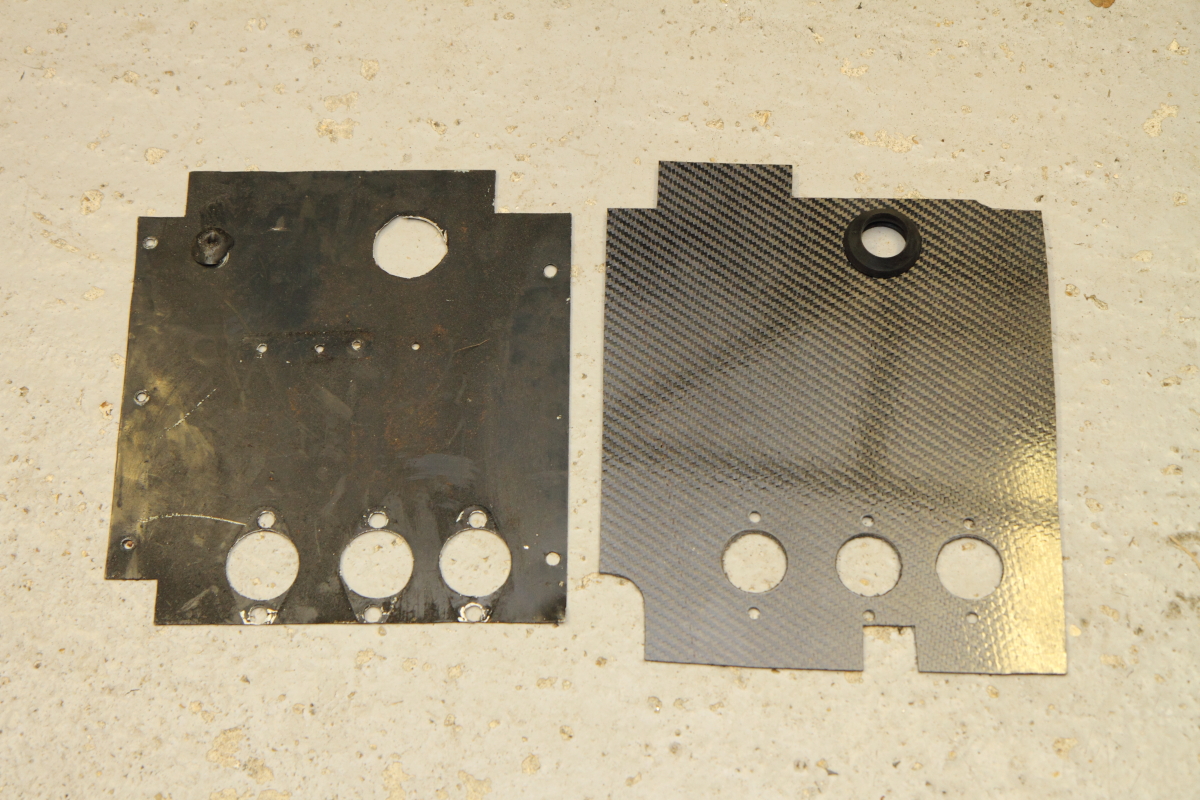
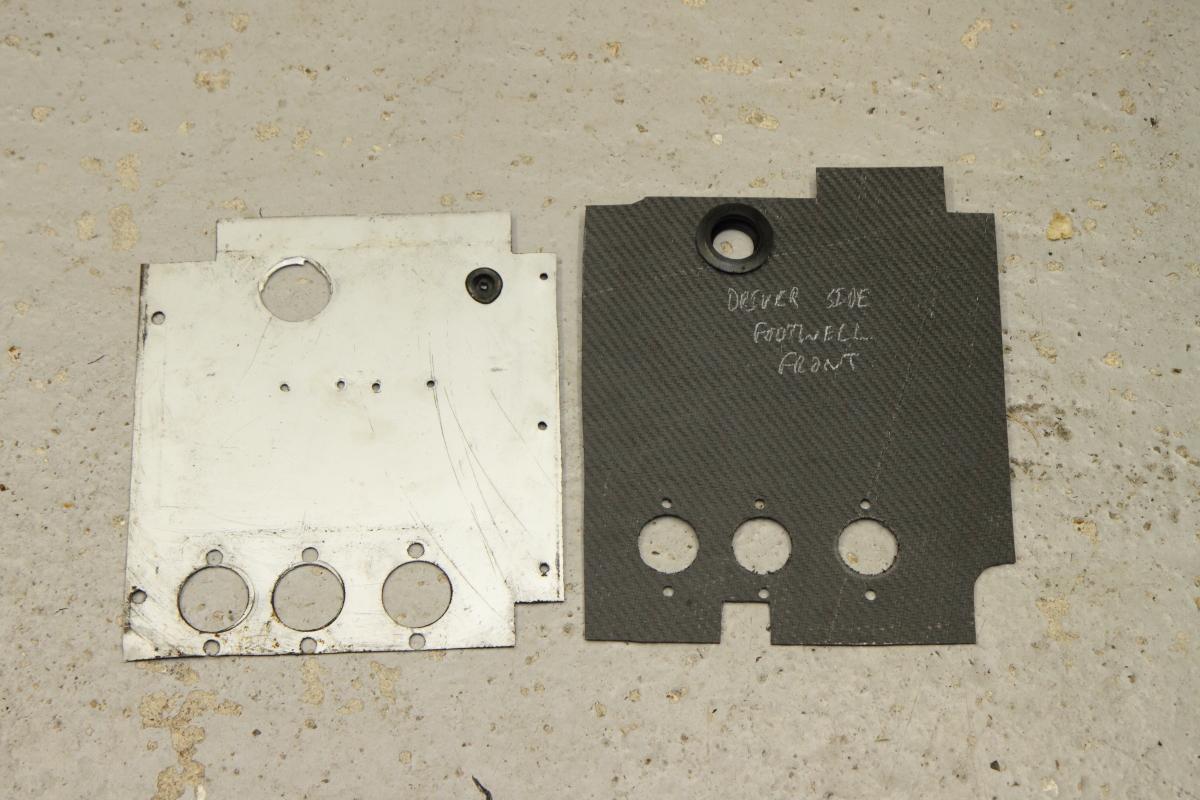
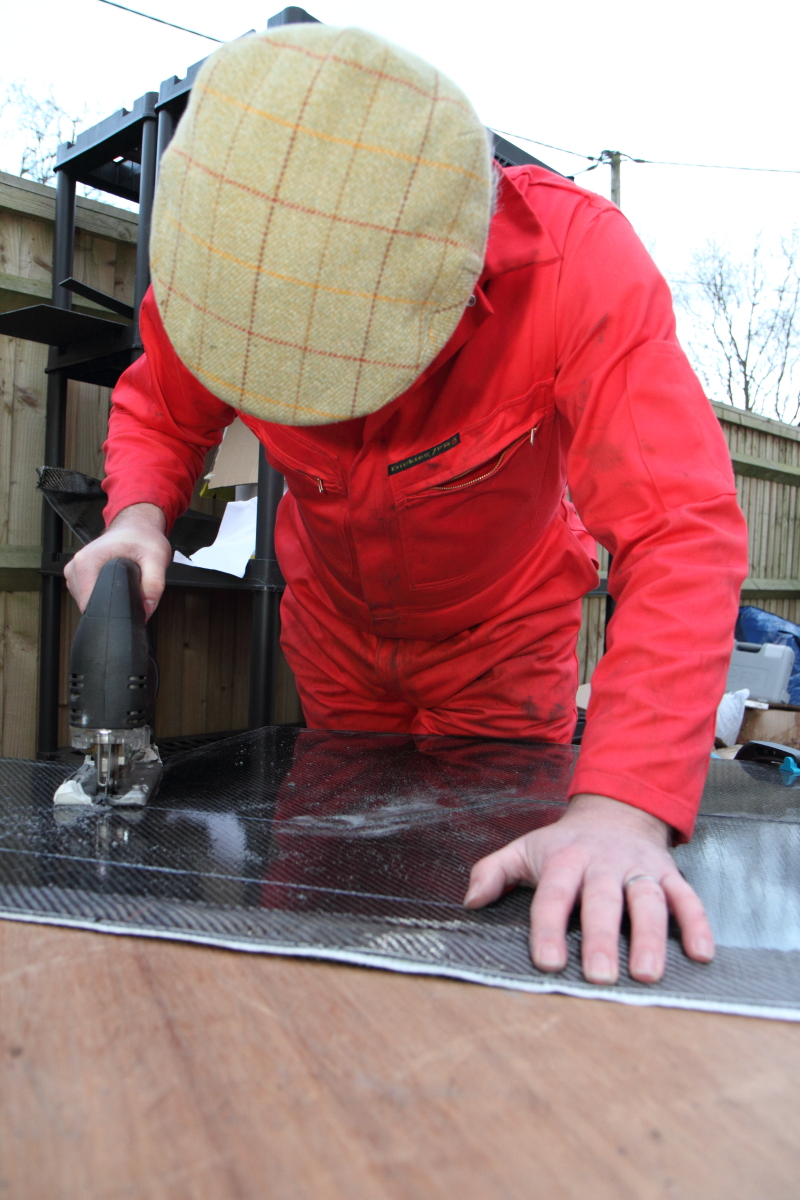
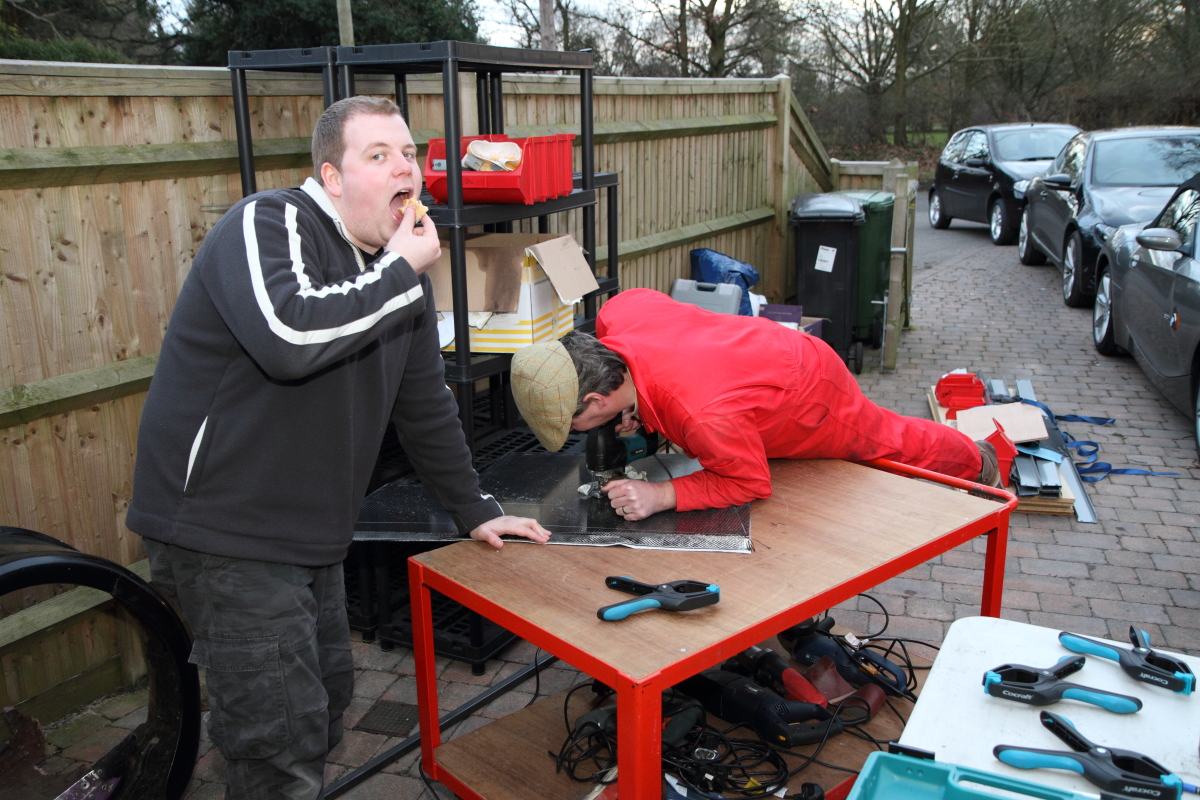
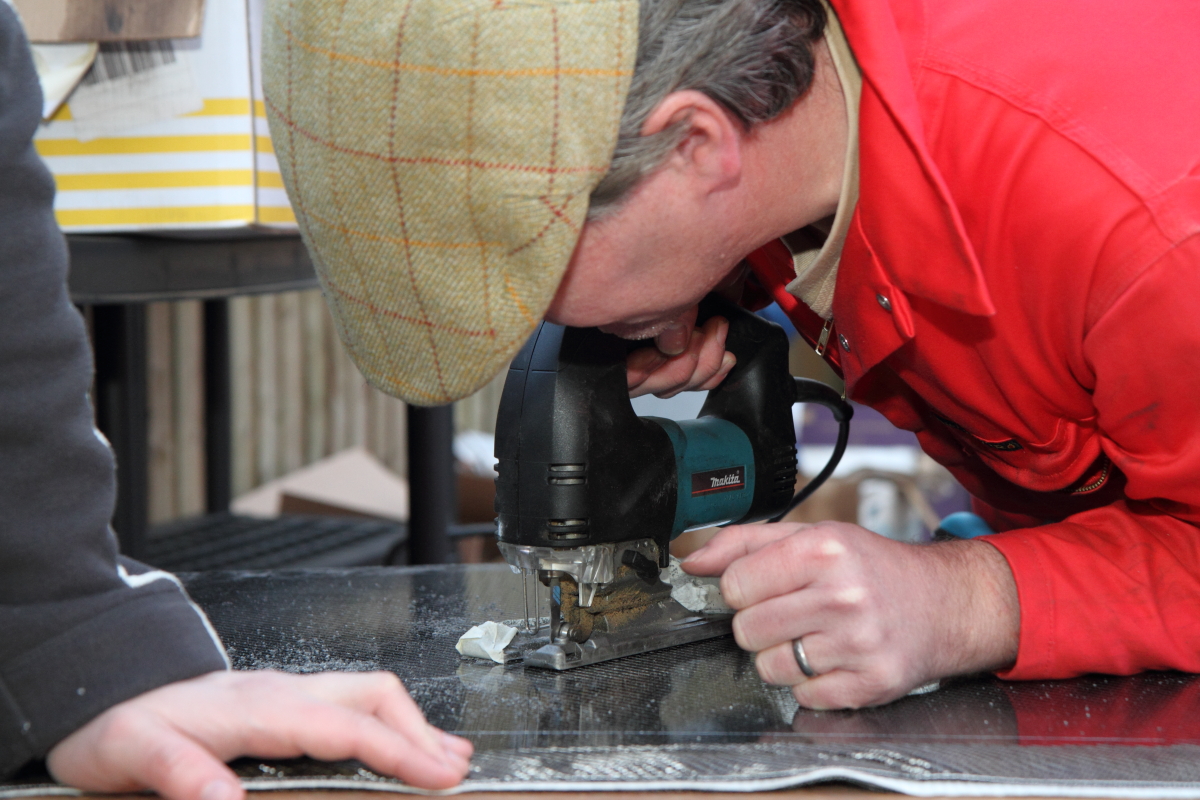
Templates in hand Nigel and Chris F got the jigsaw out and started chopping up the home made carbon sheets.  The first attempt left a lot to be desired but they soon go the hand of learning top from bottom and churned out the front bulk head sheets.  One thing we did notice is the carbon sheet we have manufactured is about twice as thick as the aluminium panels that came off the car…  The layup I used was carbon, carbon, foam, carbon, carbon and was really stiff but maybe a bit too much for the panelling.  We did however do a comparison with these sheets:

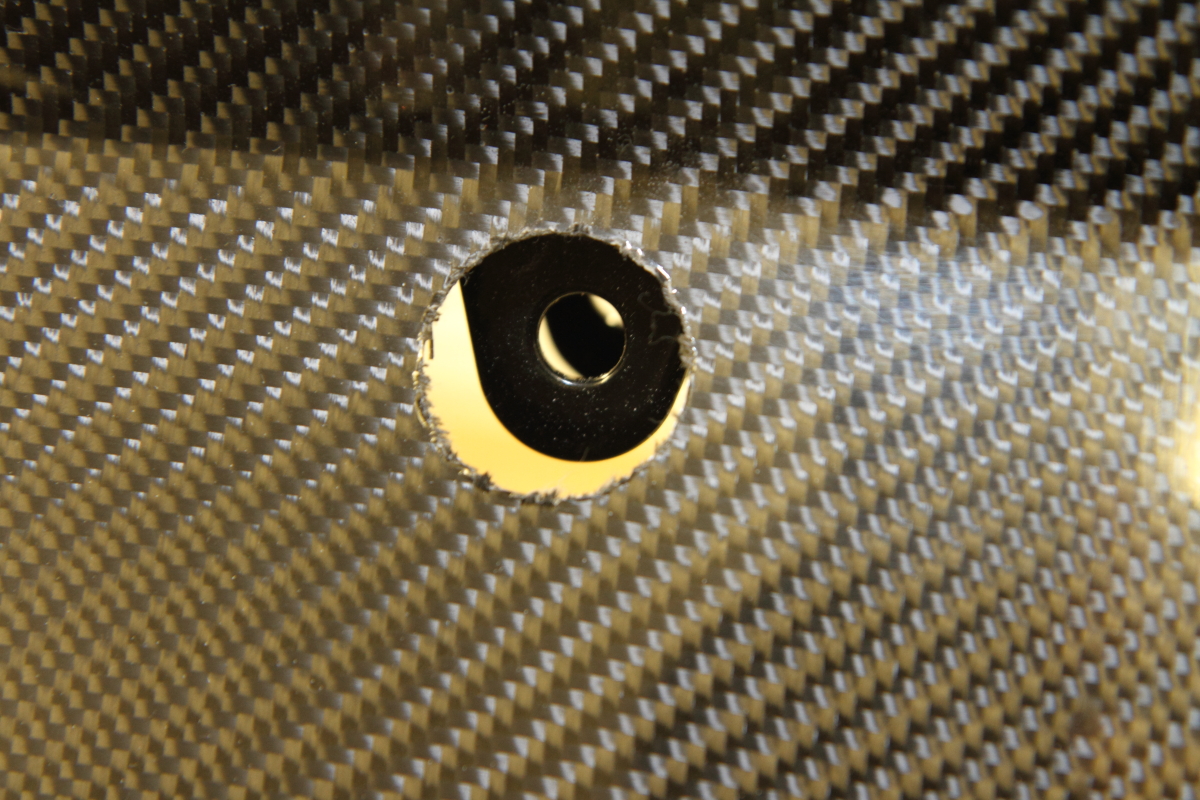
And discovered that regardless of the over engineering the carbon panel with the large grommet was 150g compared with the ali panel at 190g.  So no problems although doing it again I would not use the foam core in the chassis panels just floor pan.

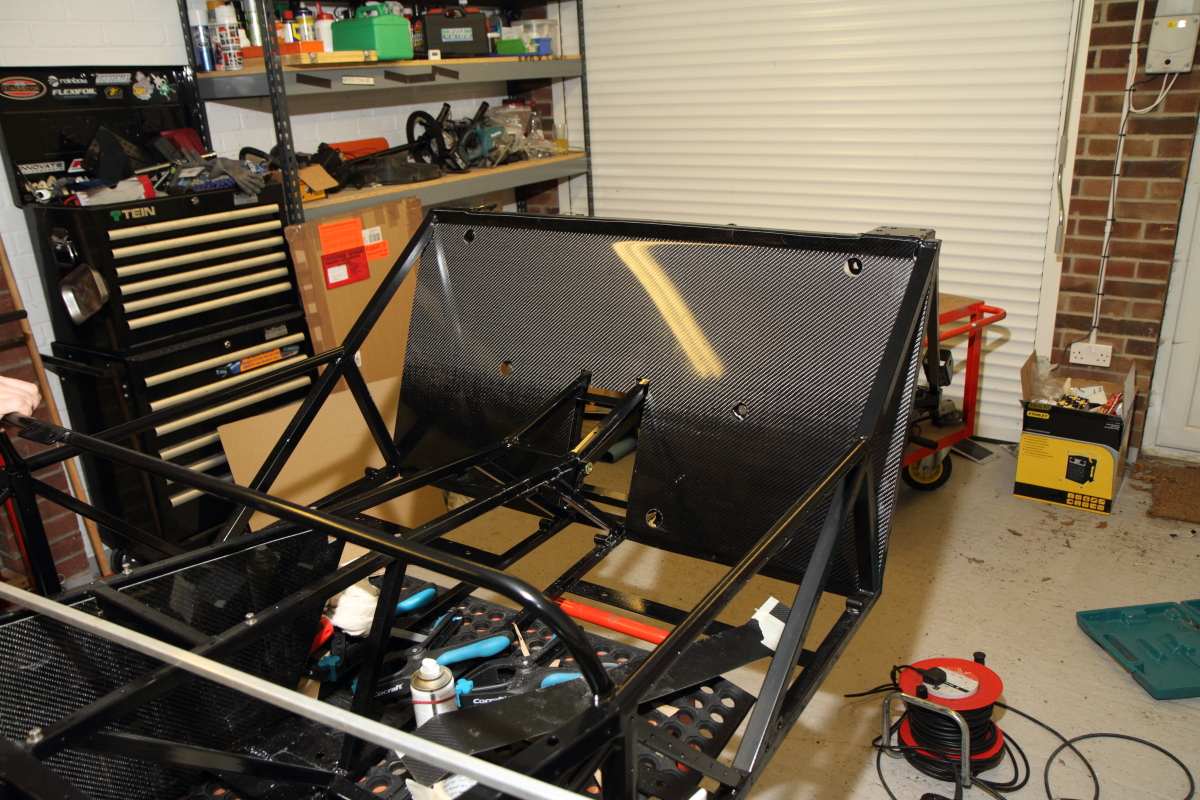
As you can see the new panels look a million times better that the battered old ones that came off.  More panels where made and we have most of the front end done and ready for gluing…  No rivets allowed here ;)

While this was all happening I thought I would take the easy job and re-assembled the pedal box.

It was a long old day but the progress was massive, the quality of the work everyone is doing is great.  Things are coming together…

A special mention must go to Jonny Mac who did turn up although spent the whole day dealing with support calls for work on my dining room table!